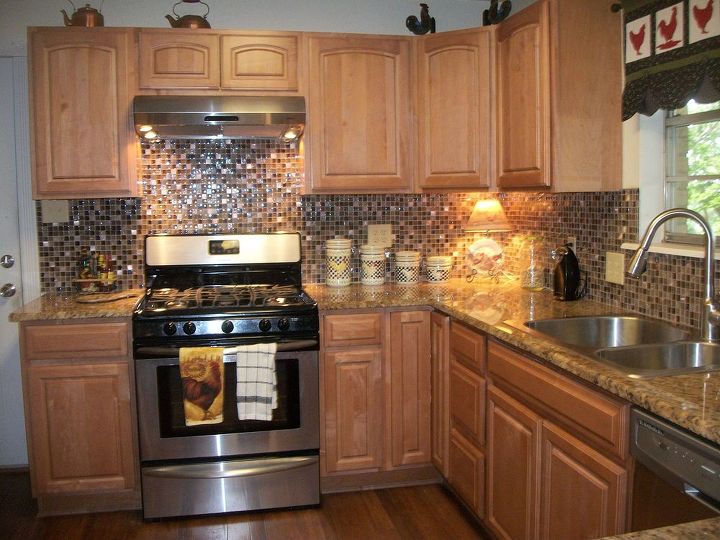
A DIY kitchen backsplash is an excellent way to personalize your kitchen, add character, and protect your walls from splatters and stains. Creating a backsplash doesn’t necessarily require extensive renovation skills, and with a range of affordable materials and creative ideas, it’s possible to achieve a professional look on a budget. A backsplash can be a focal point in a kitchen, and the choice of colors, patterns, and materials can dramatically transform the space. From classic tile to reclaimed wood, peel-and-stick options, and even painted designs, DIY backsplash projects can accommodate nearly every style, budget, and skill level. For those looking to update their kitchen without a complete remodel, adding a backsplash can make a substantial impact in just a weekend.
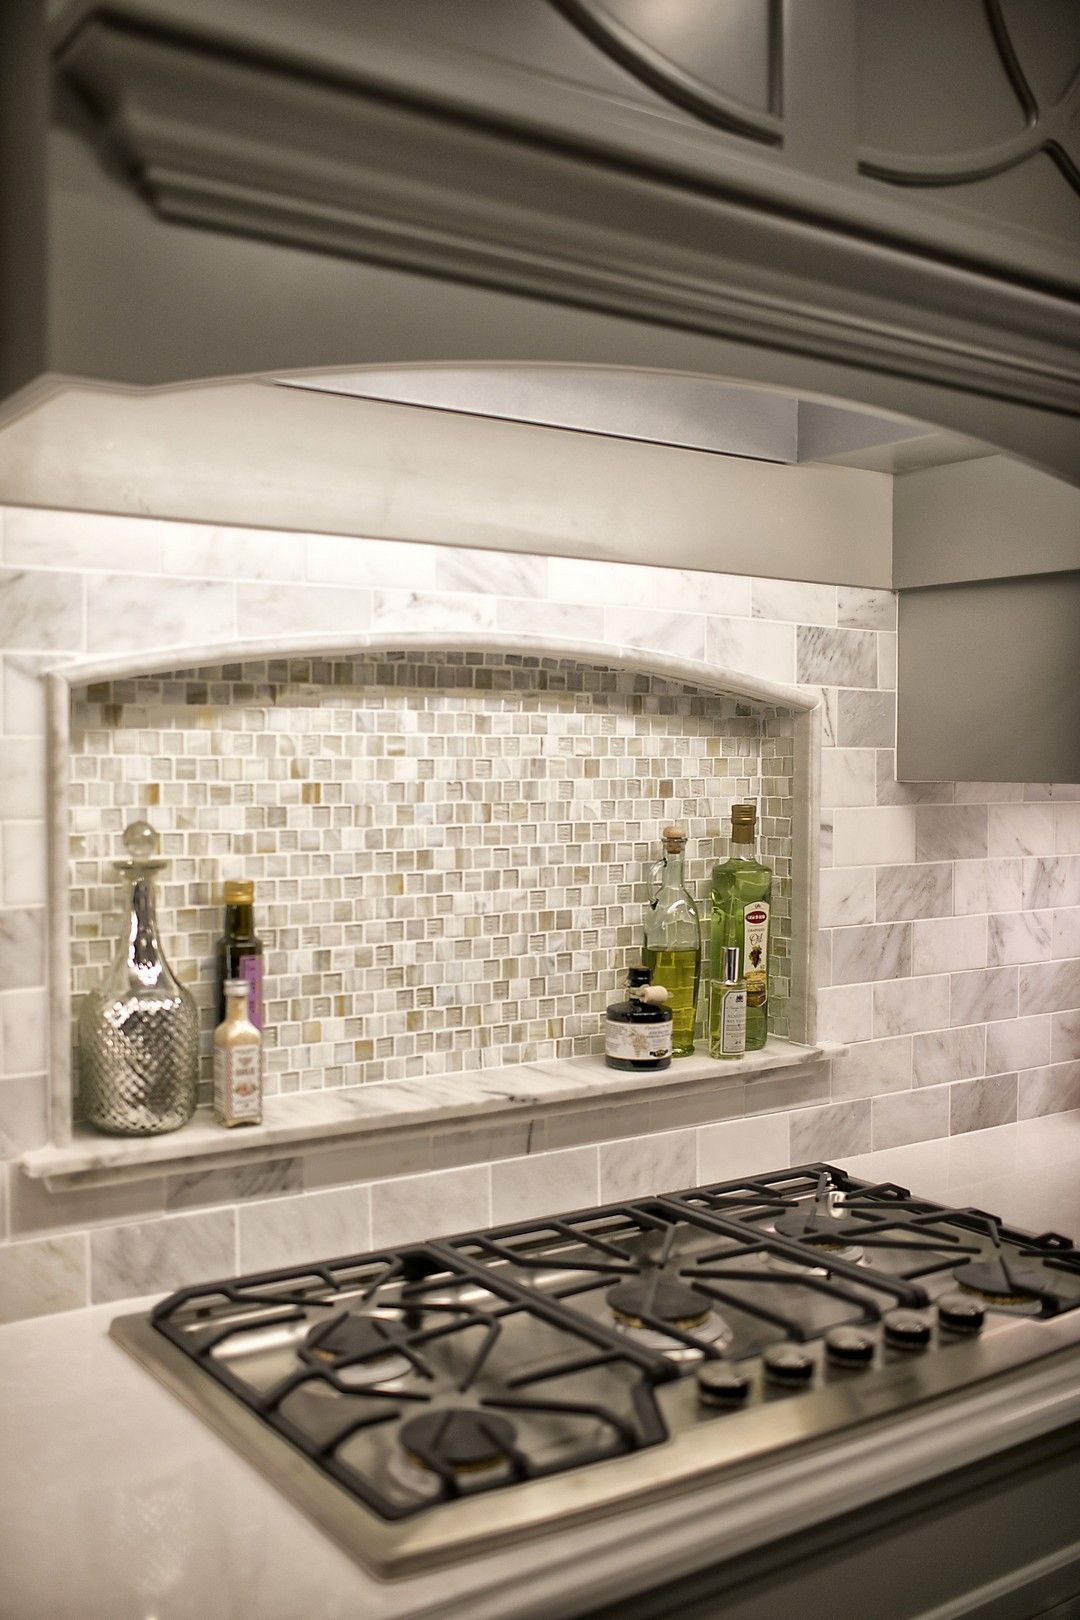
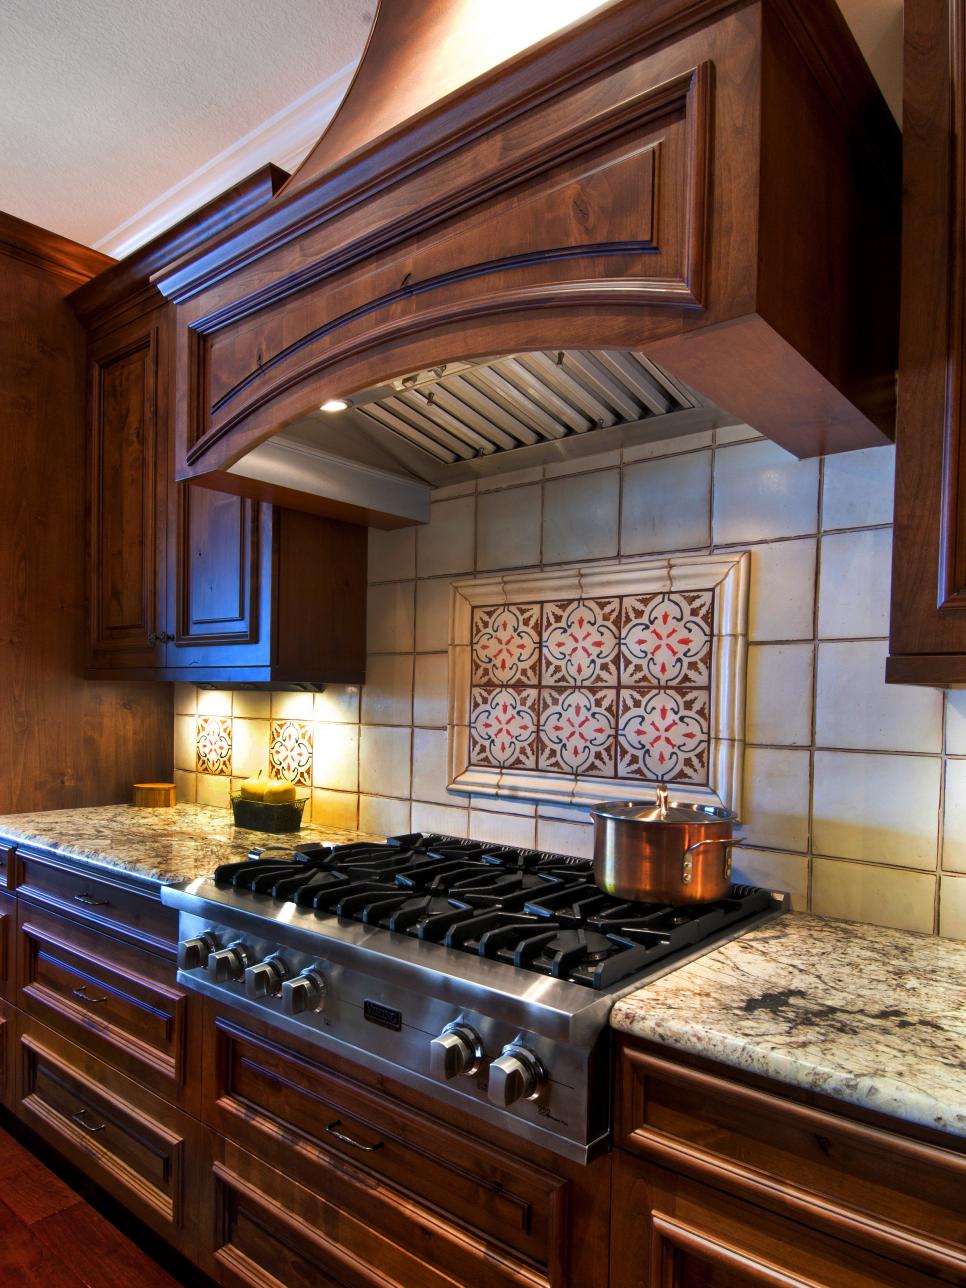
One popular DIY option for kitchen backsplashes is ceramic or porcelain tile. These materials are classic, durable, and available in an almost endless range of colors, shapes, and patterns. Subway tile, in particular, is a popular choice due to its timeless appeal and ease of installation. Many DIYers opt for adhesive tile mats, which make it possible to apply tiles directly onto the wall without messy mortar. Another great tile option is mosaic tiles, which come in small sheets and can be easier to work with in intricate spaces. For those willing to put in extra effort, hand-painting ceramic tiles or creating a custom pattern with mixed tiles can result in a one-of-a-kind backsplash that feels uniquely personal.
Peel-and-stick tiles are another excellent option for a DIY backsplash, especially for renters or those looking for a quick, temporary solution. These self-adhesive tiles come in various materials, including vinyl, metal, and even thin stone, providing a flexible and affordable alternative to traditional tiles. Peel-and-stick tiles are easy to cut with scissors or a utility knife, making them perfect for fitting around outlets or corners. They are also water-resistant, easy to clean, and can often mimic the look of real tile or other materials like wood and brick. This DIY approach requires minimal tools and can be done in just a few hours, making it ideal for beginners or those with limited time.
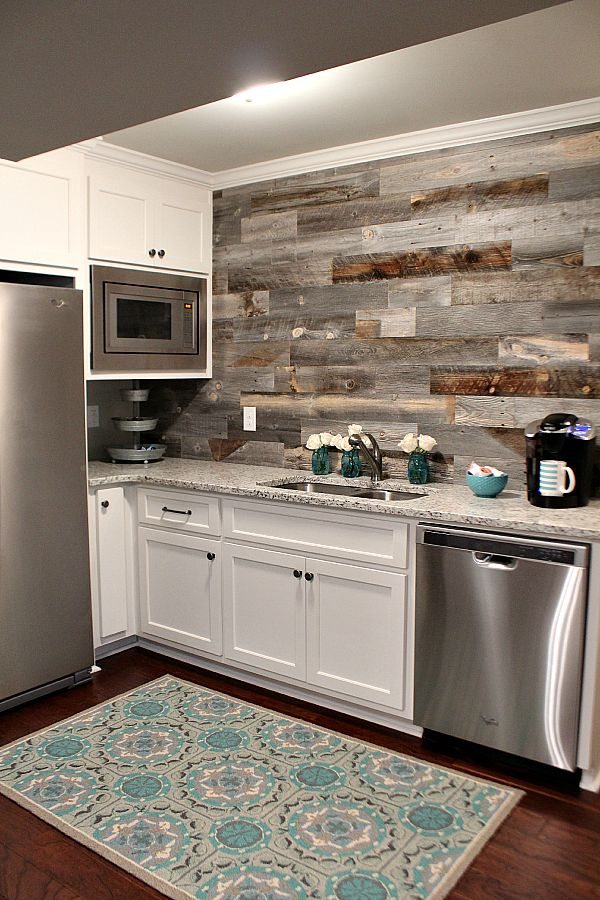
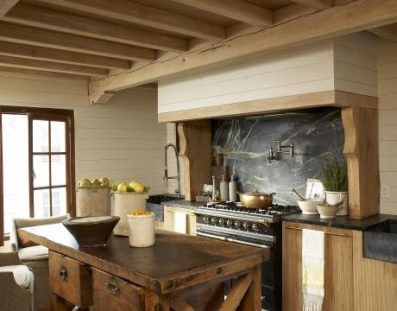
For a rustic or farmhouse-style kitchen, reclaimed wood can make for a charming and distinctive backsplash. Reclaimed wood has gained popularity in recent years due to its environmental benefits and aesthetic appeal. It can be sourced from pallets, old furniture, or wood salvaged from other projects. After cleaning and treating the wood, it can be arranged in various patterns, like horizontal planks or herringbone. Since wood is not naturally water-resistant, sealing it with a protective finish is essential to prevent moisture damage. Reclaimed wood backsplashes are relatively simple to install and can add warmth and texture to the kitchen, creating a cozy, lived-in feel.
For a modern, industrial-inspired kitchen, metal backsplashes can be a striking DIY choice. Materials like stainless steel, copper, or tin ceiling tiles offer a sleek, reflective surface that can make a kitchen feel brighter and more spacious. Stainless steel sheets can be cut to fit the backsplash area and adhered to the wall with construction adhesive, making installation straightforward. Copper and tin ceiling tiles add a vintage or industrial look and are available in various patterns. Metal backsplashes are durable, easy to clean, and resistant to heat, making them particularly well-suited for areas behind the stove.
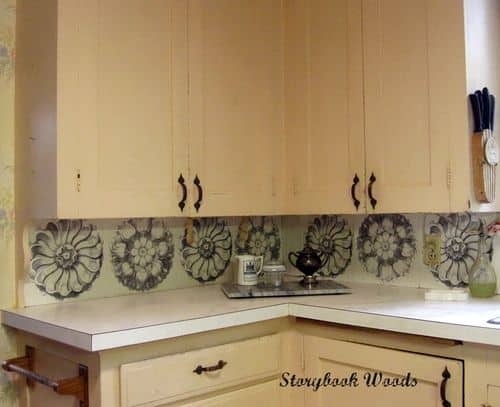
Another creative DIY backsplash option is using paint or stencils to create a custom design directly on the wall. This is an excellent approach for those who want something highly personalized, as it allows you to experiment with different colors, patterns, and textures. Stenciling offers the chance to mimic intricate tile designs without the cost or commitment of actual tiles. For a high-end look, metallic or high-gloss paints can be used to add dimension and visual interest. While painted backsplashes may require occasional touch-ups, they are easy to refresh or repaint entirely if you ever decide to change the look.

Mirror tiles or mirrored glass backsplashes can be a unique addition to a small kitchen, as they reflect light and make the space appear larger. This is a more unconventional choice for a backsplash, but it can add a touch of glamor and modernity. Mirror tiles can be installed in the same way as ceramic tiles, and for those concerned about cleanliness, mirrored glass is generally easy to wipe down with a glass cleaner. The reflective surface can also showcase nearby elements, such as plants or colorful dishware, creating visual interest in the kitchen.
Chalkboard paint is another fun DIY backsplash idea that adds both functionality and creativity to a kitchen space. By painting the backsplash area with chalkboard paint, you create a surface that can be written or drawn on. This is ideal for families who want a place to leave messages, write grocery lists, or even display rotating artwork. Chalkboard paint is relatively affordable and easy to apply, requiring only a couple of coats for a durable finish. The only maintenance required is occasional cleaning with a damp cloth to remove chalk dust, making it a low-maintenance and versatile choice.
Brick veneer is another option for a DIY kitchen backsplash, providing a warm, textured look reminiscent of exposed brick walls. Brick veneer panels are lightweight, easy to install, and much less expensive than actual brick. They can be adhered to the wall with construction adhesive and offer a durable, rustic aesthetic that’s perfect for farmhouse or industrial-style kitchens. Once installed, brick veneer can be left natural or sealed for a glossy finish. For a twist, whitewashing the bricks can give them a softer, vintage look that brightens the space while maintaining texture.
If you’re looking for a truly unique DIY backsplash, consider using cork tiles. Cork is a renewable resource and provides a warm, earthy tone that can add a cozy feel to a kitchen. Cork tiles can be cut to fit and installed with adhesive, making them a straightforward option. They also have the added benefit of being pin-friendly, which can be useful for pinning up recipes, shopping lists, or notes. Although cork is not naturally water-resistant, it can be sealed to make it more durable and moisture-resistant.
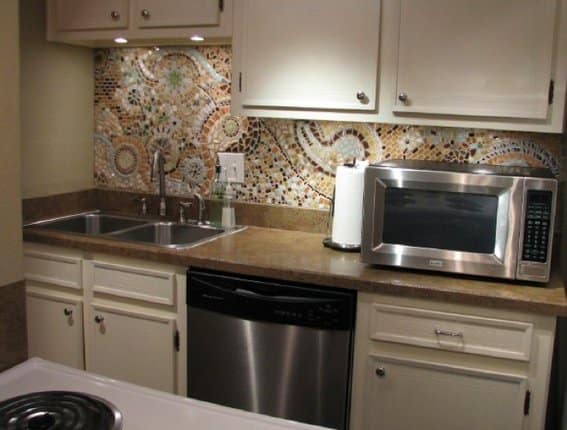
For a more eclectic or artistic look, a mosaic backsplash made from broken tiles or colored glass pieces can be a creative DIY project. This type of backsplash is highly customizable, as you can use tiles of various colors, shapes, and textures to create a unique design. Mosaics can be as simple or complex as desired, ranging from random arrangements to planned images or patterns. Applying grout between the pieces completes the look and secures the mosaic in place. While time-intensive, a mosaic backsplash can be a stunning focal point that adds personality to any kitchen.
For DIYers who want a textured backsplash without committing to real tile, beadboard panels are a great alternative. Beadboard, often used in cottage and coastal-style kitchens, adds a clean, classic look to the backsplash area. Beadboard panels can be cut to fit and adhered to the wall with adhesive. They can be painted any color to match your kitchen’s aesthetic, and for extra durability, they can be coated with a sealant to resist moisture. This simple DIY approach provides a timeless look and pairs well with farmhouse or traditional kitchen designs.
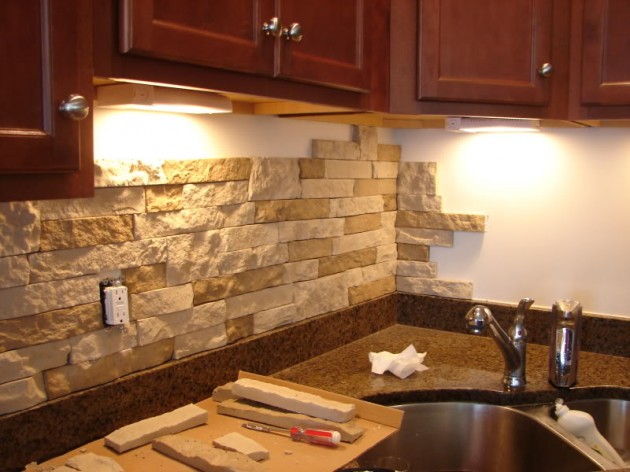
Wallpaper has made a comeback as a stylish option for kitchen backsplashes. With advancements in wallpaper materials, many designs are now water-resistant and durable enough for kitchen use. Peel-and-stick wallpaper is especially easy to apply and can be removed without damage, making it ideal for renters. This approach offers virtually limitless design options, from floral patterns to geometric shapes. For added durability, the wallpaper can be covered with a clear acrylic sheet to protect it from splashes and stains, giving it the appearance of a glass-covered tile.
For a quick and affordable DIY backsplash, using contact paper can give the illusion of a real tile or marble surface. Contact paper is self-adhesive and comes in a range of patterns that mimic materials like marble, subway tile, or wood. It’s easy to apply and cut to fit the backsplash area, making it an ideal choice for temporary or low-commitment projects. While not as durable as real materials, contact paper can be an excellent way to achieve a trendy look on a budget, especially if you’re planning a short-term update.
Glass backsplash panels offer a sleek and modern look and can be a relatively simple DIY project. Large sheets of tempered glass can be cut to size and installed over a painted or wallpapered wall to add color and shine. Glass panels are easy to clean and highly resistant to moisture and heat, making them ideal for kitchens. With a wide variety of glass options, from clear to frosted or colored, glass backsplashes offer versatility in design while providing a smooth, low-maintenance surface.
For a quirky, vintage-inspired backsplash, consider using old maps, newspaper clippings, or book pages covered with clear acrylic sheets. This DIY approach allows for endless personalization and can be a conversation starter in the kitchen. The sheets protect the paper from moisture, keeping it intact and easy to clean. This idea works well for those who want a unique, low-cost backsplash with a nostalgic or whimsical feel. The paper can be easily swapped out if you ever want to change the look, making this an excellent option for those who love to update their decor frequently.
Common Mistakes to Avoid
Not Measuring Properly: Accurate measurements are crucial for a successful backsplash installation. Incorrect measurements can lead to gaps or poorly fitted tiles, especially around outlets and corners.
Using the Wrong Adhesive: Certain materials require specific adhesives. For instance, peel-and-stick backsplashes should not be installed over textured walls, and wood backsplashes need proper sealing to prevent moisture damage.
Skipping Surface Preparation: Cleaning and priming the wall is essential for proper adhesion. Dust, grease, or moisture on the surface can prevent tiles or adhesives from sticking properly.
Neglecting Grout Sealing: For tile backsplashes, sealing the grout is essential to prevent water absorption, which can lead to mold and discoloration over time.
Ignoring Wall Texture: Some DIY materials, like peel-and-stick tiles, may not adhere well to textured walls. Sanding or priming the wall may be necessary for better adhesion.
Not Accounting for Future Removal: If you are a renter or planning for a temporary backsplash, ensure the materials you choose are easy to remove without damaging the wall.
What are the easiest materials for a DIY backsplash?
Peel-and-stick tiles, wallpaper, and contact paper are among the easiest materials to work with for a DIY backsplash. They require minimal tools, are typically pre-adhesive, and can be cut to size easily. These materials are excellent for beginners and can be removed without damage, making them ideal for renters.
Can I install a backsplash over an existing one?
Yes, it’s possible to install a new backsplash over an old one, provided the existing backsplash is in good condition and properly cleaned. Some DIYers choose to apply peel-and-stick tiles over old tiles, while others may opt to use adhesive mats for ceramic or mosaic tiles. Make sure to account for the added thickness, which may affect countertop alignment.
How do I keep my DIY backsplash clean?
Most DIY backsplash materials are easy to clean with warm, soapy water. For tiles, using a non-abrasive cleaner is recommended, and for painted or wallpapered backsplashes, wiping gently with a damp cloth should be sufficient. Sealing grout lines and using a protective finish on materials like wood can help prevent stains and make cleaning easier.
Can I use wood as a kitchen backsplash?
Yes, wood can make a great kitchen backsplash if it’s properly sealed to resist moisture. Reclaimed wood, shiplap, or beadboard are popular choices. Applying a waterproof sealant is essential to protect the wood from spills and humidity, ensuring it remains durable and easy to clean.
Are there budget-friendly options for a DIY backsplash?
Absolutely. Peel-and-stick tiles, beadboard panels, and contact paper are all affordable and visually appealing options. Reclaimed wood, chalkboard paint, and wallpaper can also be used creatively without breaking the bank. These materials offer flexibility for updating the backsplash on a budget.
How do I choose the best style for my kitchen backsplash?
Consider the overall theme of your kitchen when selecting a backsplash. For a modern kitchen, glass or metal might be suitable, while wood or beadboard pairs well with rustic or farmhouse styles. Personal preference, durability, and the ease of cleaning should also play a role in your decision. A backsplash that complements your countertops and cabinetry can help tie the whole look together.
Best images about Kitchen ideas

Related Posts:
- Kitchen Backsplash Wallpaper Ideas
- How To Make A Cheap Kitchen Backsplash
- Cost Of Installing Backsplash In Kitchen
- Kitchen Backsplash With Black Cabinets
- Lowes Kitchen Backsplash Installation
- Kitchen Backsplash Organizers
- How To Put Up A Backsplash In A Kitchen
- Tile Kitchen Backsplash Youtube
- 4 X 4 Kitchen Backsplash Tiles
- Purple Kitchen Backsplash Tiles
