If you’re experiencing a leaky Delta kitchen faucet, don’t worry, it’s a common issue that can be easily fixed with a few simple steps. Before we dive in, it’s important to note that fixing a leaky faucet can save you money on your water bill and prevent any potential water damage to your kitchen.
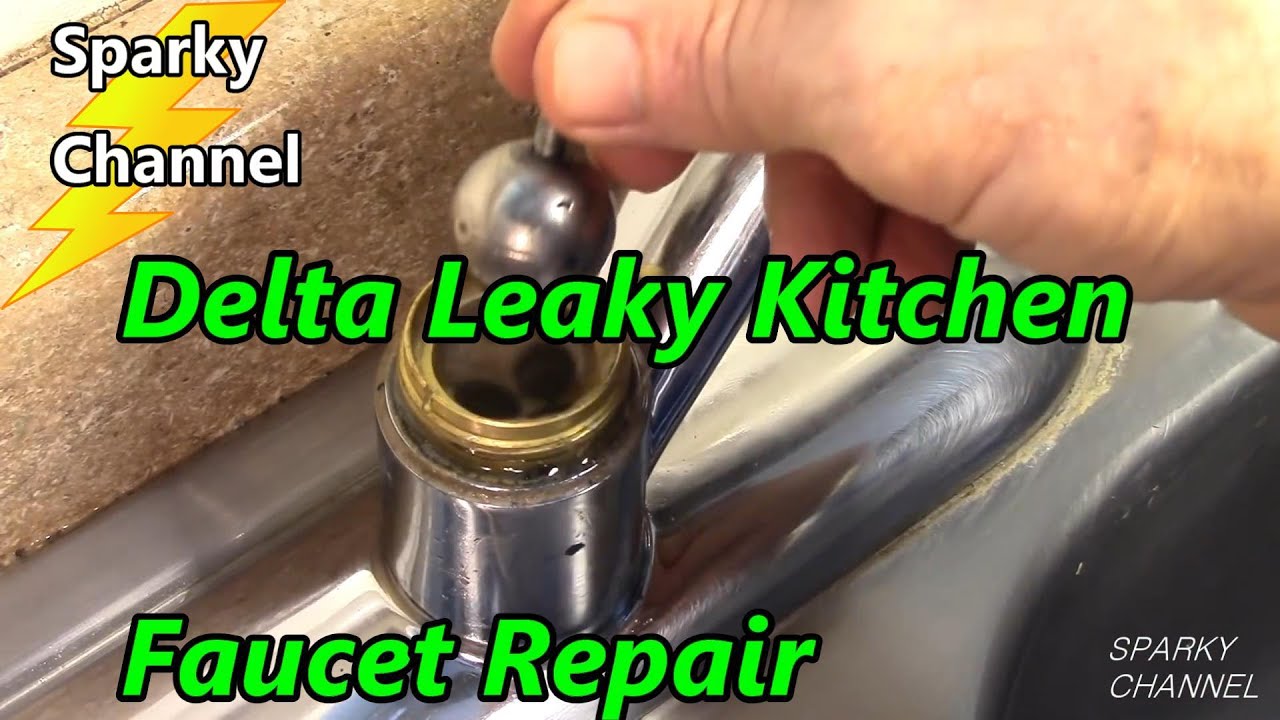
First, you’ll need to identify the source of the leak. Check the faucet’s aerator, O-ring, and gaskets for any signs of wear or damage. The aerator is the screen-like device at the end of the faucet that mixes water with air to create a smooth flow. The O-ring is a rubber gasket that seals the faucet’s cartridge and stem, while the gaskets are found in the faucet’s handle and base.
If you find any damage or wear, you can replace the affected parts with new ones. Delta offers a wide range of replacement parts on their website or at your local hardware store. Make sure to purchase parts that are compatible with your faucet’s model number, which can be found on the faucet’s packaging or under the sink.
:max_bytes(150000):strip_icc()/leaky-faucet-86532727-resized-56a73c153df78cf7729386eb.jpg)
Once you have the necessary parts, follow these steps to fix your leaky Delta kitchen faucet:
- Turn off the water supply to the faucet by locating the shut-off valves under the sink and turning them clockwise.
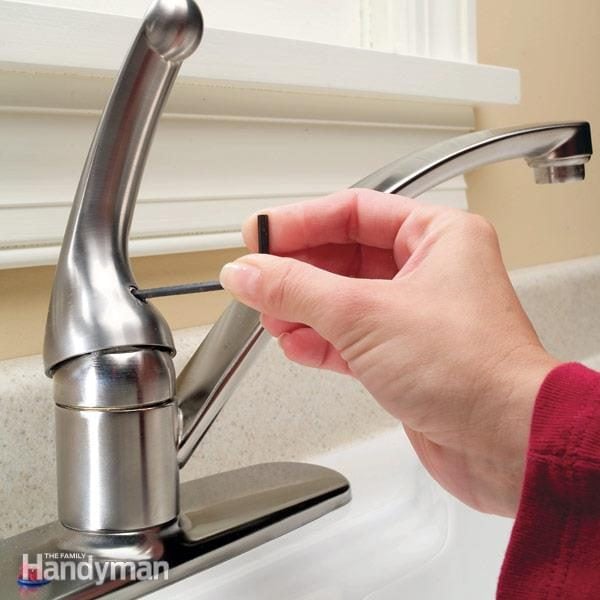
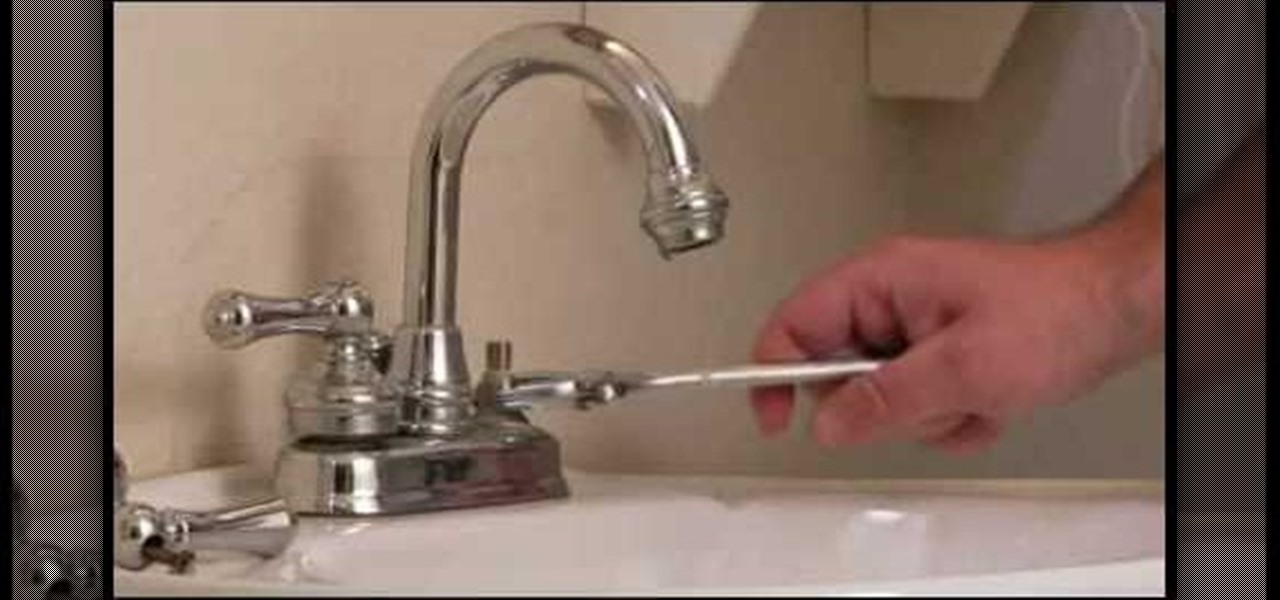
- Disassemble the faucet by removing the handle and any decorative caps to access the cartridge and stem.
- Locate the leaky component and replace it with the new part. For example, if the O-ring is damaged, replace it with a new one.
- Reassemble the faucet in the reverse order of how you disassembled it, making sure to tighten all parts securely.
- Turn the water supply back on and test the faucet to ensure the leak is fixed.
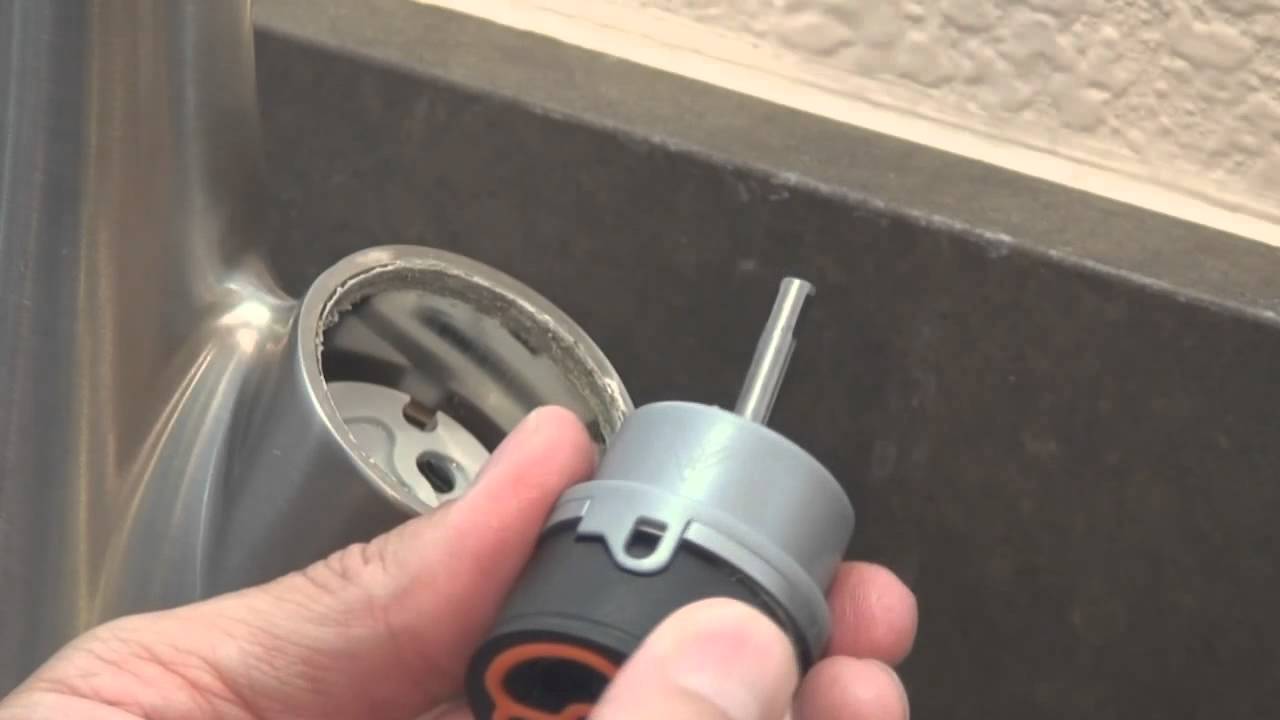
If the leak persists, you may need to replace the faucet’s cartridge or stem. These parts can be purchased separately or as part of a faucet repair kit. To replace the cartridge, you’ll need to remove the old one and install the new one, making sure to align the cartridge’s grooves with the faucet’s stem. To replace the stem, you’ll need to remove the old one and install the new one, making sure to secure it tightly with the packing nut

You may need to tighten any loose connections or adjust the faucet’s installation. Here are some steps you can follow:
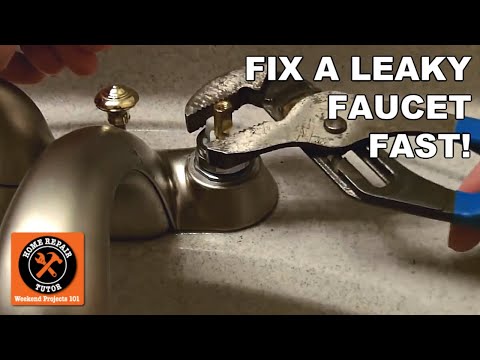
- Check the connections: Make sure all connections between the faucet and the water supply lines, as well as any connections to the sink or countertop, are secure and not loose. Tighten any loose connections using a wrench or pliers.
- Adjust the installation: If the faucet is not level or is not properly aligned with the sink, it can cause leaks. Use a level to ensure the faucet is level and adjust its installation as needed.
- Replace the gaskets: If the gaskets around the faucet’s handle or base are worn out or damaged, replace them with new ones. This can help seal any leaks and prevent water from dripping out.
- Replace the O-ring: If the O-ring around the faucet’s stem is damaged or worn out, replace it with a new one. This can help seal the connection between the stem and the cartridge, preventing leaks.
- Replace the cartridge: If none of the above steps fix the leak, you may need to replace the faucet’s cartridge. This can be a more involved process, so it’s recommended to consult the manufacturer’s instructions or seek professional help.
Remember to turn off the water supply to the faucet before attempting any repairs, and be careful not to touch any electrical components if your faucet has an electronic component. With these steps, you should be able to fix your leaky Delta kitchen faucet and get it working properly again.
Delta Kitchen Sink Faucets Repairs : How To Fix A Leaky Bathroom Sink Faucet MyCoffeepot.Org

How To Change Delta Kitchen Faucet Cartridge : A bad faucet should not be used in the kitchen
Delta Bathroom Faucet Leaks-A Simple Fix in Less Than 5 Minutes — by Home Repair Tutor – YouTube
Delta Kitchen Faucet Leak Repair (Single Handle) – YouTube
Fixing a Dripping Delta Single Handle Kitchen Faucet

How to Fix and repair a dripping faucet « Construction & Repair :: WonderHowTo
Related Posts:
- Old Style Kitchen Sink Faucets
- Moen Kitchen Faucet Installation Guide
- Brizo Kitchen Faucet Parts
- Pegasus Kitchen Faucet Repair
- Stainless Steel Kitchen Faucet With Soap Dispenser
- Splashless Kitchen Faucets
- How To Repair A Moen Single Handle Kitchen Faucet
- My Kitchen Faucet Is Leaking At The Base
- Gooseneck Kitchen Faucet With Sprayer
- Installing New Kitchen Sink Faucet