Installing a backsplash is an excellent way to enhance the aesthetics and functionality of your kitchen. While traditional tile backsplashes require grouting and adhesives, self-adhesive backsplashes offer a convenient and straightforward alternative. In this comprehensive guide, we’ll walk you through the step-by-step process of installing a self-adhesive kitchen backsplash, from preparation to finishing touches.
Preparing the Surface
Before installing a self-adhesive kitchen backsplash, it’s crucial to prepare the surface properly. Start by cleaning the wall thoroughly to remove any dirt, grease, or residue that may interfere with adhesion. Use a mild detergent and water solution or a degreaser to ensure a clean and smooth surface.
Once the wall is clean and dry, measure the area where you’ll be installing the backsplash and mark it with a pencil or tape. Use a level to ensure that the lines are straight and even, as this will guide the placement of the backsplash tiles.
If your kitchen has existing tiles or a backsplash, consider removing them before installing the self-adhesive backsplash for better adhesion and a smoother finish. Use a putty knife or scraper to remove any old adhesive or grout, and sand the surface lightly to create a rough texture for better adhesion.

Applying the Adhesive Backsplash
Once the surface is prepared, it’s time to apply the self-adhesive backsplash. Start by peeling off the backing of the first tile or sheet, revealing the adhesive side. Align the tile or sheet with the marked guidelines on the wall and press it firmly into place, starting from the bottom and working your way up.
Use a roller or a flat tool to smooth out any air bubbles and ensure proper adhesion of the backsplash tiles. Repeat this process for each tile or sheet, ensuring that they are evenly spaced and aligned with the guidelines on the wall.
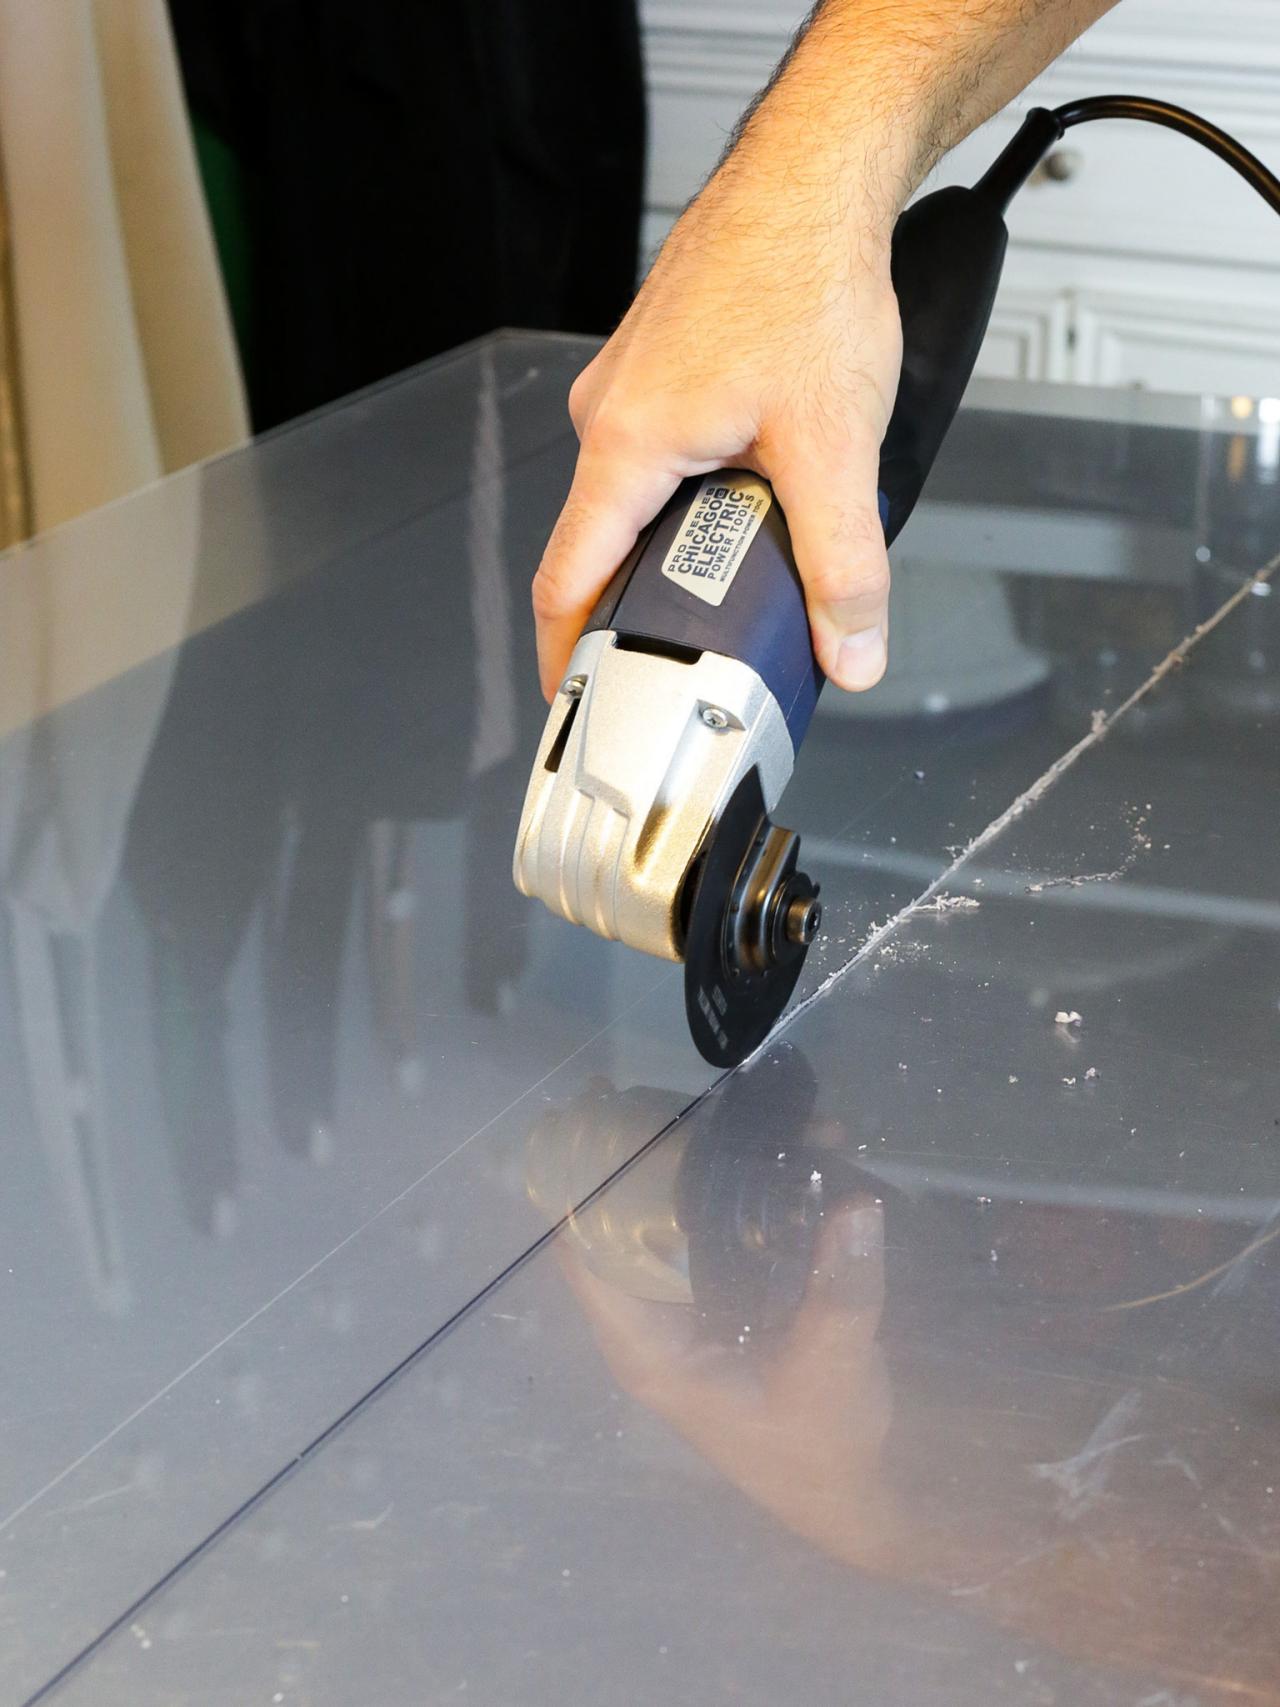
If your self-adhesive backsplash comes in sheets, you may need to cut them to fit around outlets, switches, or corners. Use a utility knife or scissors to trim the sheets to the desired size, and make precise cuts for a seamless and professional-looking finish.
Finishing Touches
Once all the tiles or sheets are in place, it’s time to add the finishing touches to your self-adhesive kitchen backsplash. Use silicone caulk to seal the edges and corners of the backsplash, creating a watertight seal and preventing moisture from seeping behind the tiles.
If your backsplash has a decorative border or trim, apply it to the edges of the backsplash for a polished and cohesive look. Use a level to ensure that the border or trim is straight and even, and press it firmly into place to secure it to the wall.
Finally, wipe down the entire backsplash with a clean, damp cloth to remove any adhesive residue or smudges. Allow the backsplash to dry completely before using the kitchen or applying any additional sealant or protective coating.

Common Mistakes to Avoid
While installing a self-adhesive kitchen backsplash is relatively straightforward, there are a few common mistakes to avoid for a successful installation:
Skipping Surface Preparation: Neglecting to clean and prepare the wall surface properly can result in poor adhesion and a less durable backsplash. Take the time to clean the wall thoroughly and remove any existing tiles or adhesive for optimal results.
Not Using a Level: Failing to use a level to ensure straight and even placement of the backsplash tiles can result in a crooked or uneven installation. Take the time to measure and mark guidelines on the wall before applying the tiles to ensure a professional-looking finish.
Overlooking Trimming and Cutting: Neglecting to trim or cut the backsplash tiles to fit around outlets, switches, or corners can result in gaps or uneven edges. Take precise measurements and use a utility knife or scissors to make clean cuts for a seamless finish.
Skipping Sealing and Finishing: Not sealing the edges and corners of the backsplash with silicone caulk can leave gaps where moisture can penetrate, leading to mold or water damage. Take the time to seal the backsplash properly to ensure a watertight seal and long-lasting durability.
Can I install a self-adhesive kitchen backsplash over existing tiles?
Yes, you can install a self-adhesive kitchen backsplash over existing tiles, as long as the surface is clean, smooth, and free of any loose tiles or adhesive. However, keep in mind that the texture of the existing tiles may affect the adhesion of the self-adhesive backsplash, so proper surface preparation is essential.
How long does it take to install a self-adhesive kitchen backsplash?
The time it takes to install a self-adhesive kitchen backsplash depends on various factors, including the size of the area, the number of tiles or sheets, and the complexity of the installation. On average, it can take a few hours to a day to complete the installation process.
Can I remove and reposition self-adhesive backsplash tiles?
While self-adhesive backsplash tiles are designed to adhere firmly to the wall, they can be removed and repositioned if necessary. Use caution when removing the tiles to avoid damaging the wall surface or the adhesive backing of the tiles.
Can I install a self-adhesive kitchen backsplash in a rental property?
Yes, self-adhesive kitchen backsplashes are a great option for rental properties, as they are easy to install and remove without causing damage to the wall surface. Be sure to check with your landlord or property manager before making any modifications to the kitchen.
How do I clean and maintain a self-adhesive kitchen backsplash?
To clean and maintain a self-adhesive kitchen backsplash, simply wipe it down regularly with a mild detergent and water solution or a non-abrasive household cleaner. Avoid using harsh chemicals or abrasive cleaning pads, as they can damage the surface of the tiles.
Kitchen on Pinterest Countertops, Contemporary kitchen cabinets and

Diy Ideas For Kitchen Makeover 11 Diy kitchen backsplash, Diy kitchen, Kitchen design

Kitchen Backsplash Adhesive, Popular Inspiraton!

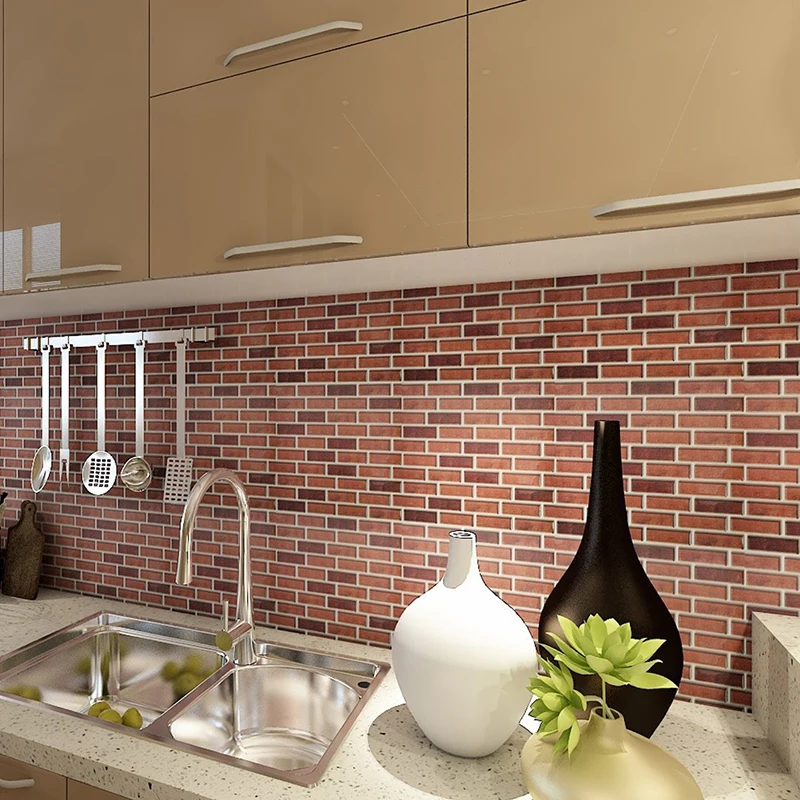
Self-Adhesive Backsplashes
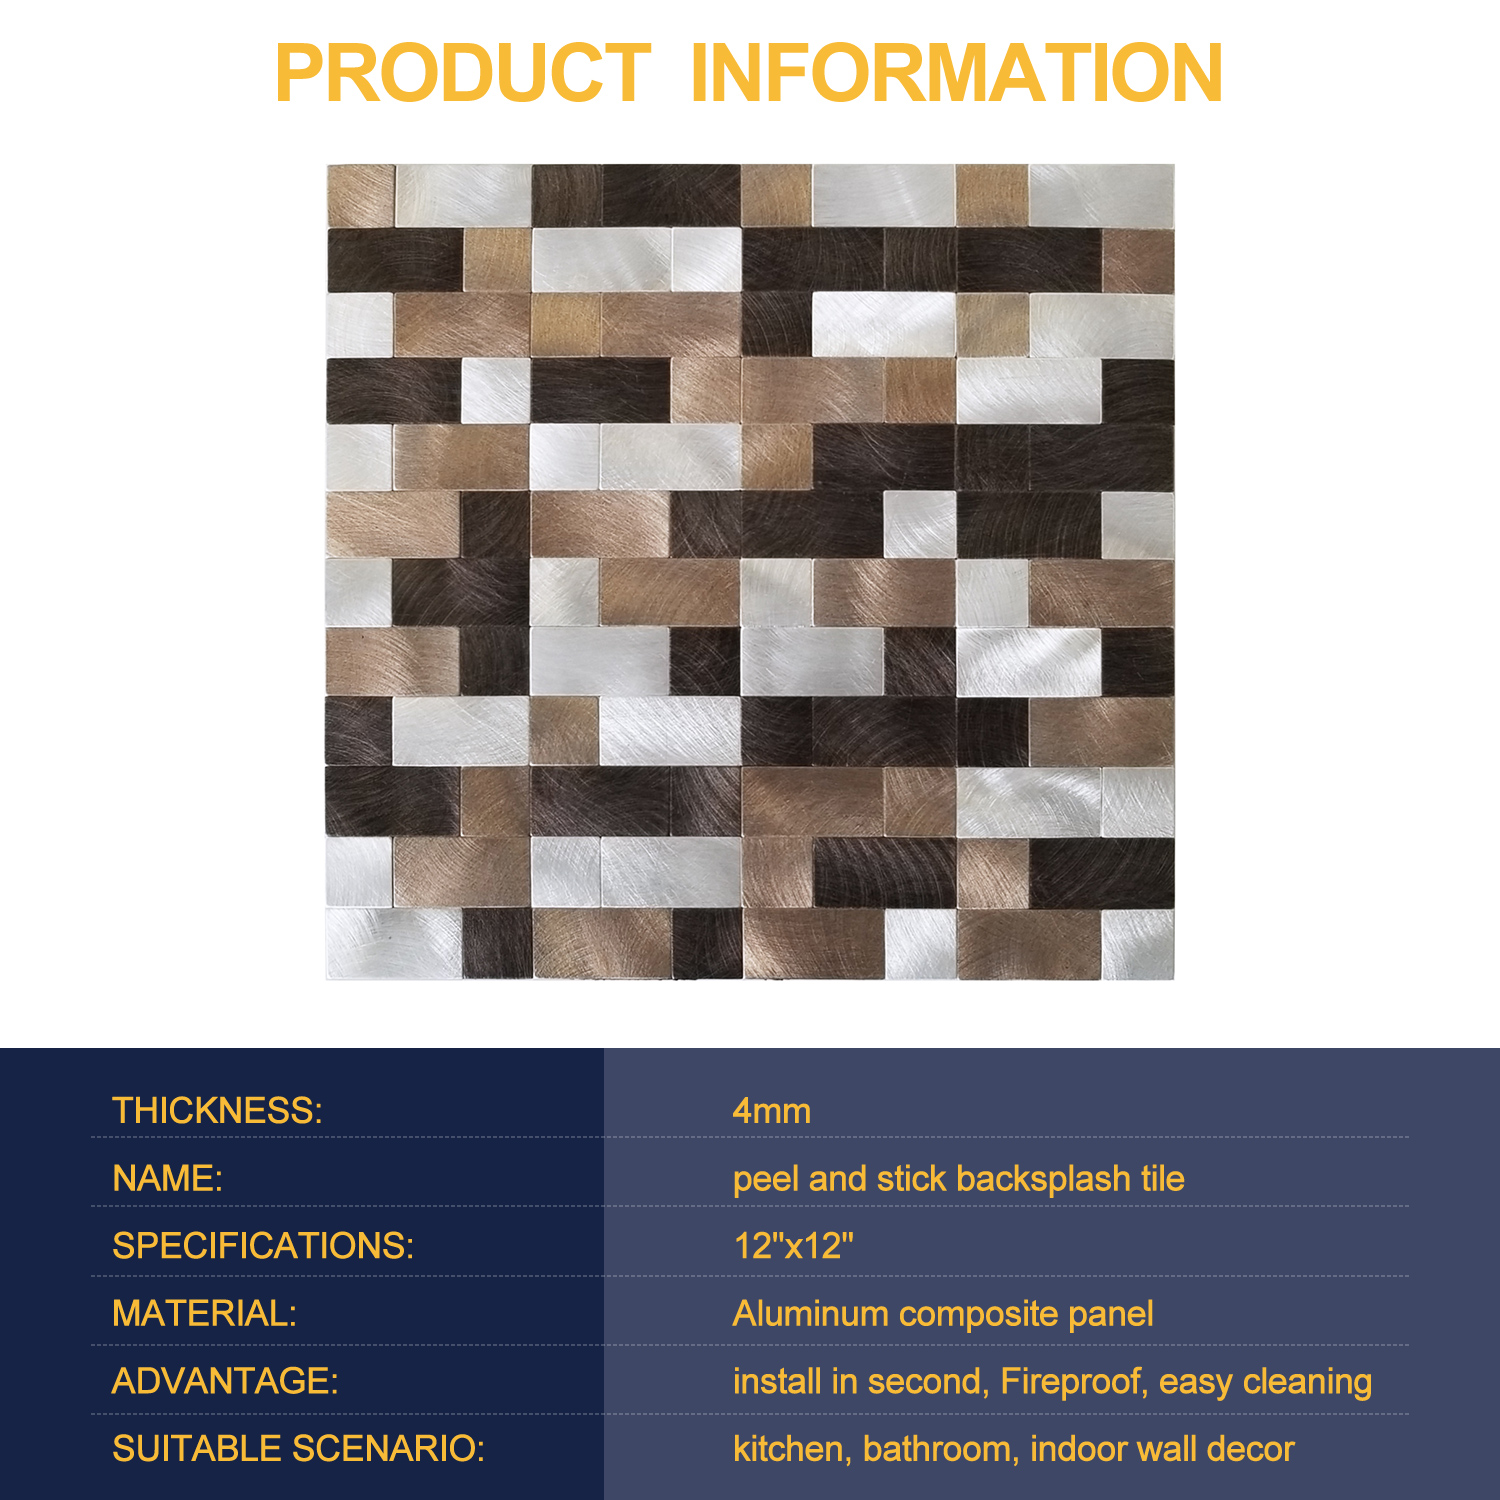
12×12” 5pcs Peel and Stick Kitchen Backsplash Tile Self Adhesive Kitchen Wall eBay
Kitchen Makeover Part 2: Installing Backsplash (Easy Peel & Stick Glass Tiles) – YouTube

Acoustic Wall Panel Ceramic Self Adhesive Backsplash Tile Stick Wall Mosaic Wallpaper – Buy
Crystiles Peel and Stick Self-Adhesive Vinyl Wall Tiles, Item# 91010842, 10″ X 10″, Set of 6

Make a Renter-Friendly, Removable DIY Kitchen Backsplash
Related Posts:
- Tile Mural Backsplashes For Kitchens
- Mexican Style Kitchen Backsplash
- Brown Subway Tile Kitchen Backsplash
- Groutless Kitchen Backsplash
- Iridescent Kitchen Backsplash
- Tiling Kitchen Backsplash Corners
- Ceramic Glass Tile Kitchen Backsplash
- One Piece Backsplash For Kitchen
- Installing Tin Backsplash Kitchen
- Kitchen Backsplash Herringbone Pattern