To replace a leaky kitchen faucet, the first step is to gather all the necessary tools and materials. You’ll need a few basic tools, including an adjustable wrench, a pair of pliers, and a screwdriver. Additionally, make sure you have a new faucet ready for installation, along with plumber’s tape, a bucket or towels to catch any water spills, and a cloth to clean up the area. By having all the required tools and materials prepared beforehand, you’ll be ready to proceed with the replacement smoothly and efficiently.

Once you have everything you need, the next step is to remove the old, leaky faucet. Begin by shutting off the water supply to the kitchen faucet. Underneath the sink, locate the valves for both hot and cold water supply lines, and turn them clockwise until they are fully closed. After turning off the water, turn on the faucet handles to drain any remaining water in the lines.
How to Change a Kitchen Faucet : 27 Steps (with Pictures) – Instructables
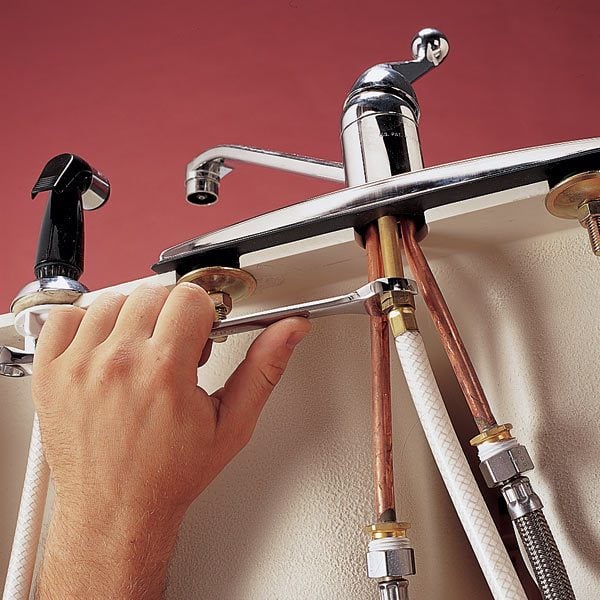
Next, you’ll need to disconnect the supply lines that are connected to the faucet. Use your adjustable wrench to loosen the nuts connecting the supply lines to the faucet’s water inlets. Be prepared for some water to spill out during this step, so have your bucket or towels handy to catch any leaks. Once the supply lines are disconnected, remove any remaining nuts or bolts securing the faucet to the sink. With the fasteners removed, you can now lift the old faucet off the sink, taking care not to damage the surrounding area.
Replace a Sink Sprayer and Hose The Family Handyman
Now that the old faucet is out of the way, it’s time to install the new one. Start by placing a layer of plumber’s tape around the threaded ends of the faucet’s water inlets. This will help create a watertight seal when you connect the supply lines.
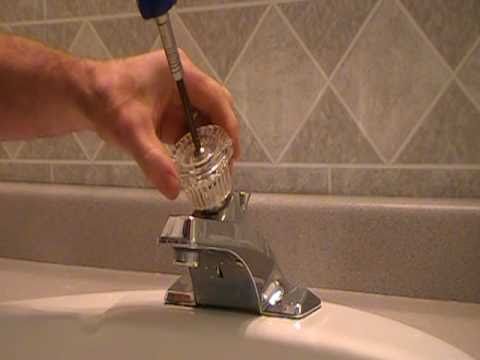
Position the new faucet over the sink’s mounting holes and align it properly. Once it’s in place, secure the faucet by tightening the nuts or bolts provided with the new faucet. Make sure not to overtighten, as it can cause damage to the fixture or the sink.
Next, reconnect the supply lines to the water inlets on the new faucet. Use your adjustable wrench to tighten the nuts, ensuring a snug fit. Take care not to cross-thread the connections, as this can cause leaks.
After connecting the supply lines, turn on the water supply valves underneath the sink. Slowly open the faucet handles to allow water to flow through and check for any leaks. If you notice any leaks, tighten the connections slightly until the leaks stop.
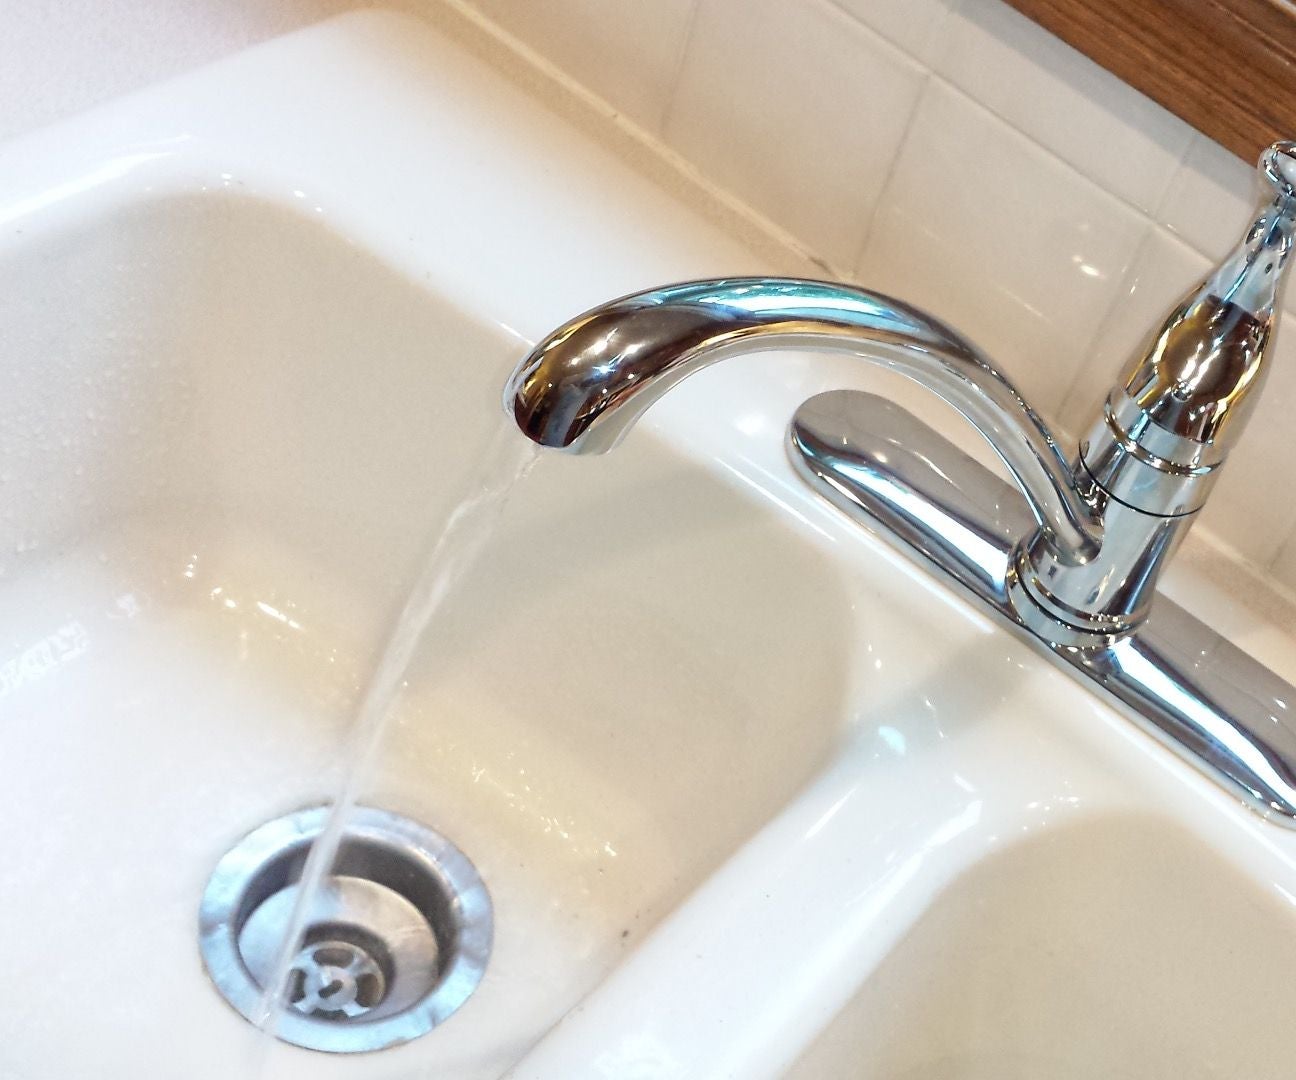
Finally, give the new faucet a test run by turning it on and off a few times to ensure it’s working properly. Clean up any excess water or debris around the area and enjoy your new leak-free kitchen faucet.
By following these steps and taking your time to carefully replace the leaky kitchen faucet, you can successfully complete the task on your own and avoid the need for a plumber.
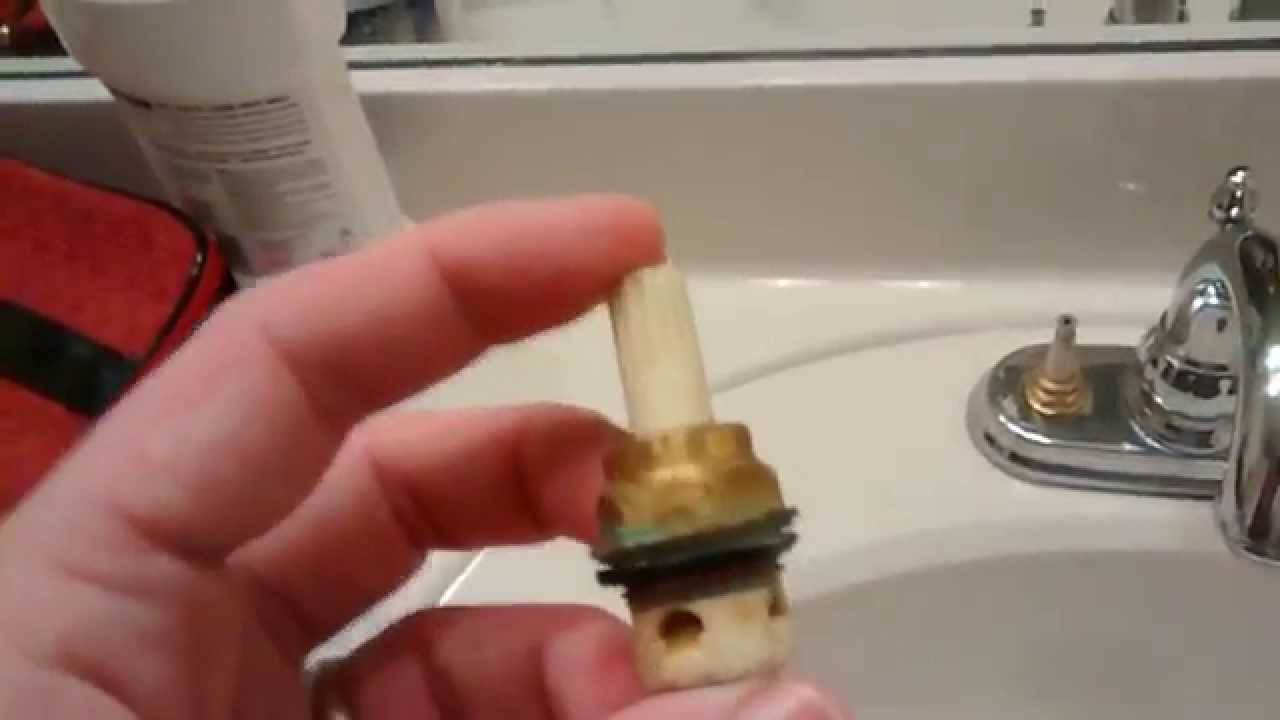
How to replace-repair a leaky moen cartridge in a bathroom set of faucets-single lever.Tips
How to Replace a Kitchen Faucet – Honeybear Lane

How To Replace A Single Handle Kitchen Faucet MyCoffeepot.Org

Fixing a leaky Price Pfister Faucet fast! – YouTube
How to Replace a Kitchen Faucet PlanItDIY

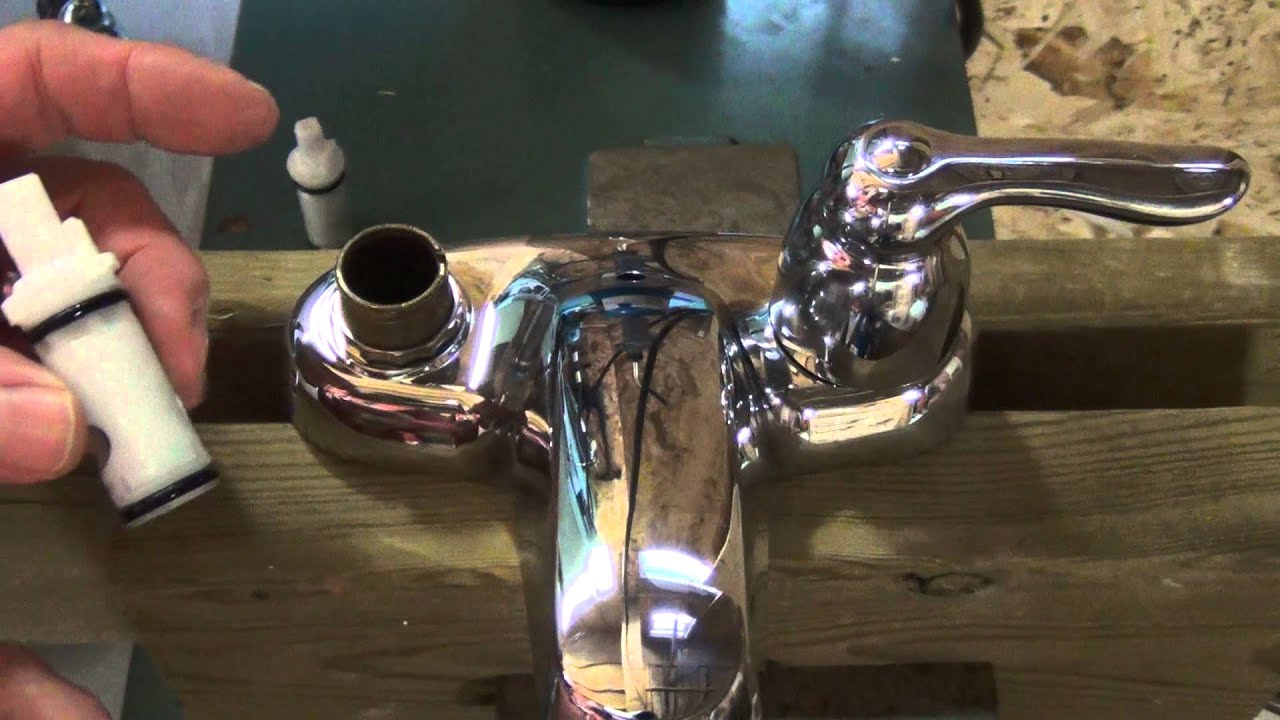
How to repair a set of leaky 2 handle Moen washerless faucets. Easiest faucet repair! Plumbing
How to Fix a Leaky Faucet The Family Handyman

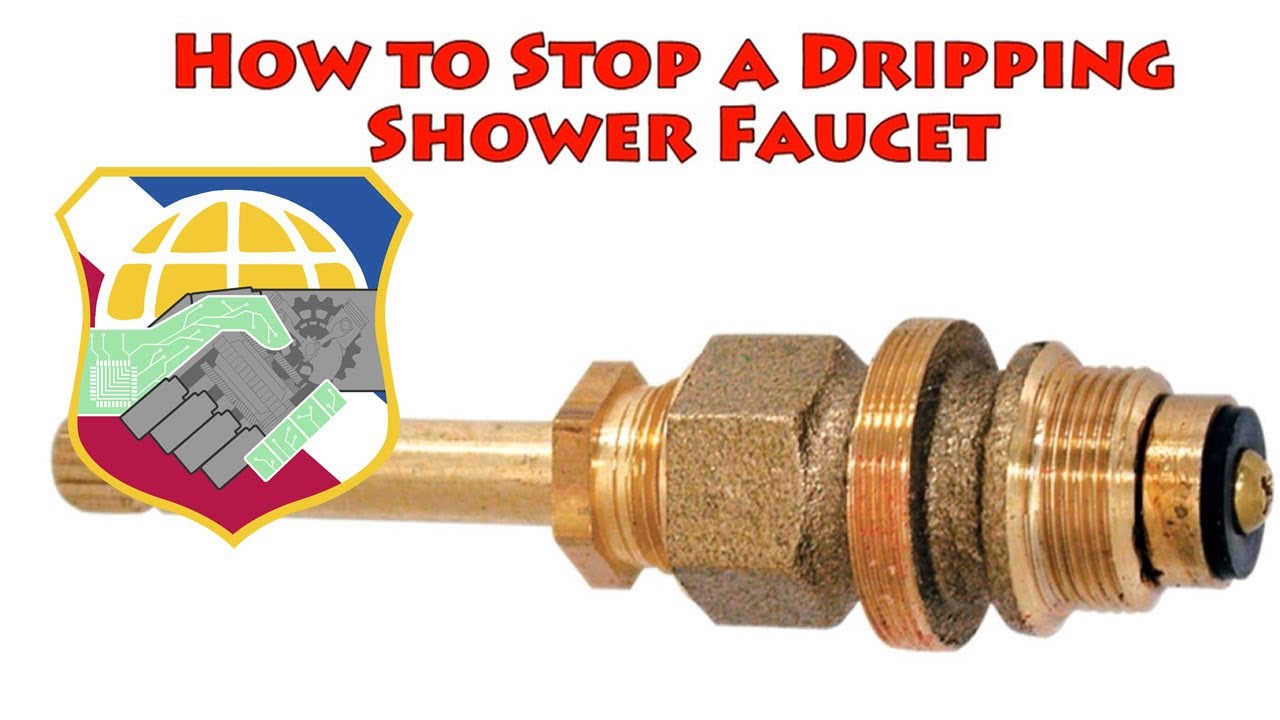
How to Stop a dripping shower faucet – repair leaky bathtub water tap bathroom – YouTube
How To Easily Remove And Replace A Kitchen Faucet
How to Fix a Leaky Kitchen Faucet – DIY and Repair Guides

Replace a Moen Shower Cartridge – Fix Leaky Tub Faucet – YouTube

Related Posts:
- High Arc Kitchen Faucet With Spray
- Old Style Kitchen Sink Faucets
- Moen Kitchen Faucet Installation Guide
- Brizo Kitchen Faucet Parts
- Pegasus Kitchen Faucet Repair
- Stainless Steel Kitchen Faucet With Soap Dispenser
- Splashless Kitchen Faucets
- How To Repair A Moen Single Handle Kitchen Faucet
- My Kitchen Faucet Is Leaking At The Base
- Gooseneck Kitchen Faucet With Sprayer