Choosing the Perfect 18″ X 18″ Kitchen Sink
A kitchen sink is one of the most essential fixtures in any kitchen, serving as a hub for food preparation, dishwashing, and general cleaning tasks. When it comes to selecting the right kitchen sink for your space, size matters. An 18″ x 18″ kitchen sink offers a compact yet functional option that is ideal for smaller kitchens or as a secondary sink in larger spaces. In this comprehensive guide, we’ll explore the benefits of choosing an 18″ x 18″ kitchen sink, discuss the various materials and styles available, offer tips for installation and maintenance, and provide insights into common mistakes to avoid when selecting and installing a kitchen sink of this size.
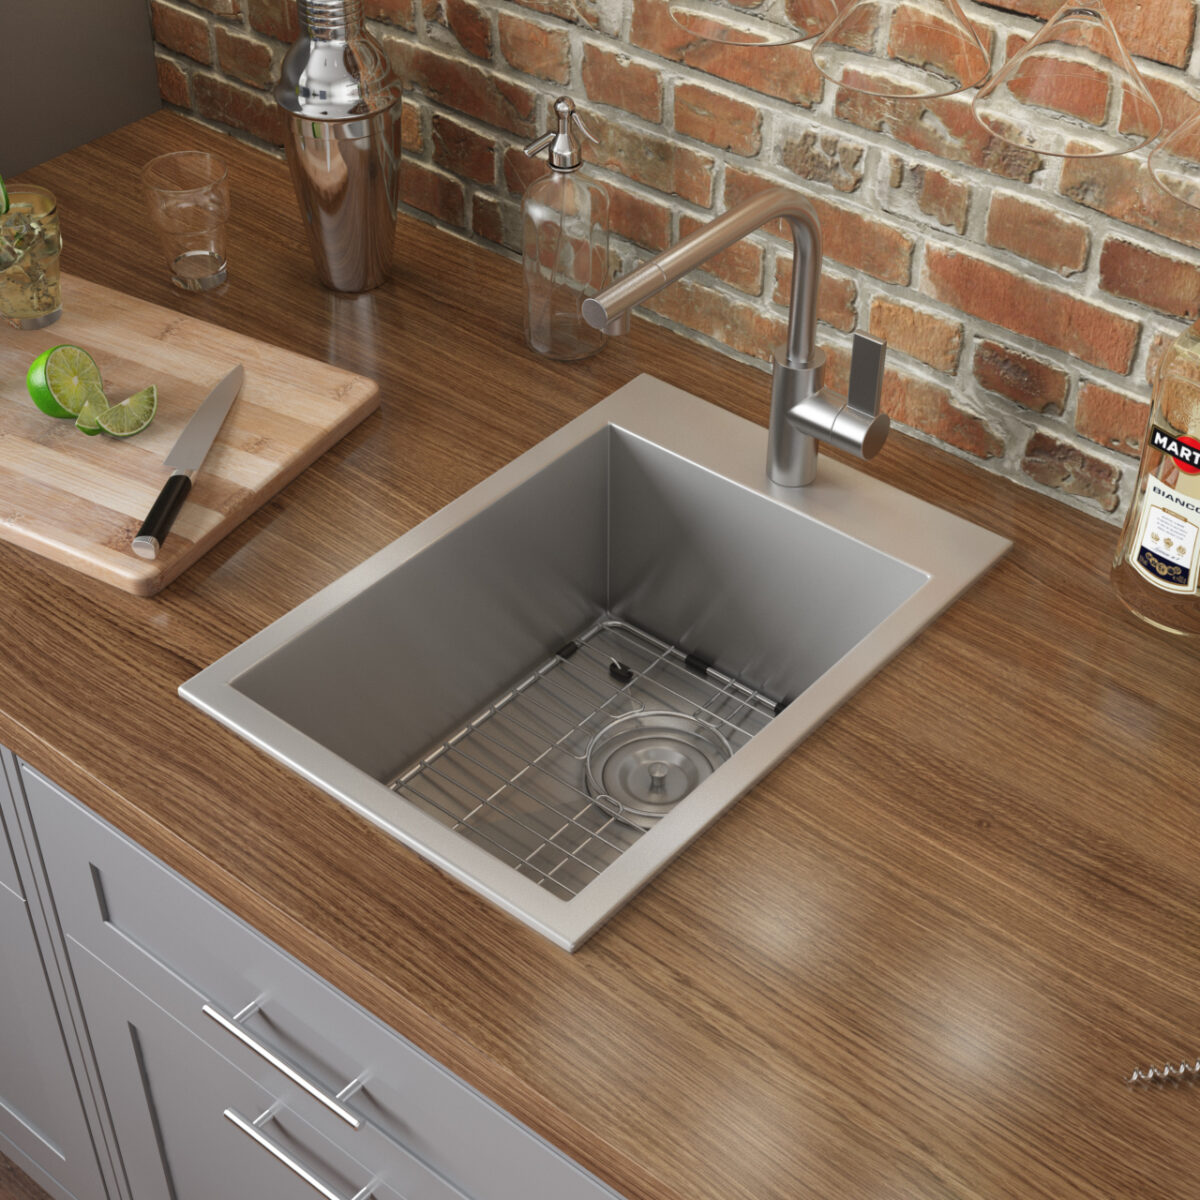
Benefits of an 18″ x 18″ Kitchen Sink
Space-Saving Design: One of the primary benefits of an 18″ x 18″ kitchen sink is its space-saving design. This compact size is perfect for smaller kitchens or areas with limited counter space, allowing you to maximize efficiency without sacrificing functionality. Additionally, an 18″ x 18″ sink can serve as a secondary sink in larger kitchens, providing added convenience and flexibility for food preparation and cleanup tasks.
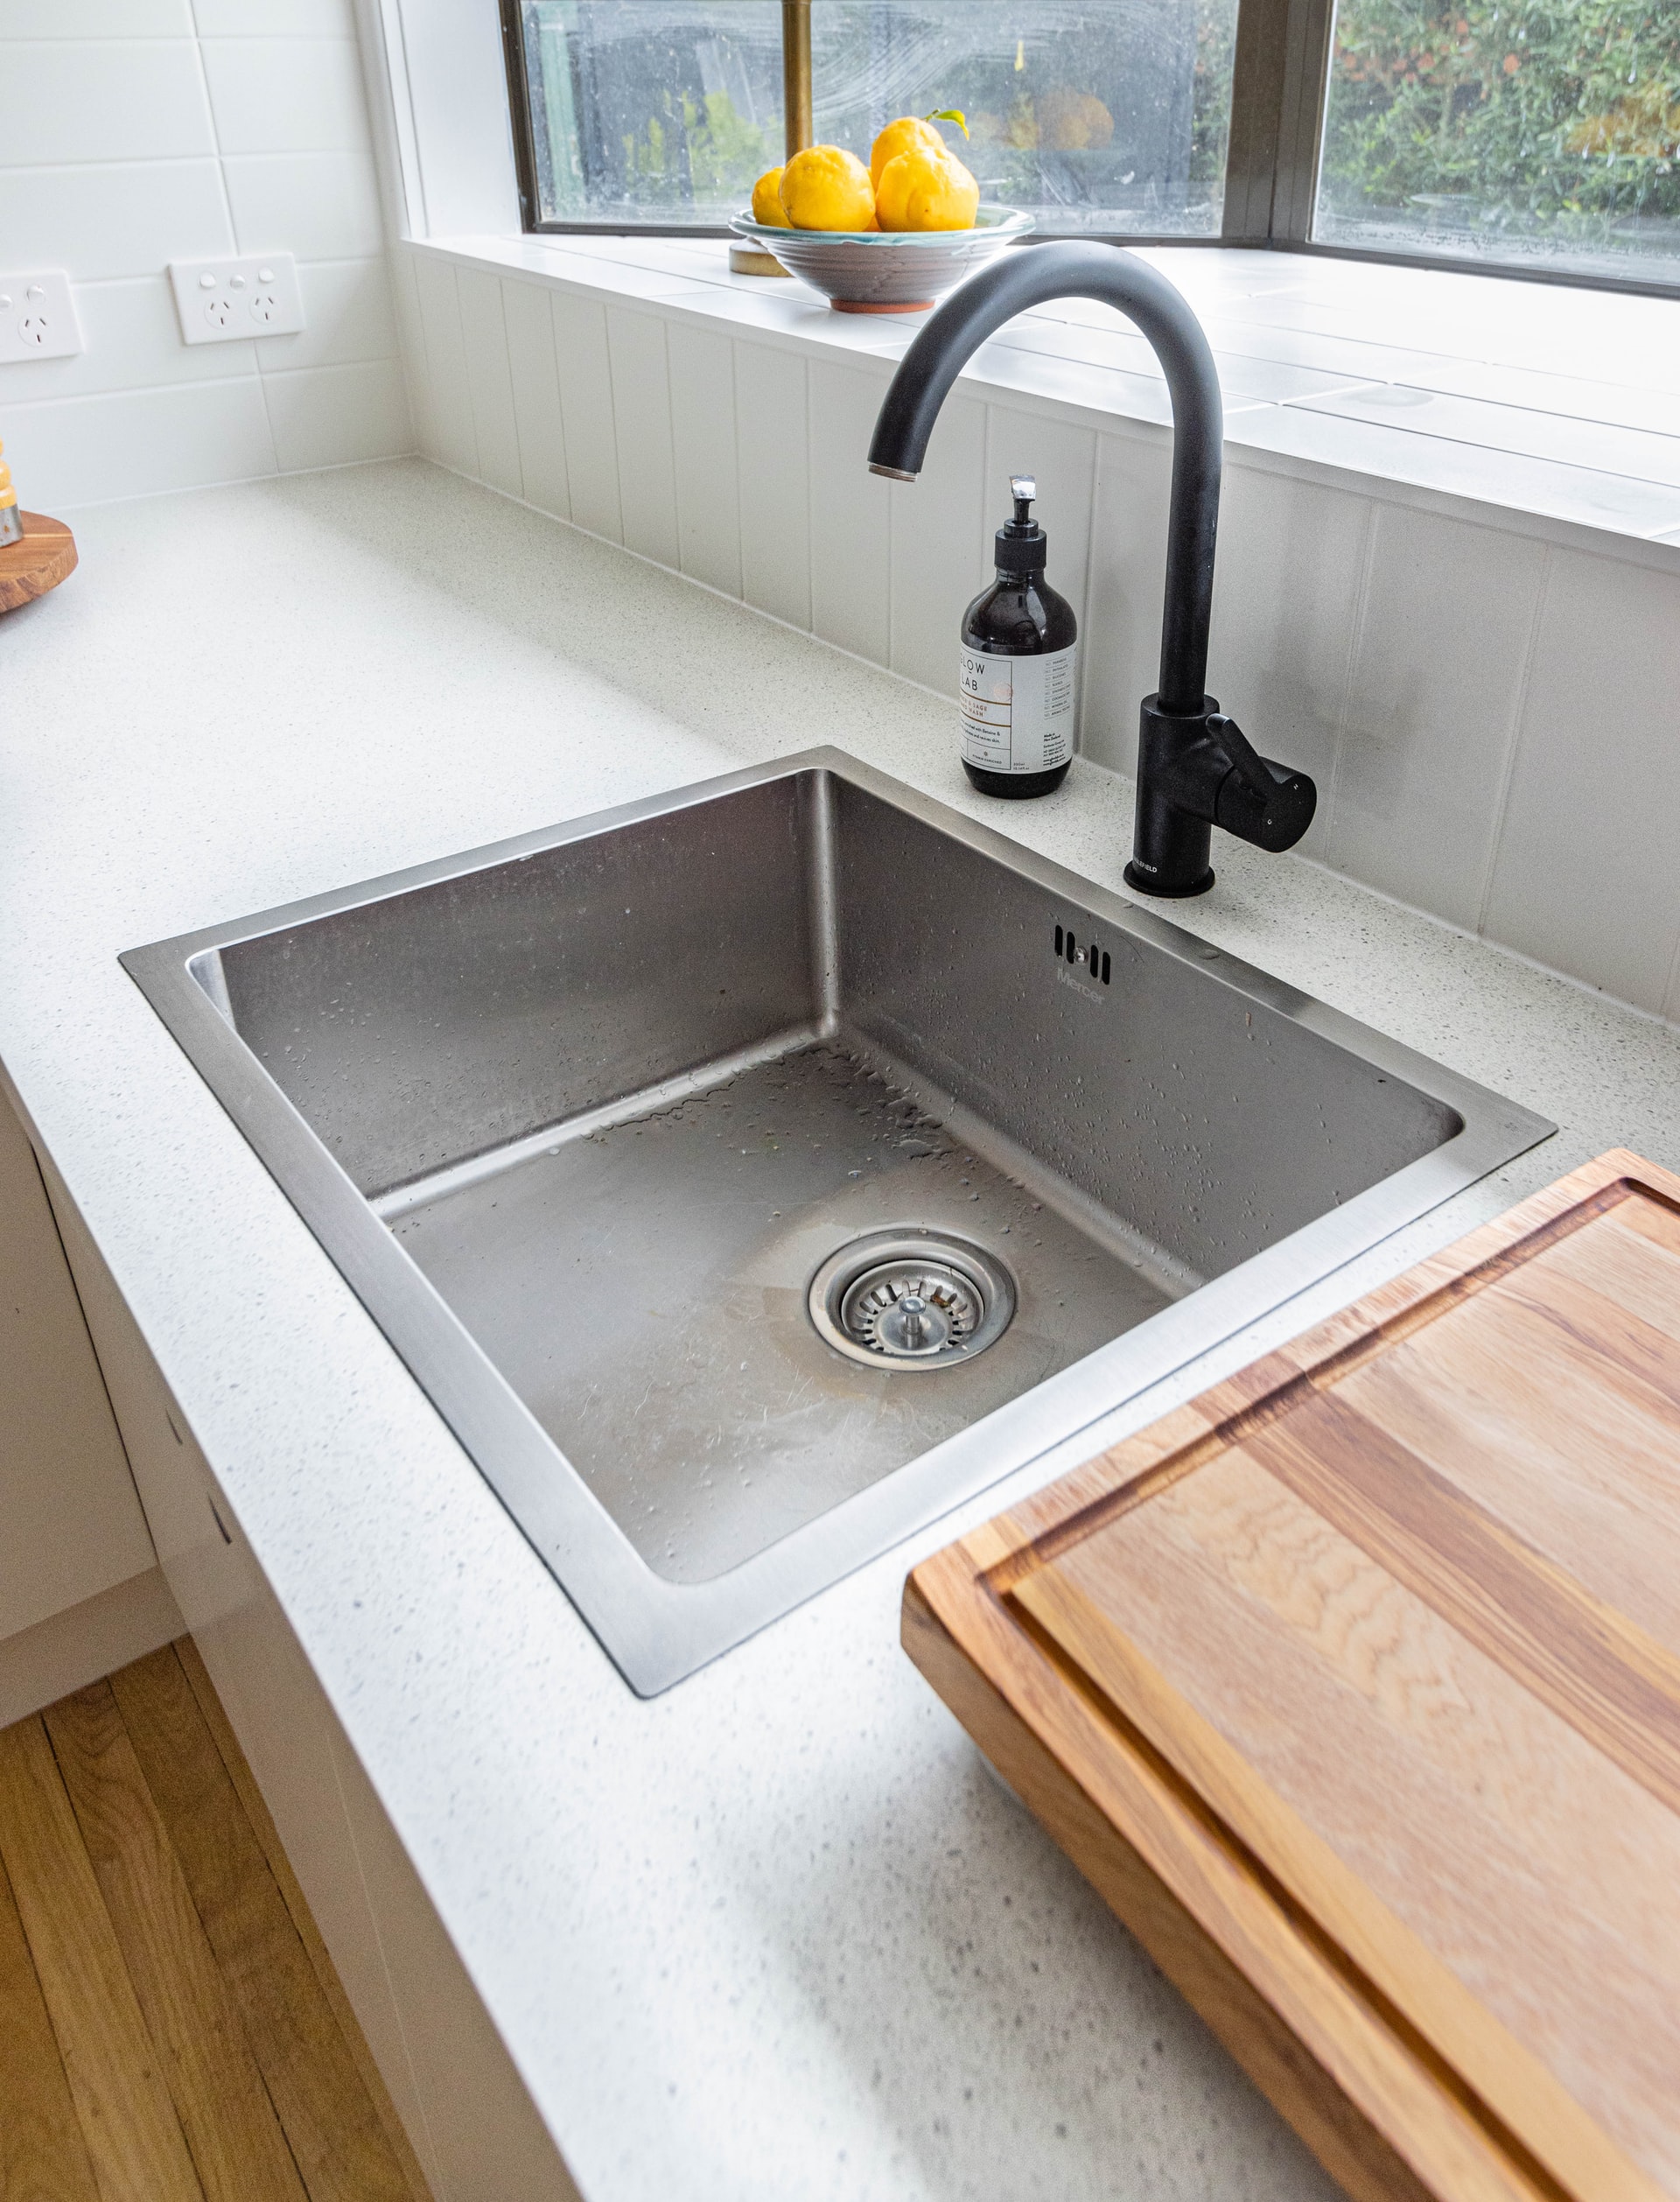
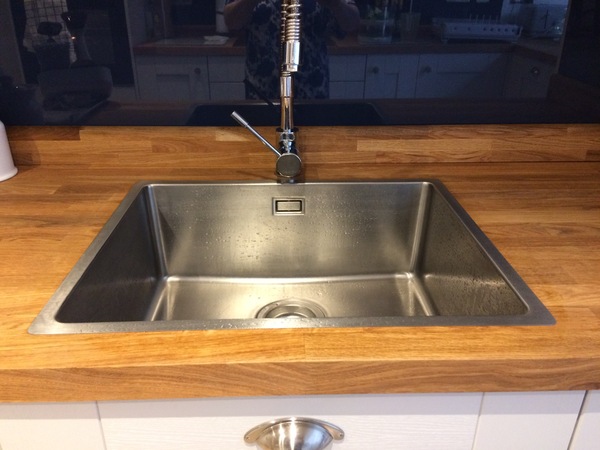
Versatility: Despite its smaller size, an 18″ x 18″ kitchen sink offers versatility in terms of functionality and installation options. It can be installed as a top-mount, under-mount, or flush-mount sink, depending on your preferences and the layout of your kitchen. This flexibility allows you to customize the sink to suit your specific needs and design aesthetic.
Ease of Maintenance: A smaller sink means less surface area to clean, making maintenance and upkeep a breeze. With an 18″ x 18″ kitchen sink, you can quickly and easily wipe down the surface after each use, keeping it clean and hygienic with minimal effort. Additionally, the compact size makes it easier to reach and clean hard-to-reach areas, such as the corners and edges of the sink.
Affordability: Compared to larger kitchen sinks, an 18″ x 18″ sink is often more affordable, making it an attractive option for budget-conscious homeowners. Despite its smaller size, these sinks are available in a variety of materials and styles to suit different preferences and budgets, allowing you to find the perfect option that meets your needs without breaking the bank.

Materials and Styles
When selecting an 18″ x 18″ kitchen sink, you’ll have several materials and styles to choose from:
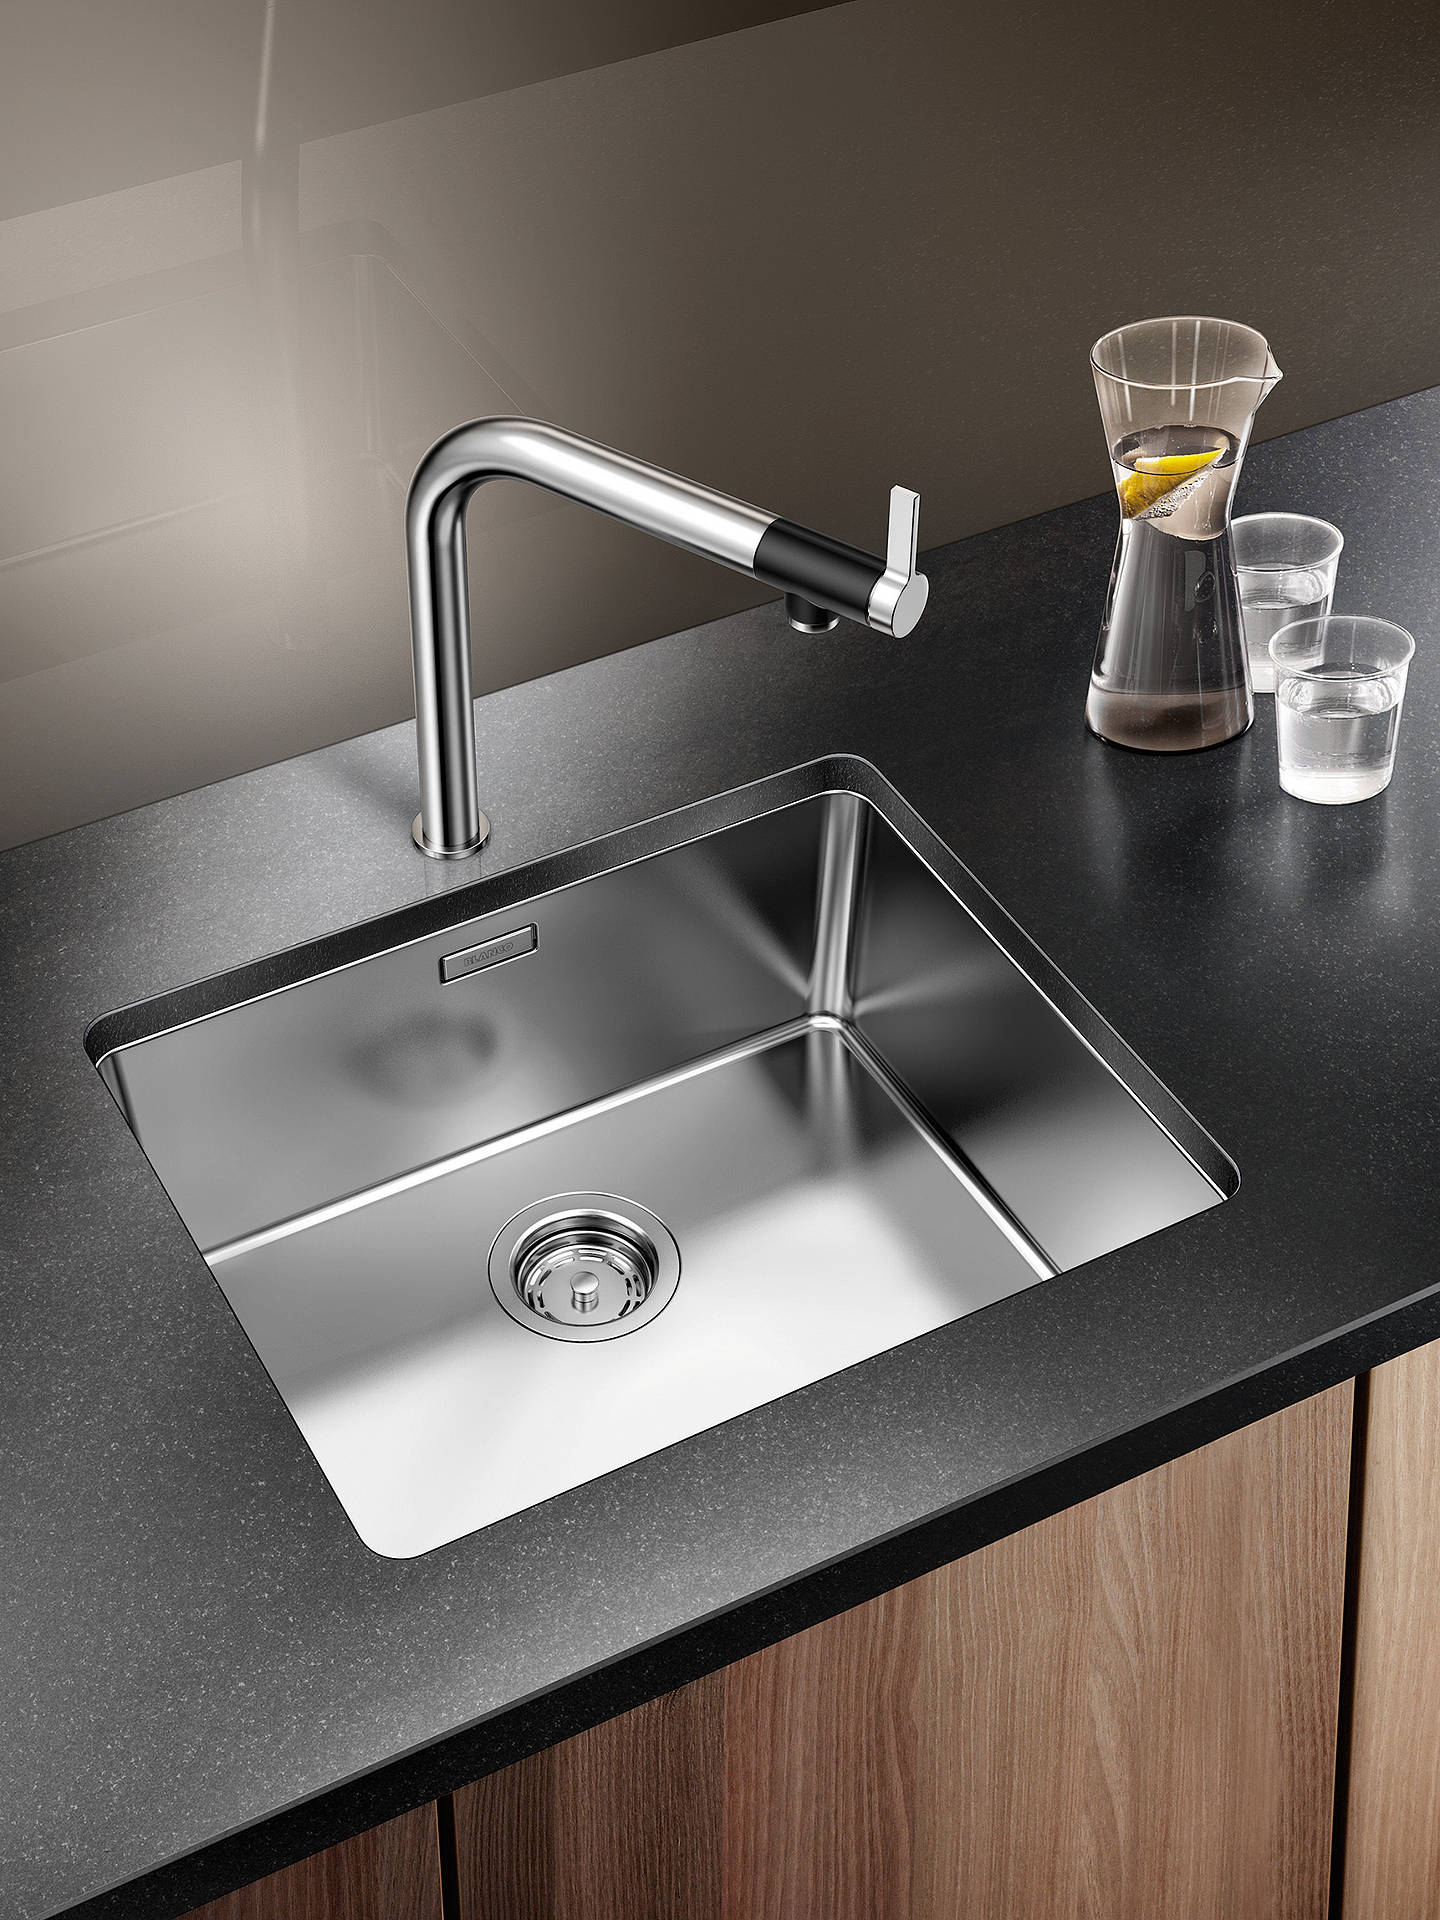
Stainless Steel: Stainless steel sinks are durable, easy to clean, and resistant to corrosion and staining. They offer a sleek and modern look that complements a variety of kitchen styles and color schemes. Look for sinks with a higher gauge for added durability and noise reduction.
Cast Iron: Cast iron sinks are incredibly durable and resistant to chipping, scratching, and staining. They feature a smooth, glossy enamel finish that adds a touch of elegance to any kitchen. Keep in mind that cast iron sinks can be heavy and may require additional support during installation.
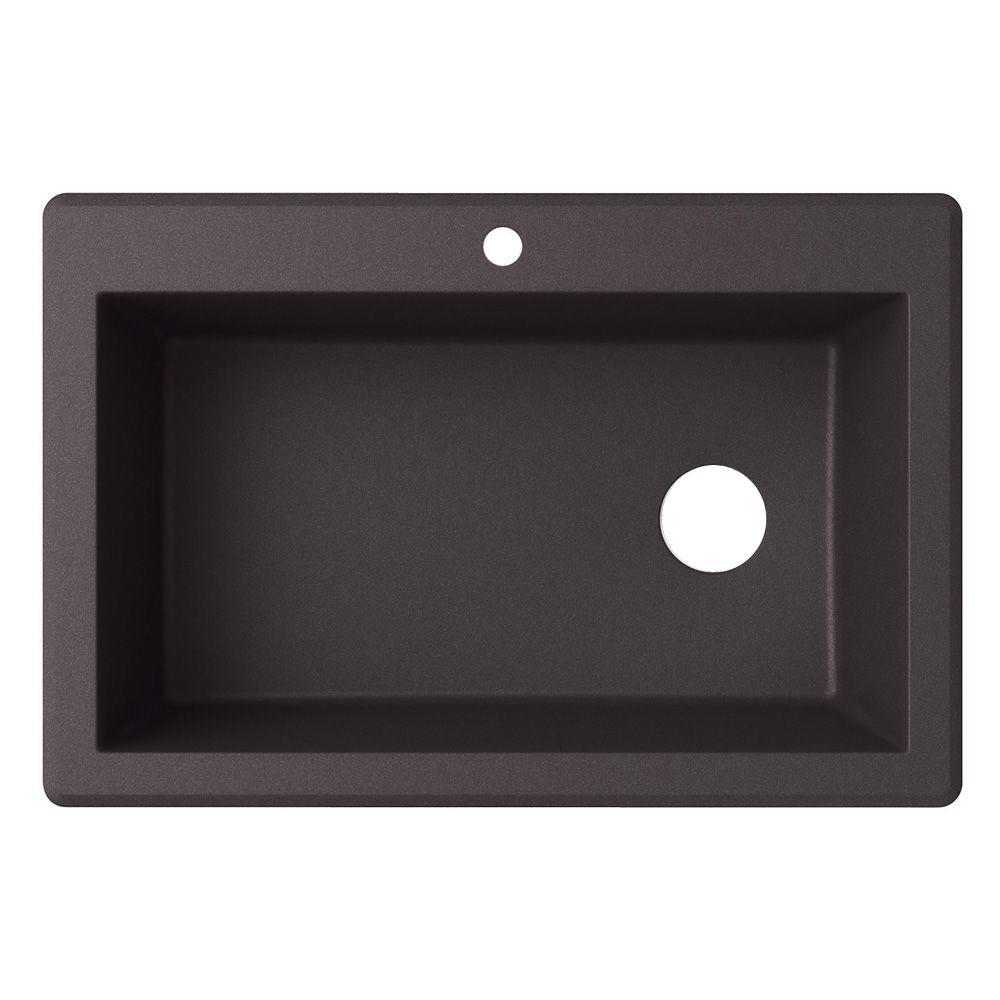
Composite Granite: Composite granite sinks are made from a blend of natural granite stone and acrylic resin, resulting in a durable and heat-resistant surface that mimics the look of natural stone. These sinks are available in a range of colors and finishes to complement your kitchen decor.
Fireclay: Fireclay sinks are crafted from clay that is fired at high temperatures, resulting in a smooth, non-porous surface that is resistant to scratches, stains, and fading. They offer a classic and timeless look that pairs well with traditional and farmhouse-style kitchens.
Installation and Maintenance
Installing an 18″ x 18″ kitchen sink requires careful planning and attention to detail:
- Measurements: Before purchasing a sink, measure the cabinet space where it will be installed to ensure a proper fit. Take into account the size and depth of the sink, as well as any additional features such as faucets or accessories.
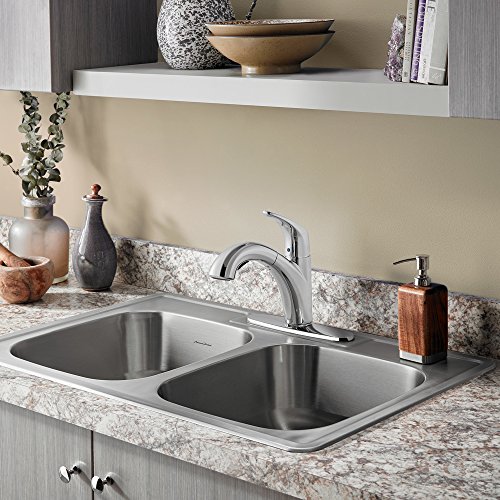
- Mounting Options: Decide whether you want to install the sink as a top-mount, under-mount, or flush-mount sink, and ensure that your countertop and cabinet are compatible with your chosen mounting method.
- Sealing and Caulking: Properly seal and caulk around the edges of the sink to prevent water damage and leakage. Use a high-quality silicone caulk that is waterproof and resistant to mold and mildew.
- Maintenance: To keep your 18″ x 18″ kitchen sink looking its best, clean it regularly with mild detergent and water, and avoid using abrasive cleaners or scrubbing pads that can scratch or damage the surface. Additionally, consider using a sink grid or mat to protect the bottom of the sink from scratches and dents caused by pots, pans, and utensils.

Common Mistakes to Avoid
When selecting and installing an 18″ x 18″ kitchen sink, avoid these common mistakes:
Choosing the Wrong Size: Failing to accurately measure the available space and cabinet dimensions before purchasing a sink can result in improper fit and installation, leading to costly modifications or replacements.
Ignoring Mounting Compatibility: Neglecting the compatibility of the sink’s mounting method with your countertop and cabinet materials can result in installation challenges and structural issues.
Neglecting Proper Sealing: Improper sealing and caulking around the edges of the sink can lead to water damage, leakage, and mold growth, compromising the integrity of the countertop and cabinet below.
Overlooking Maintenance Needs: Neglecting to clean and maintain the sink regularly can result in the buildup of dirt, grime, and bacteria, detracting from its appearance and hygiene. Make sure to follow proper cleaning and maintenance guidelines to keep your sink looking and functioning at its best.
Can an 18″ x 18″ kitchen sink accommodate large pots and pans?
While an 18″ x 18″ kitchen sink may be smaller in size compared to larger sinks, it can still accommodate a variety of pots, pans, and dishes commonly used in everyday cooking and cleaning tasks. However, it’s important to consider the depth and configuration of the sink basin when determining its capacity for larger items. Some 18″ x 18″ sinks may have deeper basins or offset drains that provide more space for stacking dishes or soaking pots and pans.
To maximize the usability of an 18″ x 18″ kitchen sink for larger items, consider opting for a single-basin sink configuration rather than a double-basin design. Single-basin sinks offer more uninterrupted space for maneuvering and washing larger items, making them well-suited for accommodating oversized cookware. Additionally, look for sinks with a deeper basin depth, which can provide additional clearance and capacity for tall pots and pans.
While an 18″ x 18″ kitchen sink may not offer the same expansive surface area as larger sinks, it can still serve as a functional and efficient workhorse in the kitchen, particularly in smaller spaces where space is limited. With thoughtful organization and strategic use of the available space, homeowners can make the most of their 18″ x 18″ sink for a wide range of cooking, cleaning, and food preparation tasks.

What type of faucet is best suited for an 18″ x 18″ kitchen sink?
When selecting a faucet for an 18″ x 18″ kitchen sink, it’s important to choose a style and configuration that complements the size and design of the sink, as well as the overall aesthetic of the kitchen. For smaller sinks like an 18″ x 18″ model, a compact and streamlined faucet with a single handle or lever is often the most practical choice. These faucets offer space-saving design and intuitive operation, making them well-suited for smaller kitchens or areas with limited counter space.
In addition to considering the size and style of the faucet, homeowners should also take into account the functionality and features that best meet their needs and preferences. For example, pull-down or pull-out faucets with a retractable spray hose are convenient options for washing dishes and cleaning the sink, while high-arc faucets provide ample clearance for filling tall pots and containers.
When installing a faucet for an 18″ x 18″ kitchen sink, ensure that the faucet’s spout reach and height are compatible with the dimensions of the sink and the depth of the basin. The faucet should be positioned centrally over the sink to provide optimal coverage and accessibility for various tasks. Additionally, consider factors such as water pressure, flow rate, and finish options to ensure a reliable and visually cohesive faucet that enhances the functionality and style of your kitchen sink.
Are under-mount sinks compatible with all countertop materials?
Under-mount sinks offer a sleek and seamless look that integrates seamlessly with the surrounding countertop, creating a clean and modern aesthetic in the kitchen. While under-mount sinks are compatible with a wide range of countertop materials, including granite, quartz, marble, and solid surface materials, there are some considerations to keep in mind when selecting the right sink for your countertop.
First, ensure that the chosen countertop material is structurally sound and capable of supporting the weight of the under-mount sink. Some countertop materials, such as laminate or tile, may require additional reinforcement or support to accommodate the weight of the sink and prevent sagging or damage over time.
Additionally, consider the thickness and edge profile of the countertop when selecting an under-mount sink. The sink should be installed with a secure and watertight seal to prevent water damage and ensure longevity. Some countertop materials may require special fabrication or installation techniques to achieve a proper fit and seal with the undermount sink.
Finally, consult with a professional installer or contractor to ensure that the chosen undermount sink is compatible with your countertop material and that proper installation methods are followed to achieve a seamless and durable result. With careful planning and attention to detail, under-mount sinks can provide a stylish and functional addition to any kitchen countertop, enhancing the overall look and functionality of the space.
How do I prevent scratches and dents on the surface of an 18″ x 18″ kitchen sink?
Preventing scratches and dents on the surface of an 18″ x 18″ kitchen sink requires proper care and maintenance to preserve its appearance and functionality over time. Here are some tips to help prevent damage to your sink:
Use Sink Grids or Mats: Place sink grids or mats in the bottom of the sink to provide a protective barrier between the sink surface and pots, pans, and utensils. These accessories help prevent scratches and dents caused by abrasive materials or heavy objects.
Avoid Impact: Be mindful of how you handle and place items in the sink to avoid impact and damage to the surface. Avoid dropping heavy or sharp objects directly onto the sink, as this can cause chips, cracks, or scratches.
Clean Gently: Use mild, non-abrasive cleaners and soft sponges or cloths to clean the surface of the sink. Avoid using abrasive scrubbing pads or harsh chemicals that can scratch or damage the finish of the sink.
Regular Maintenance: Clean the sink regularly to remove dirt, grime, and food debris that can accumulate over time and contribute to scratching and staining. Rinse the sink thoroughly after each use and dry it with a soft cloth to prevent water spots and mineral deposits.
Can I install an 18″ x 18″ kitchen sink myself, or do I need to hire a professional?
The decision to install an 18″ x 18″ kitchen sink yourself or hire a professional depends on your level of experience with plumbing and home improvement projects, as well as the complexity of the installation process. Installing a sink typically involves disconnecting and reconnecting plumbing fixtures, cutting, and modifying countertops or cabinetry as needed, and ensuring a watertight seal around the sink basin.
If you’re comfortable with basic plumbing tasks and have experience working with tools and materials, you may be able to tackle the installation yourself. However, if you’re unsure about the process or lack the necessary skills and tools, it’s best to hire a professional plumber or contractor to handle the installation for you. A professional installer can ensure that the sink is properly aligned, sealed, and secured, minimizing the risk of leaks, damage, or other issues down the line.
Before attempting a DIY installation, carefully read and follow the manufacturer’s instructions provided with the sink, as well as any local building codes or regulations that may apply. Take the time to gather the necessary tools and materials, and plan out the installation process step by step to ensure a smooth and successful outcome. If you encounter any challenges or uncertainties during the installation, don’t hesitate to seek guidance from a professional to avoid costly mistakes and ensure a safe and reliable installation.

9 – 10 – Single Bowl – Black – Kitchen Sinks – Kitchen – The Home Depot
40 Inch Single Sink Bathroom Vanity in Black
Kitchen Island With Seating Ideas – Home Dreamy

15 x 20 inch Drop-in Topmount Bar Prep Sink 16 Gauge Stainless Steel Single Bowl – Ruvati USA
Related Posts: