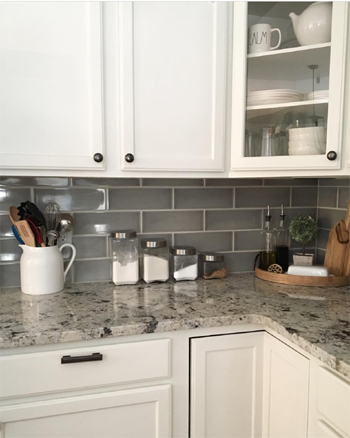
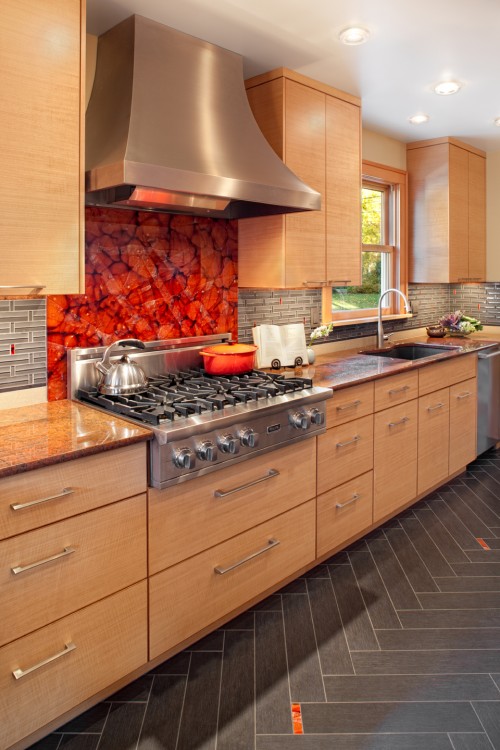
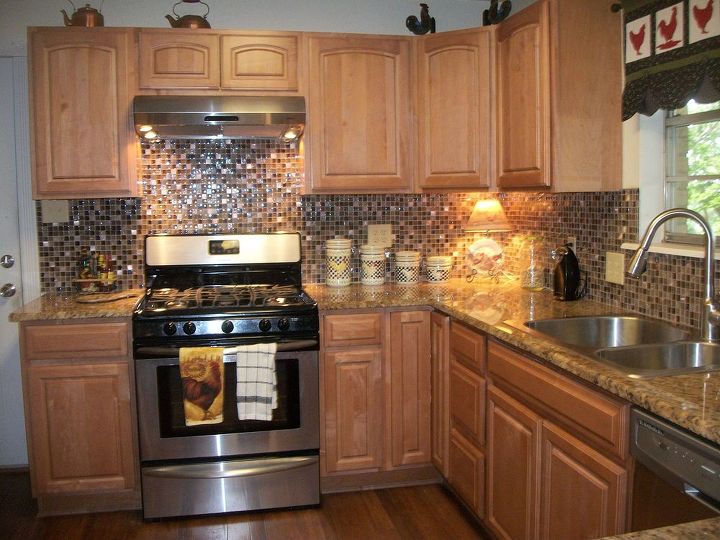
Crafting your own kitchen backsplash can be a rewarding and personalized project that adds a unique touch to your space. To embark on this creative journey, you’ll first need to decide on the materials you want to use. Common choices include ceramic or porcelain tiles, glass, beadboard, or even peel-and-stick options for a simpler installation process. Each material comes with its own set of considerations, from the level of difficulty in installation to the overall aesthetic it will contribute to your kitchen.
Once you’ve chosen your material, meticulous planning is crucial. Measure the dimensions of the area you intend to cover and calculate the amount of material needed, factoring in any cuts or intricate designs. Taking accurate measurements ensures a seamless and professional-looking installation. Additionally, consider creating a design or pattern layout beforehand, especially if you’re working with tiles, to visualize how the finished product will look.
Preparing the surface is the next crucial step. Ensure that the wall is clean, dry, and free of any debris. Depending on the material you’ve chosen, you may need to apply a primer or adhesive to promote better adhesion. This step is vital for the longevity of your backsplash, preventing peeling or shifting over time.
For tile backsplashes, installing a backer board is often recommended. This additional layer provides a stable and flat surface for the tiles, preventing any unevenness in the final result. Be sure to secure the backer board to the wall using appropriate screws or adhesive, following the manufacturer’s instructions for the specific product you’ve chosen.

Now, it’s time to apply the adhesive. Whether you’re working with traditional mortar or a premixed adhesive, ensure even coverage on the wall. Using a notched trowel helps create ridges that enhance the bond between the wall and your chosen material. Work in small sections to avoid the adhesive drying before you can affix the tiles or other materials.
When it comes to actually placing the materials, precision is key. Whether you’re arranging tiles, applying beadboard, or positioning peel-and-stick options, take your time to align everything correctly. Spacers can be handy for maintaining consistent gaps between tiles, creating a polished and professional appearance. Don’t hesitate to make adjustments as needed to achieve the desired layout.
Cutting tiles or other materials to fit around corners, outlets, or irregular spaces is an inevitable part of the process. A tile cutter or wet saw can be invaluable for achieving clean and accurate cuts. For other materials, such as beadboard, a jigsaw or circular saw may be more suitable. Remember to wear appropriate safety gear, including goggles and gloves, when handling cutting tools.
Grouting is a critical step that follows the secure placement of your chosen materials. Mix the grout according to the manufacturer’s instructions, ensuring a smooth and lump-free consistency. Using a rubber float, spread the grout over the tiles or other materials, making sure to fill all the gaps. Wipe away excess grout with a damp sponge before it dries. The grouting process not only enhances the appearance of your backsplash but also seals and protects the edges of the materials.
Sealing is an often overlooked but essential step, especially for porous materials like natural stone or unglazed tiles. Apply a suitable sealer to protect the backsplash from stains, moisture, and everyday wear. Follow the product instructions for the recommended drying time before exposing the backsplash to regular kitchen activities.
Consider the finishing touches to complete your DIY backsplash project. Installing a trim along the edges provides a polished look and ensures that the ends of the tiles or materials are securely covered. This step is not only aesthetic but also functional, preventing moisture from seeping into the edges of the backsplash.
Personalizing your backsplash further can involve adding decorative elements such as accent tiles or creating a focal point with a different pattern or color. These design choices inject character into your kitchen and showcase your creativity. Experiment with different layouts and combinations to find a look that resonates with your style.
Maintenance is a crucial aspect of keeping your DIY backsplash looking pristine over time. Regular cleaning with a mild detergent and soft cloth helps preserve the beauty of the materials. Avoid harsh chemicals that may damage or discolor the backsplash, especially if you’ve chosen natural stone or specialty tiles.

Reflecting on the overall design of your kitchen can guide your choices during the DIY backsplash process. Consider the color palette, style, and theme of your kitchen to ensure that the backsplash harmonizes with the existing elements. A well-coordinated backsplash not only enhances the aesthetics of the kitchen but also contributes to a cohesive and inviting atmosphere.
Creating a backsplash for your kitchen is a DIY project that combines creativity, precision, and practicality. From material selection and meticulous planning to the actual installation and finishing touches, each step plays a crucial role in achieving a professional-looking result. Whether you’re a seasoned DIY enthusiast or a beginner, the satisfaction of crafting a personalized and visually appealing backsplash is well worth the effort.

Kitchen ideas on Pinterest Modern kitchen tiles

Impressive Kitchens With Brick Walls and Ceilings Interior God

kitchen backsplash – Yahoo Image Search Results Diy backsplash, Inexpensive kitchen remodel

Colorful And Original Kitchen Backsplash Ideas

Patterned backsplash behind range hood Kitchen remodel small, Kitchen remodel, Modern kitchen

Small Details That Will Make Your Kitchen Stand Out Architecture & Design

Simple And Elegant Cream Colored Kitchen Cabinets Design Ideas Cream kitchen

Related Posts:
- Vintage Kitchen Tile Backsplash
- Geometric Kitchen Backsplash
- Pinterest Backsplash For Kitchens
- Large White Subway Tile Kitchen Backsplash
- Split Face Backsplash Kitchen
- Property Brothers Kitchen Backsplash
- Rooster Backsplash Tiles Kitchen
- Grey And White Kitchen Backsplash Ideas
- Painting Ceramic Tile Kitchen Backsplash
- Sea Green Kitchen Backsplash
