Staining kitchen cabinets can transform the look of your kitchen, giving it a fresh, new appearance without the expense of a complete renovation. This guide will walk you through the process, from preparation to the final finish, ensuring you achieve professional-looking results. We will also cover common mistakes to avoid and answer frequently asked questions to help you navigate your staining project successfully.
Preparing Your Kitchen Cabinets for Staining
The preparation phase is crucial for achieving a smooth, even finish on your kitchen cabinets. Proper prep work ensures that the stain adheres well and looks consistent.

Cleaning and Degreasing: Begin by thoroughly cleaning your cabinets. Kitchens are prone to grease and grime buildup, which can prevent the stain from adhering properly. Use a degreasing cleaner to remove all residues. Pay special attention to areas around handles and hinges where grease tends to accumulate. Rinse with clean water and allow the cabinets to dry completely.
Removing Cabinet Doors and Hardware: For best results, remove all cabinet doors, drawers, and hardware. This makes it easier to sand and stain every surface evenly. Label each door and its corresponding location to make reinstallation easier. Place all screws and hardware in labeled bags to keep everything organized.

Sanding: Sanding is an essential step to ensure the stain penetrates the wood evenly. Start with medium-grit sandpaper (around 120-grit) to remove the existing finish. Follow up with fine-grit sandpaper (220-grit) to smooth the surface. Sand in the direction of the wood grain to avoid scratches. Wipe away dust with a tack cloth or a damp rag.
Filling Holes and Repairs: Inspect the cabinets for any holes, cracks, or imperfections. Use a wood filler to repair these areas, and sand them smooth once the filler is dry. This step is important for achieving a flawless finish. Make sure the filler is fully cured before proceeding.
Final Cleaning: After sanding and filling, clean the surfaces again to remove any remaining dust. Even small particles can affect the finish, so take your time to ensure the cabinets are completely clean. A vacuum with a brush attachment can help remove dust from crevices and edges.

Choosing the Right Stain for Your Cabinets
Selecting the right stain is critical to achieving the desired look for your kitchen cabinets. There are various types of stains, each offering different benefits and finishes.
Oil-Based Stains: Oil-based stains are popular for their deep penetration and rich color. They take longer to dry, allowing more working time to ensure an even application. However, they emit strong fumes and require good ventilation during application and drying.
Water-Based Stains: Water-based stains are easier to clean up and have lower fumes, making them a safer choice for indoor projects. They dry quickly, which can be an advantage or a disadvantage depending on your working speed. Water-based stains are available in a wide range of colors and finishes.
Gel Stains: Gel stains are thicker and do not penetrate the wood as deeply as traditional stains. They are ideal for achieving a consistent color on woods with varying grain patterns. Gel stains are less likely to drip, making them easier to work with on vertical surfaces.
Wood Tones and Colors: When choosing a stain color, consider the existing elements in your kitchen, such as flooring, countertops, and wall color. Natural wood tones like oak, walnut, and cherry can enhance the wood’s natural beauty, while colored stains can create a more dramatic effect.
Test the Stain: Before committing to a stain color, test it on a small, inconspicuous area or a scrap piece of wood. This will give you an idea of how the stain will look on your cabinets and allow you to adjust your choice if necessary.
Finish Options: Decide on the finish you want to achieve—matte, satin, semi-gloss, or high-gloss. The finish will affect the overall appearance and durability of your cabinets. Higher gloss levels offer more protection and are easier to clean, while matte and satin finishes provide a more subtle look.

Staining Your Kitchen Cabinets
With your cabinets prepped and your stain selected, it’s time to begin the staining process. Proper application techniques will ensure a beautiful, even finish.
Applying the Stain: Start by applying the stain with a brush, sponge, or cloth. Work in small sections to ensure even coverage. Apply the stain in the direction of the wood grain and use long, smooth strokes. Avoid overloading the brush or cloth, as this can lead to uneven application.
Wiping Off Excess Stain: After applying the stain, let it sit for a few minutes to penetrate the wood. The longer the stain sits, the darker the color will be. Use a clean cloth to wipe off the excess stain, again following the direction of the wood grain. Wipe evenly to avoid blotchy spots.
Multiple Coats: Depending on the desired color intensity, you may need to apply multiple coats of stain. Allow each coat to dry completely according to the manufacturer’s instructions before applying the next. Lightly sand between coats with fine-grit sandpaper to ensure a smooth finish.
Drying Time: Be patient during the drying process. Allow the stain to dry thoroughly before moving on to the next step. Rushing this process can result in a tacky surface that is difficult to finish properly.
Handling Details: Pay extra attention to detailed areas such as moldings and edges. Use a small brush or foam applicator to stain these areas carefully. Blot any excess stain with a cloth to avoid pooling in crevices.
Inspecting for Evenness: Once the staining is complete, inspect the cabinets for evenness. Touch up any areas that appear lighter or uneven. Consistency is key to achieving a professional-looking finish.

Applying the Finish
A protective finish is essential to seal the stain and protect your cabinets from wear and tear. The type of finish you choose will affect the durability and appearance of your cabinets.
Choosing a Finish: Common finishes include polyurethane, lacquer, and varnish. Polyurethane is durable and available in various sheen levels. Lacquer provides a hard, glossy finish but can be more challenging to apply. Varnish offers a traditional look and is also available in different sheens.
Application Tools: Use a high-quality brush or foam applicator to apply the finish. A foam brush is less likely to leave brush marks and is ideal for smooth, even application. Ensure your work area is well-ventilated, as finishes can emit strong fumes.
Applying the Finish: Apply the finish in thin, even coats. Follow the wood grain and use long, smooth strokes. Avoid overloading the brush to prevent drips and runs. Allow each coat to dry according to the manufacturer’s instructions before applying the next.
Sanding Between Coats: Lightly sand between coats with fine-grit sandpaper (around 320-grit) to remove any imperfections and ensure a smooth surface. Wipe away dust with a tack cloth before applying the next coat.
Number of Coats: The number of coats needed will depend on the type of finish and the desired level of protection. Typically, two to three coats are sufficient for most finishes. More coats may be needed for high-traffic areas or if a high-gloss finish is desired.
Final Drying and Curing: Allow the final coat to dry thoroughly. Some finishes may take several days to cure fully, so avoid heavy use of the cabinets during this time. Proper curing ensures the finish is hard and durable.

Reassembling and Finishing Touches
After the stain and finish are fully dry, it’s time to reassemble your kitchen cabinets and add the finishing touches to complete your project.
Reinstalling Doors and Drawers: Carefully reattach the cabinet doors and drawers to their original locations. Use the labels you created during disassembly to ensure everything goes back in the right place. This will save time and prevent confusion.
Attaching Hardware: Reattach the handles, knobs, and hinges. If you’re updating the hardware, this is a great time to install new pieces that match your kitchen’s new look. Ensure all hardware is securely fastened and aligned properly.
Adjusting Hinges and Alignment: Check the alignment of the doors and drawers. Make any necessary adjustments to ensure they close properly and align evenly. Misaligned doors can detract from the overall appearance of your newly stained cabinets.
Cleaning Up: Clean up any dust or debris that may have accumulated during the reassembly process. A clean, dust-free environment will help your cabinets look their best and ensure the finish remains pristine.
Final Inspection: Conduct a final inspection to ensure everything looks as expected. Touch up any areas that may need additional attention. This is your chance to make any final adjustments before enjoying your newly stained cabinets.
Enjoying Your New Look: Step back and admire your work. Staining kitchen cabinets is a labor-intensive project, but the results can be stunning. Enjoy the fresh, new look of your kitchen and take pride in the fact that you accomplished it yourself.

Common Mistakes to Avoid
Staining kitchen cabinets can be a rewarding project, but it’s essential to avoid common mistakes that can compromise your results.
Skipping the Prep Work: Proper preparation is crucial. Failing to clean, sand, and fill imperfections can result in a poor finish. Take your time with these steps to ensure a smooth, even surface.
Not Testing the Stain: Always test the stain on a small area or scrap piece of wood before applying it to the entire cabinet. This helps ensure the color is what you want and prevents unwanted surprises.
Applying Too Much Stain: Overloading your brush or cloth can lead to uneven application and blotchy results. Apply the stain in thin, even coats and wipe off excess to achieve a consistent finish.
Rushing the Drying Process: Allow each coat of stain and finish to dry thoroughly before proceeding to the next step. Rushing can result in tacky surfaces and imperfections.
Neglecting Ventilation: Stains and finishes can emit strong fumes. Work in a well-ventilated area or use a respirator mask to protect yourself from fumes and ensure proper drying.
Forgetting Final Touches: After reassembling your cabinets, take the time to check alignment and make any necessary adjustments. Proper alignment ensures your cabinets function as well as they look.
How long does it take to stain kitchen cabinets?
The time it takes to stain kitchen cabinets depends on factors like the size of your kitchen, the condition of your cabinets, and the drying time between coats. Plan for several days to complete the project, including preparation, staining, and finishing.
Can I stain over existing stain on my cabinets?
Yes, you can stain over existing stain, but it’s essential to prepare the surface properly. Sand the existing finish to create a rough surface that the new stain can adhere to. Test a small area first to ensure the desired results.
Do I need to apply a topcoat or sealer after staining?
Yes, applying a topcoat or sealer is necessary to protect the stain and ensure durability. Choose a finish that complements your desired look, such as matte, satin, or gloss. Follow the manufacturer’s instructions for application and drying times.
Can I change the color of my cabinets with stain?
Yes, staining allows you to change the color of your cabinets while still showcasing the natural grain of the wood. Choose a stain color that complements your kitchen’s color scheme and style for a cohesive look.
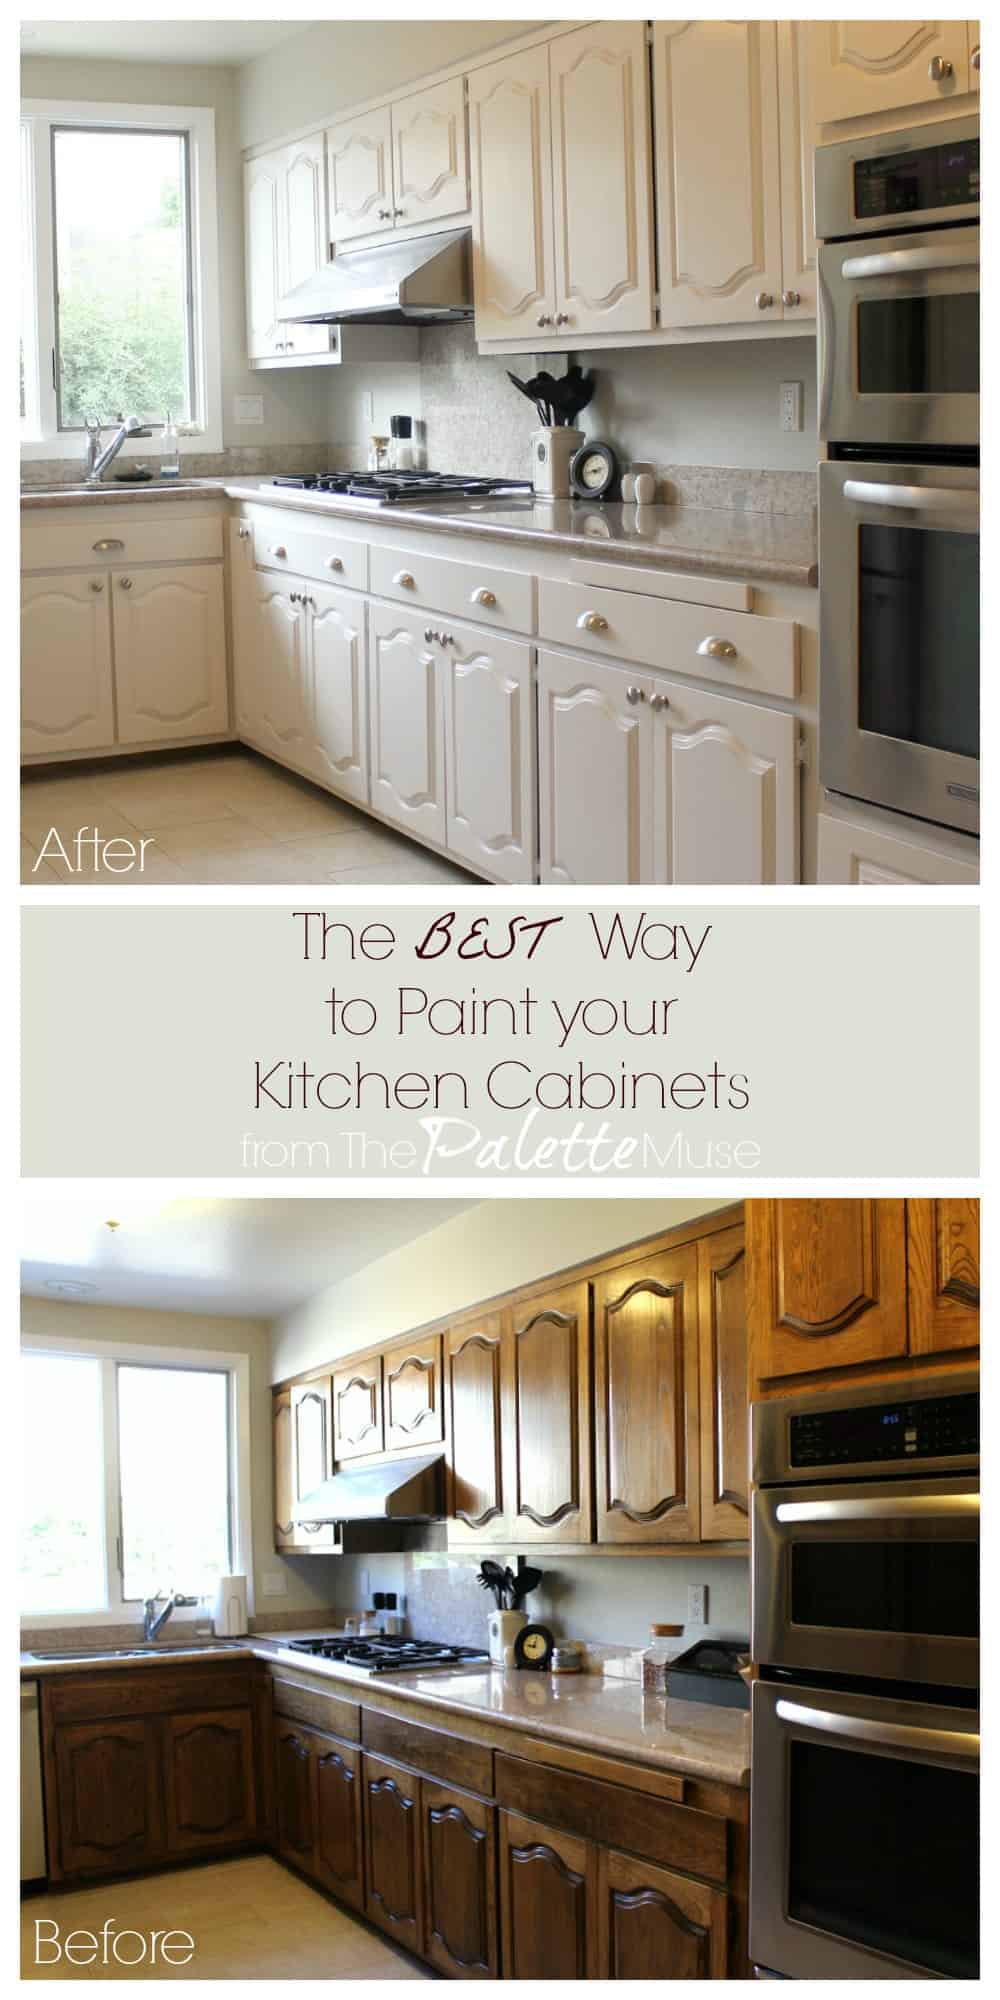
What is the difference between staining and painting kitchen cabinets?
Staining enhances the natural beauty of wood by penetrating the pores and changing its color, while painting covers the wood with a layer of paint. Staining allows the wood grain to show through, while painting provides a smooth, opaque finish.
How can I maintain my stained kitchen cabinets?
To maintain stained kitchen cabinets, clean them regularly with a mild soap and water solution. Avoid abrasive cleaners that can damage the finish. Periodically apply furniture polish or wax to keep the wood nourished and protected.

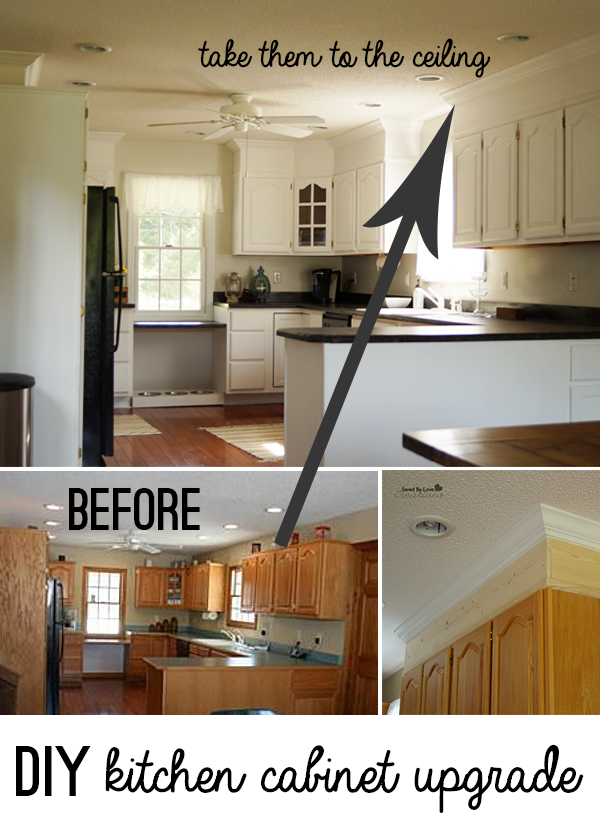
DIY Kitchen Cabinet Upgrade With Paint and Crown Molding
How To Remove Upper Kitchen Cabinets Without Damage

Can You Restain Kitchen Cabinets Without Sanding
REMOVE CABINET DOORS

Related Posts:
- Custom Kitchen Cabinets
- How Do You Measure Linear Feet For Kitchen Cabinets
- White Kitchen Cabinets With Dark Hardwood Floors
- Acadia White Kitchen Cabinets
- High Gloss Lacquer Finish Kitchen Cabinets
- Surface Mounted Hinges For Kitchen Cabinets
- Elegant White Kitchen Cabinets
- Kitchen Cabinet Plate Rack Storage
- Kitchen Cabinet Recycling Center
- Antique Beige Kitchen Cabinets