Staining Wood Kitchen Cabinets Guide
Staining wood kitchen cabinets can breathe new life into your kitchen, giving it a fresh and updated look. Whether you’re looking to enhance the natural beauty of the wood or completely change its color, staining can achieve stunning results. However, it’s important to approach this task with care and attention to detail to ensure a professional-looking finish. In this guide, we’ll walk you through the process of staining wood kitchen cabinets step by step.
Preparing the Cabinets
Before you begin staining, it’s essential to properly prepare your cabinets. Start by removing all hardware, including knobs, handles, and hinges. Next, thoroughly clean the cabinets to remove any dirt, grease, or grime that may have accumulated over time. Use a mild detergent or a mixture of water and vinegar for best results. Once clean, allow the cabinets to dry completely before proceeding.
After cleaning, lightly sand the surfaces of the cabinets to remove any existing finish and to create a smooth surface for the stain to adhere to. Use fine-grit sandpaper (around 120-220 grit) and sand in the direction of the wood grain. Be sure to remove any dust or debris with a tack cloth before moving on to the next step.

Choosing the Right Stain
Selecting the right stain is crucial for achieving the desired look for your cabinets. Consider factors such as the type of wood, the desired color, and the level of opacity you prefer. Stains come in a variety of hues, from light to dark, as well as different levels of opacity, ranging from transparent to solid. Test the stain on a small, inconspicuous area of the cabinet to ensure it produces the desired color before applying it to the entire surface.
When choosing a stain, you’ll also need to decide between oil-based and water-based options. Oil-based stains tend to penetrate deeper into the wood and provide a richer color, but they take longer to dry and may emit strong fumes. Water-based stains dry faster and have lower odor, but they may not penetrate as deeply into the wood.

Applying the Stain
Once you’ve chosen the right stain, it’s time to apply it to your cabinets. Begin by stirring the stain thoroughly to ensure an even consistency. Using a brush, foam applicator, or clean cloth, apply the stain in long, even strokes, following the direction of the wood grain. Work in small sections to ensure thorough coverage and avoid drips or streaks.
After applying the stain, allow it to penetrate the wood for the recommended amount of time specified on the product label. This typically ranges from a few minutes to half an hour, depending on the type of stain and the desired color intensity. Keep a close eye on the stain as it develops, and wipe off any excess with a clean cloth before it dries.

Sealing the Cabinets
Once the stain has dried completely, it’s important to seal the cabinets to protect the finish and enhance durability. Choose a clear topcoat or sealer specifically designed for use with wood stains. Apply the sealer in thin, even coats, following the manufacturer’s instructions for drying and curing times between coats.
After applying the final coat of sealer, allow the cabinets to dry completely before reinstalling the hardware and returning them to use. This typically takes at least 24 hours, but follow the specific recommendations provided by the sealer manufacturer for best results. Once dry, your newly stained wood kitchen cabinets will be ready to showcase their beauty for years to come.

Common Mistakes to Avoid
Skipping Preparation: Failing to properly clean and sand the cabinets before staining can result in an uneven finish and poor adhesion.
Overlooking Test Samples: Always test the stain on a small, inconspicuous area before applying it to the entire surface to ensure it produces the desired color.
Not Following Manufacturer Instructions: Each stain and sealer may have specific instructions regarding the application, drying times, and curing, so be sure to follow them closely for the best results.
Applying Too Much Stain: Excess stain can lead to a blotchy or streaky finish, so apply it sparingly and wipe off any excess before it dries.

How long does it take to stain wood kitchen cabinets?
Staining wood kitchen cabinets typically takes several days from start to finish, including preparation, staining, and sealing. However, drying and curing times can vary depending on factors such as humidity and temperature.
Can I stain over existing stain on kitchen cabinets?
In most cases, yes, you can stain over existing stain on kitchen cabinets. However, it’s essential to properly prepare the surface by cleaning and sanding it to ensure good adhesion and an even finish.
Do I need to sand between coats of stain on kitchen cabinets?
Sanding between coats of stain on kitchen cabinets is not usually necessary unless the surface feels rough or uneven. In that case, lightly sanding with fine-grit sandpaper can help smooth out the surface before applying additional coats of stain or sealer.
Can I change the color of my kitchen cabinets with stain?
Yes, staining is an excellent way to change the color of your kitchen cabinets. Choose a stain in the desired hue, and test it on a small area to ensure it achieves the color you want before applying it to the entire surface.
How long do I need to wait before using my kitchen cabinets after staining?
It’s essential to allow the stained cabinets to dry and cure fully before using them. This typically takes at least 24 hours, but follow the specific recommendations provided by the stain and sealer manufacturers for best results
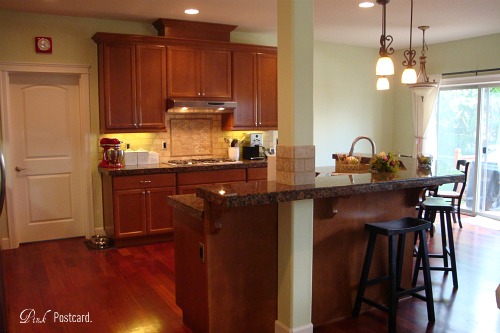
Kitchen Cabinets 3 – Cabinet Specialists

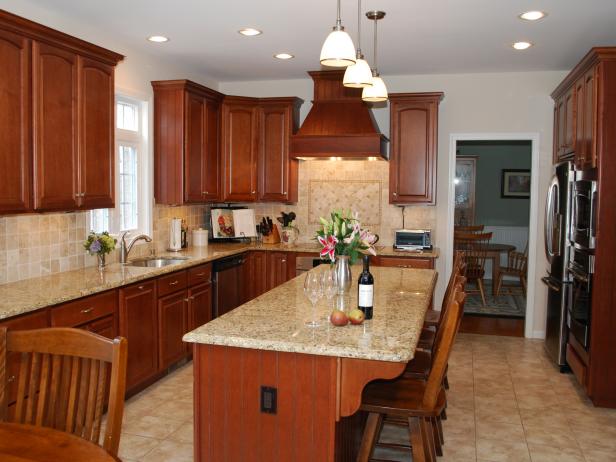
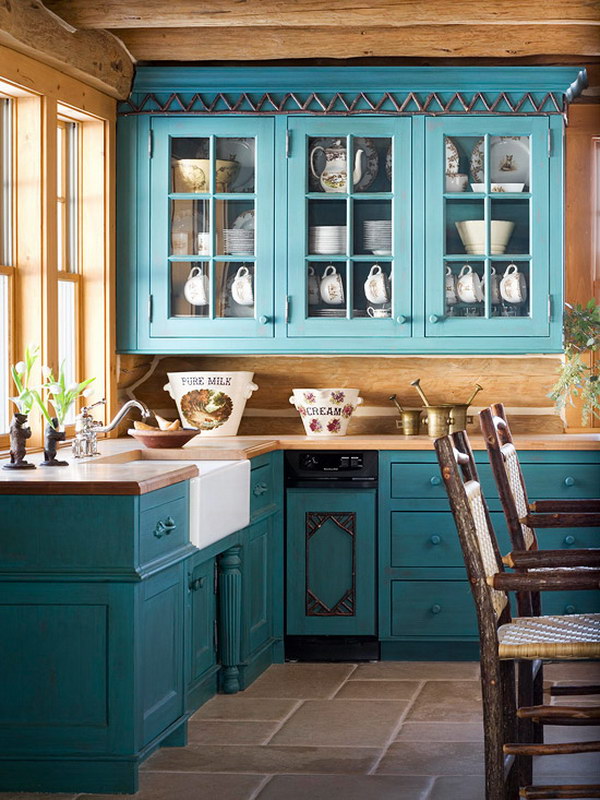
Traditional Kitchen With Stained Wood Cabinets
Dark Walnut Kitchen Cabinets Walnut kitchen cabinets, Stained kitchen cabinets, Walnut stained

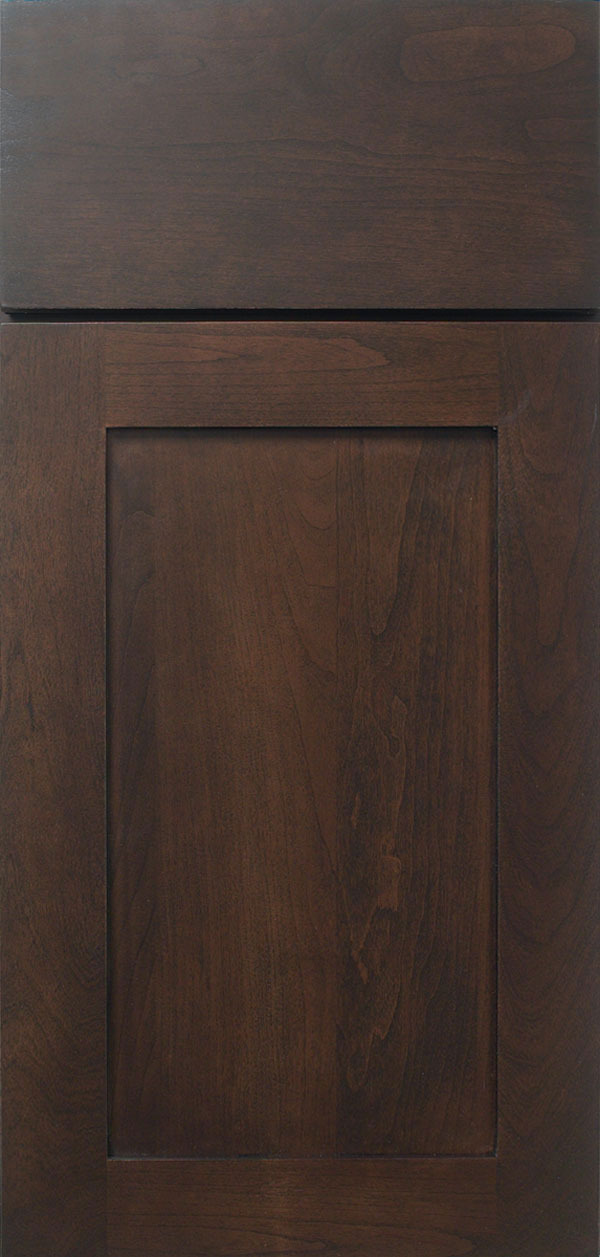
Truffle Dark Brown Cabinet Stain on Cherry – Omega
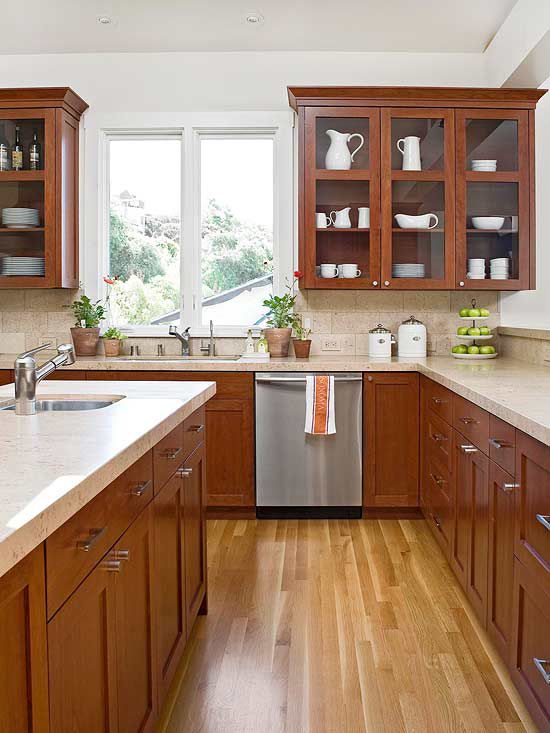
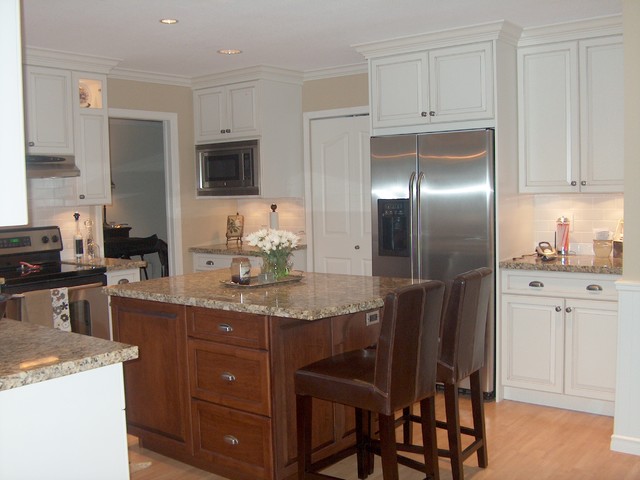
Kitchen Cabinet Wood Choices Better Homes & Gardens
Cool Kitchen Cabinet Paint Color Ideas
White Stain Wood Cabinets, Woodworking Jobs Ct
Do You Need To Sand If Youre Repainting Kitchen Cabinets

Related Posts:
- Kitchen Cabinets Hialeah Fl
- Wood Veneer Sheets For Kitchen Cabinets
- Craigslist San Antonio Kitchen Cabinets
- How Much Is It To Paint Kitchen Cabinets
- Kitchen Cabinet Vacuum System
- Kitchen Paint Colors With Pickled Oak Cabinets
- Kitchen Designs With Grey Cabinets
- Thermal Foil Kitchen Cabinets
- Average Depth Of Upper Kitchen Cabinets
- Greasy Kitchen Cabinets