When I decided to install a small tile kitchen backsplash, I wasn’t prepared for the variety of options available. The beauty of small tiles is in their versatility—they come in so many materials, shapes, and colors that it can feel overwhelming. Small tiles are typically defined as being less than four inches in size, making them perfect for creating intricate patterns or adding texture to a kitchen space. Whether you prefer the classic look of subway tiles, the intricate detailing of mosaics, or even penny tiles, the use of smaller tiles offers endless design possibilities. Plus, their size makes them ideal for covering awkward spaces or working around outlets and cabinets.
In choosing small tiles for my kitchen backsplash, I knew I wanted something that would be both functional and aesthetically pleasing. Small tiles can be made from a variety of materials, including ceramic, glass, marble, and even metal. Each material offers its unique benefits and challenges. For example, ceramic tiles are often more affordable and easier to install, while glass tiles can add a reflective quality that brightens up a small kitchen. Marble and stone offer a luxurious, natural look but can require more maintenance due to their porous nature. Deciding on the right material is crucial because it affects not only the installation process but also the long-term durability and maintenance of the backsplash.

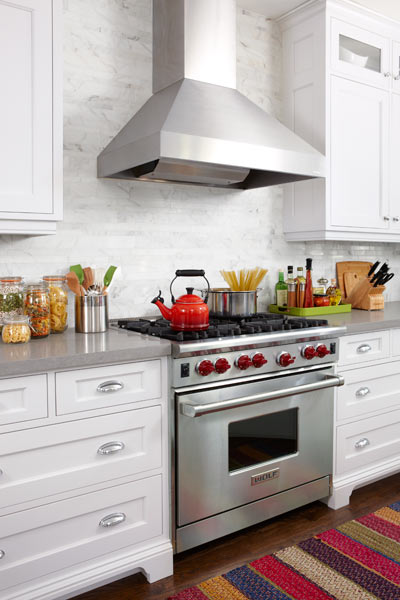
After selecting my material, I moved on to choosing the tile pattern. One of the major advantages of small tiles is the range of patterns you can create. The classic subway tile pattern, for example, is timeless and works well in both modern and traditional kitchens. For something more intricate, a herringbone or chevron pattern can add visual interest without overwhelming the space. Mosaics, where tiles are arranged to create detailed designs or pictures, can make a bold statement in the kitchen. Penny tiles, with their small, circular shape, create a playful, textured surface that can add character to a more neutral kitchen. The pattern you choose should complement your overall kitchen design while adding a personal touch.
Once I had my tiles and pattern selected, it was time to start the installation process. Before diving into the actual installation, I needed to prepare the wall surface. This is an often-overlooked but essential step. The wall must be smooth, clean, and free from any grease or grime. I took the time to thoroughly clean the wall and sand it down where necessary to ensure that the tiles would adhere properly. Additionally, I measured the area carefully to make sure I had enough tiles and planned out where to start the installation. Starting from the center of the backsplash area ensures that the design will be symmetrical, with any cut tiles placed on the edges where they are less noticeable.

When it comes to applying the tiles, using a quality adhesive is key. Small tiles can be more difficult to handle than larger tiles, and they require a strong adhesive to stay in place. I used a notched trowel to apply the adhesive evenly across the wall, being careful not to apply too much, as the excess adhesive can ooze out between the tiles. Once the adhesive was applied, I carefully placed the tiles onto the wall, using spacers to ensure even grout lines. This is particularly important with small tiles, as even a slight variation in spacing can make the finished backsplash look uneven.
Grouting the tiles is another crucial step. Grout not only fills the spaces between the tiles but also helps protect them from moisture. I chose a grout color that complemented the tile design—light grout for a seamless, uniform look and darker grout for a more defined, geometric appearance. After applying the grout with a rubber float, I made sure to clean off any excess with a damp sponge before it dried. It’s essential to keep the tiles clean during this process, as dried grout can be difficult to remove. Grouting is where the backsplash comes to life, as it fills in the gaps and makes the entire design look cohesive.

One of the great advantages of using small tiles is the flexibility they offer when working around obstacles like outlets, switches, and cabinetry. With larger tiles, cutting around these fixtures can be tricky, but with smaller tiles, it’s easier to maintain the design without having to make significant cuts. I found that small tiles allowed me to maintain a continuous, uninterrupted pattern even when I had to make adjustments for outlets. This not only saved me time but also made the finished product look more professional and polished.
Another benefit of small tile backsplashes is that they are relatively easy to repair. If a tile gets damaged, it’s simple to replace just one or two tiles without having to redo the entire backsplash. This is especially useful in high-traffic areas like the kitchen, where accidents are more likely to happen. I keep a few extra tiles on hand for any future repairs, knowing that it’s a quick and easy fix if needed. This also allows me to maintain the aesthetic of the kitchen without having to undergo a complete renovation in the future.
Small tile backsplashes are not only practical but also an affordable option for upgrading a kitchen. Because small tiles often come in sheets, they can be more cost-effective than larger, individual tiles. This is especially true for materials like glass or marble, which can be expensive when purchased in large sizes. Additionally, smaller tiles mean fewer cuts and less waste, which can help reduce overall material costs. By carefully planning the layout and choosing the right materials, I was able to create a beautiful, custom backsplash without breaking the bank.

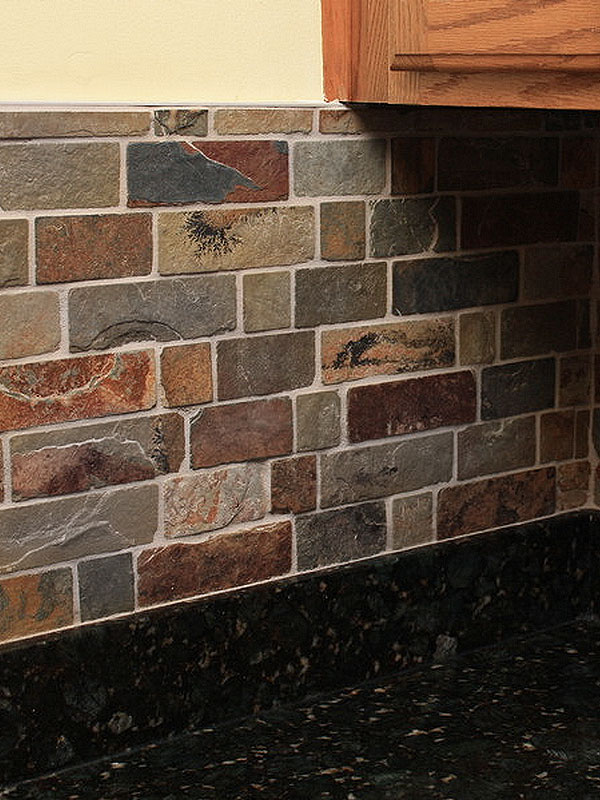
Another reason I love my small tile backsplash is the texture it adds to the kitchen. Larger tiles can sometimes create a flat, one-dimensional look, but small tiles provide depth and interest. Whether it’s the glossy sheen of glass tiles catching the light or the natural texture of stone tiles, small tiles can make even the simplest kitchen feel more dynamic. They create a sense of movement, drawing the eye across the backsplash and enhancing the overall design of the space.
The versatility of small tiles also means they can fit into kitchens of all sizes. In smaller kitchens, they can create the illusion of more space by adding detail and visual interest without overwhelming the area. In larger kitchens, small tiles can be used to create a focal point, such as a backsplash behind the stove or sink, that stands out against the rest of the kitchen. I found that small tiles provided me with the flexibility to customize my kitchen layout, allowing me to create a cohesive design that fit my specific needs and preferences.
Cleaning and maintaining a small tile backsplash is relatively easy, especially when you choose materials like ceramic or glass. I simply wipe down the tiles with a damp cloth and mild cleaner to keep them looking fresh. However, it’s important to keep the grout lines clean as well, as they can become discolored over time. Using a grout sealer can help protect the grout from stains and make cleaning easier in the long run. Overall, small tile backsplashes are low-maintenance and can be easily incorporated into a busy kitchen routine.

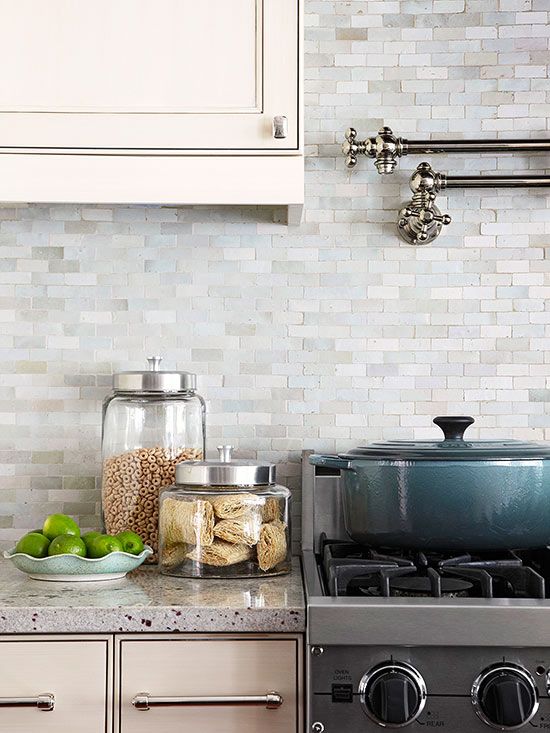
Small tiles also allow for creative freedom when it comes to color selection. While neutral tones are popular for backsplashes, small tiles make it easy to experiment with bold colors or create a mosaic effect. I chose a mix of soft blues and greens for my backsplash to add a pop of color without overpowering the kitchen. Because small tiles come in sheets, it’s also possible to create custom patterns or blend different colors to create a unique design. This adds a personal touch to the kitchen and allows you to make the space truly your own.
Incorporating small tiles into a kitchen backsplash can also improve the overall functionality of the space. A well-designed backsplash not only protects the walls from splashes and stains but also serves as a stylish backdrop for your countertops and appliances. By choosing the right materials and layout, I was able to enhance both the appearance and functionality of my kitchen. The small tiles created a surface that is easy to clean, durable, and resistant to heat and moisture, making it the perfect addition to a busy cooking space.
Ultimately, installing a small tile kitchen backsplash was one of the best decisions I made during my kitchen renovation. The project was manageable for a DIY enthusiast like myself, and the results transformed the space. The small tiles added personality and style to my kitchen while also serving a practical purpose. Whether you’re looking for a subtle, minimalist design or a bold, colorful statement, small tiles offer endless possibilities for customization. They are a versatile, affordable, and attractive option for anyone looking to update their kitchen.

Common Mistakes to Avoid
One common mistake when installing small tile backsplashes is failing to properly prepare the wall surface. If the wall is not smooth and clean, the adhesive may not bond correctly, leading to loose tiles. Always take the time to clean and sand the surface before starting the installation.
Another mistake is rushing through the installation process. Small tiles require precision, and it’s essential to use spacers to ensure even grout lines. Skipping this step can result in an uneven, unprofessional-looking backsplash.
Choosing the wrong adhesive is another issue. Not all adhesives are suitable for small tiles, especially glass or stone tiles. Be sure to select the right adhesive for your material to ensure that the tiles stay in place.
Improper grouting can also lead to problems. Applying too much grout or not cleaning off excess grout in time can leave a haze on the tiles that is difficult to remove. Take your time with grouting, and be sure to clean the tiles as you go.
Last, not sealing the grout is a mistake that can lead to stains and discoloration over time. Sealing the grout helps protect it from moisture and makes cleaning easier, so it’s an important final step that shouldn’t be overlooked.

Are small tiles harder to install than large tiles?
Small tiles can be more challenging to install because they require greater precision and more grout lines to manage. However, they offer flexibility in covering difficult spaces and creating intricate designs. With careful planning and the right tools, installing small tiles can be a rewarding DIY project.
What materials are best for small tile backsplashes?
Ceramic and glass are popular choices for small tile backsplashes due to their durability and ease of cleaning. Stone tiles, such as marble or granite, can add a luxurious touch but may require more maintenance. The best material depends on your design preferences, budget, and how much maintenance you’re willing to commit to.
Can I install a small tile backsplash on my own, or should I hire a professional?
If you have some DIY experience and are comfortable with tools like a tile cutter and notched trowel, installing a small tile backsplash can be a do-it-yourself project. However, for more complex designs or materials like glass or stone, hiring a professional may ensure a more polished finish.

How do I clean and maintain a small tile backsplash?
Most small tile backsplashes, especially ceramic or glass, are easy to clean with mild detergent and a soft cloth. Grout lines, however, may require a bit more attention, as they can collect stains over time. Using a grout sealer after installation can make cleaning easier in the long run.
What type of grout should I use for small tiles?
For small tiles, it’s generally recommended to use unsanded grout for joints that are 1/8 inch wide or smaller. Unsanded grout fills these narrow gaps more smoothly. However, for wider joints or if you’re using stone tiles, sanded grout may provide better stability.
How do I choose the right color for my small tile backsplash?
The color of your backsplash should complement the overall design of your kitchen. Neutral tones like white, gray, or beige are safe choices that work well in most kitchens. If you want to make a statement, consider bolder colors or a mosaic design that incorporates several shades. The key is to ensure the backsplash enhances rather than overpowers the space.

Kitchen Remodel Designs: Tile Backsplash Ideas for Kitchen
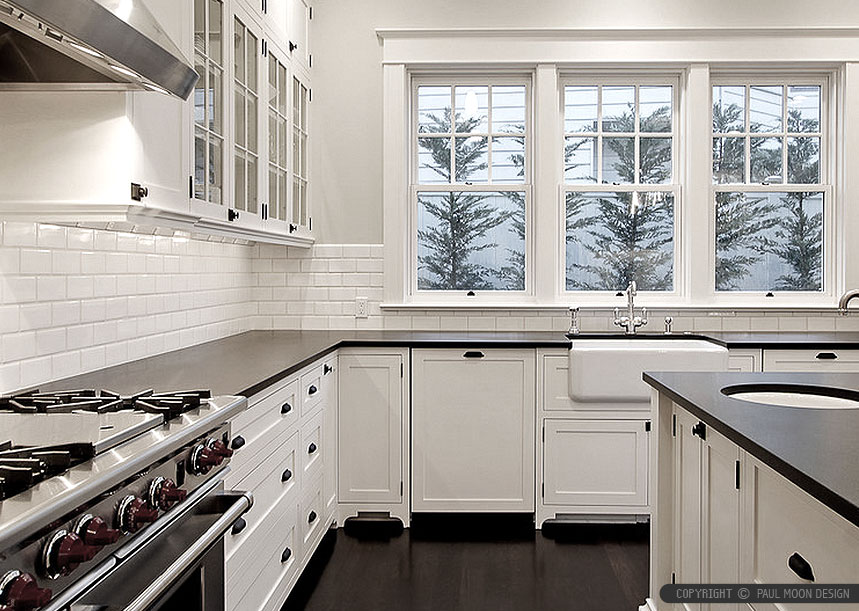
Black Countertop Backsplash Ideas Backsplash.com

Related Posts:
- Kitchen Backsplash On A Budget
- Herringbone Kitchen Backsplash Ideas
- Inexpensive Kitchen Backsplash Options
- Glass Sheet Backsplashes For Kitchens
- Backsplash For Kitchen With Oak Cabinets
- Kitchen Backsplash Border Ideas
- Kitchen Backsplash Sealer
- Kitchen Backsplash Photos Ideas
- Tile Mural Backsplashes For Kitchens
- Diamond Plate Kitchen Backsplash
The Advantages of Small Kitchen Backsplash Tiles
Small kitchen backsplash tiles can offer several advantages over larger tiles. Firstly, they can create an illusion of a larger space, making your small kitchen more open and spacious. Secondly, they are more versatile and can be used in various patterns and designs, giving you more options to customize your backsplash.
Small Tiles for Small Kitchens
If you have a small kitchen, it’s essential to choose a backsplash tile size that complements the scale of the space. Small tiles, such as mosaic or subway tiles, can work well in smaller kitchens, creating a more intricate design and a visually interesting pattern.
Mosaic Tiles
Mosaic tiles are an excellent choice for small kitchens, as they come in various sizes and can be arranged in different patterns to create a unique design. They are also a great way to add color and texture to your backsplash. Mosaic tiles can be made from various materials, including glass, porcelain, or natural stone, giving you endless options.
Subway Tiles
Subway tiles are another popular choice for small kitchen backsplashes. They are typically 3×6 inches in size and can be arranged in various patterns, such as herringbone or stacked. Subway tiles are versatile and can be used in traditional and modern kitchen designs. They are available in various materials, including ceramic, glass, and natural stone, and can be used in different colors and finishes.
Other Small Tile Options
In addition to mosaic and subway tiles, there are other small tile options for your small kitchen backsplash. These include penny tiles, hexagonal tiles, and fish-scale tiles. Penny tiles are small, round tiles that can create a unique pattern and add a vintage touch to your kitchen. Hexagonal tiles can add a modern and geometric look, while fish-scale tiles offer a more organic and natural feel.
Final Thoughts
In conclusion, choosing the right backsplash tile size is essential to small kitchen design. Small tiles can offer several benefits, including creating an illusion of a larger space and providing more design options. Mosaic and subway tiles are popular for small kitchen backsplashes, but other small tile options are also to consider. Whatever size or style you choose, select a backsplash tile that complements the scale and style of your kitchen and adds a touch of personality and flair to your space.