Transforming Your Kitchen With DIY Tile Countertops
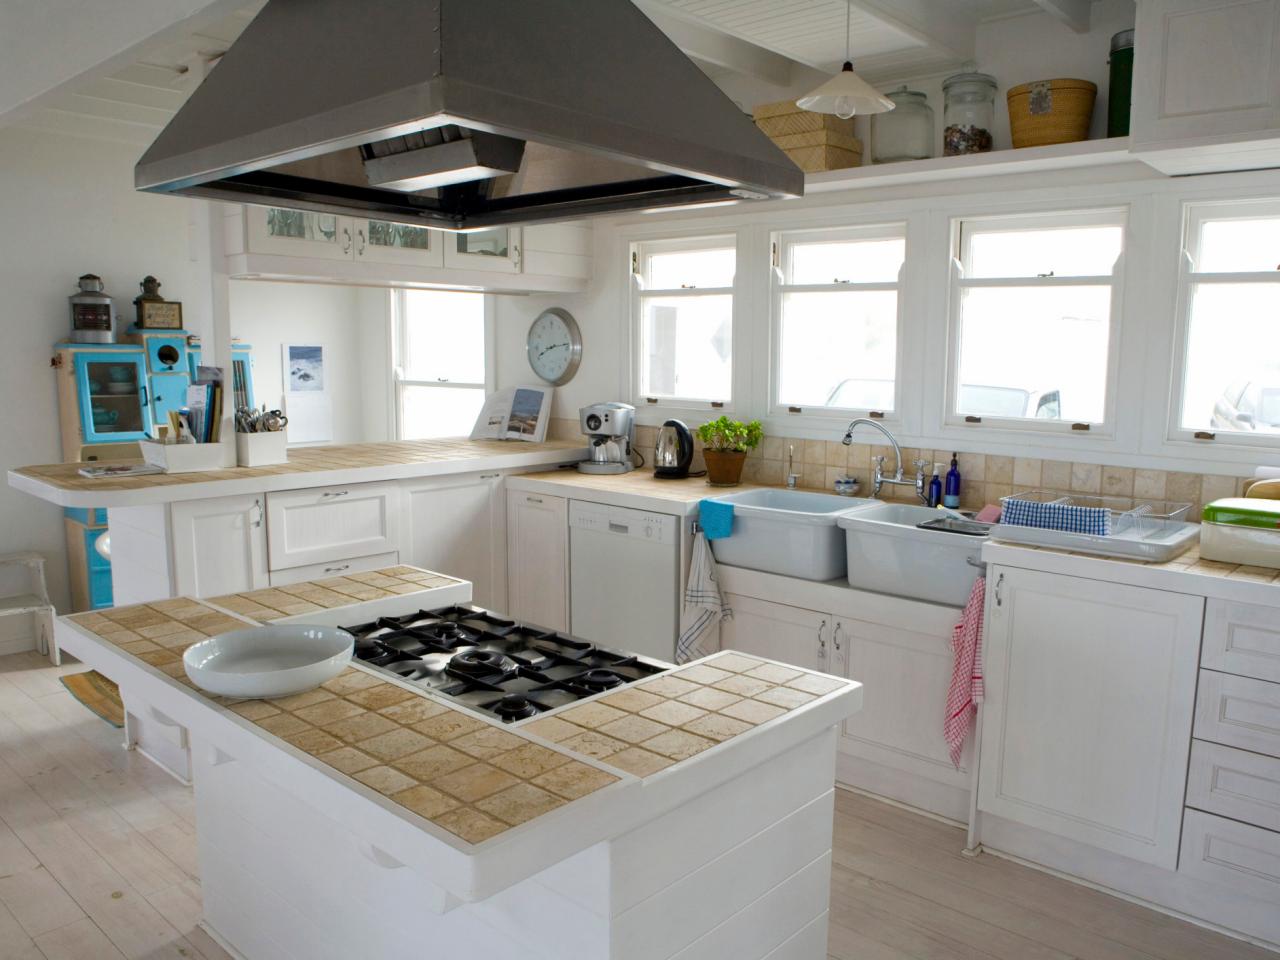
DIY projects offer a unique opportunity to personalize and enhance your living space, and tile kitchen countertops are no exception. Tiled countertops not only add visual appeal to your kitchen but also provide durability and easy maintenance. With the right materials and a bit of creativity, you can create a stunning tiled surface that reflects your style and personality. Let’s discuss the process of DIY tile kitchen countertops and how you can achieve professional-looking results on a budget.

Planning and Preparation: Setting the Foundation for Success
Before diving into your DIY tile countertop project, thorough planning and preparation are essential to ensure a smooth and successful outcome. Start by assessing your existing countertop surface and determining whether it’s suitable for tiling. Smooth, flat surfaces such as plywood or cement board are ideal for tile installation, while uneven or damaged surfaces may require repair or reinforcement before tiling.
Next, carefully measure the dimensions of your countertop and calculate the amount of tile needed, taking into account any cuts or trim pieces required to fit around edges and corners. Choose a tile size and pattern that complements your kitchen décor and fits the overall aesthetic you wish to achieve. Additionally, select a high-quality tile adhesive and grout that are suitable for use in kitchen environments and compatible with your chosen tile material.
Prepare the countertop surface by thoroughly cleaning and priming it to ensure proper adhesion of the tile adhesive. Remove any existing sealant or coatings, and sand down rough patches or imperfections to create a smooth, even surface for tiling. Once the surface is prepped and primed, you’re ready to begin the tile installation process.
Tile Installation: Step-by-Step Guide to Professional Results
Start by dry-fitting the tiles on the countertop surface to determine the layout and spacing, making any necessary adjustments to ensure a symmetrical and balanced design. Use tile spacers to maintain uniform spacing between tiles and create clean, straight grout lines. Once you’re satisfied with the layout, begin applying the tile adhesive to the countertop surface using a notched trowel, working in small sections to prevent the adhesive from drying out.
Carefully press each tile into place, using a slight twisting motion to ensure full contact with the adhesive and achieve a secure bond. Use a tile cutter or wet saw to make precise cuts for tiles that need to fit around edges or obstacles. As you work, periodically check the alignment and levelness of the tiles using a spirit level to ensure a flat, even surface.
Once all the tiles are in place, allow the adhesive to cure according to the manufacturer’s instructions before proceeding to grouting. Mix the grout to a smooth, creamy consistency and apply it to the spaces between the tiles using a grout float, pressing firmly to fill any gaps and ensure complete coverage. Wipe away excess grout with a damp sponge, taking care not to disturb the tiles, and allow the grout to dry completely before sealing.
Finishing Touches: Sealing and Protecting Your Tile Countertops
After the grout has cured and dried, apply a high-quality grout sealer to protect the grout lines from moisture and staining. Use a small brush or applicator to ensure thorough coverage, paying particular attention to areas near sinks and cooktops where spills and splashes are more likely to occur. Allow the sealer to dry completely before using the countertop.
In addition to sealing the grout, consider applying a protective sealant to the tile surface to enhance durability and resistance to stains and scratches. Choose a sealant that is specifically formulated for use on tile and follow the manufacturer’s instructions for application and curing. Once the sealant has dried, your DIY tile kitchen countertops are ready for use and enjoyment.

Maintenance and Care
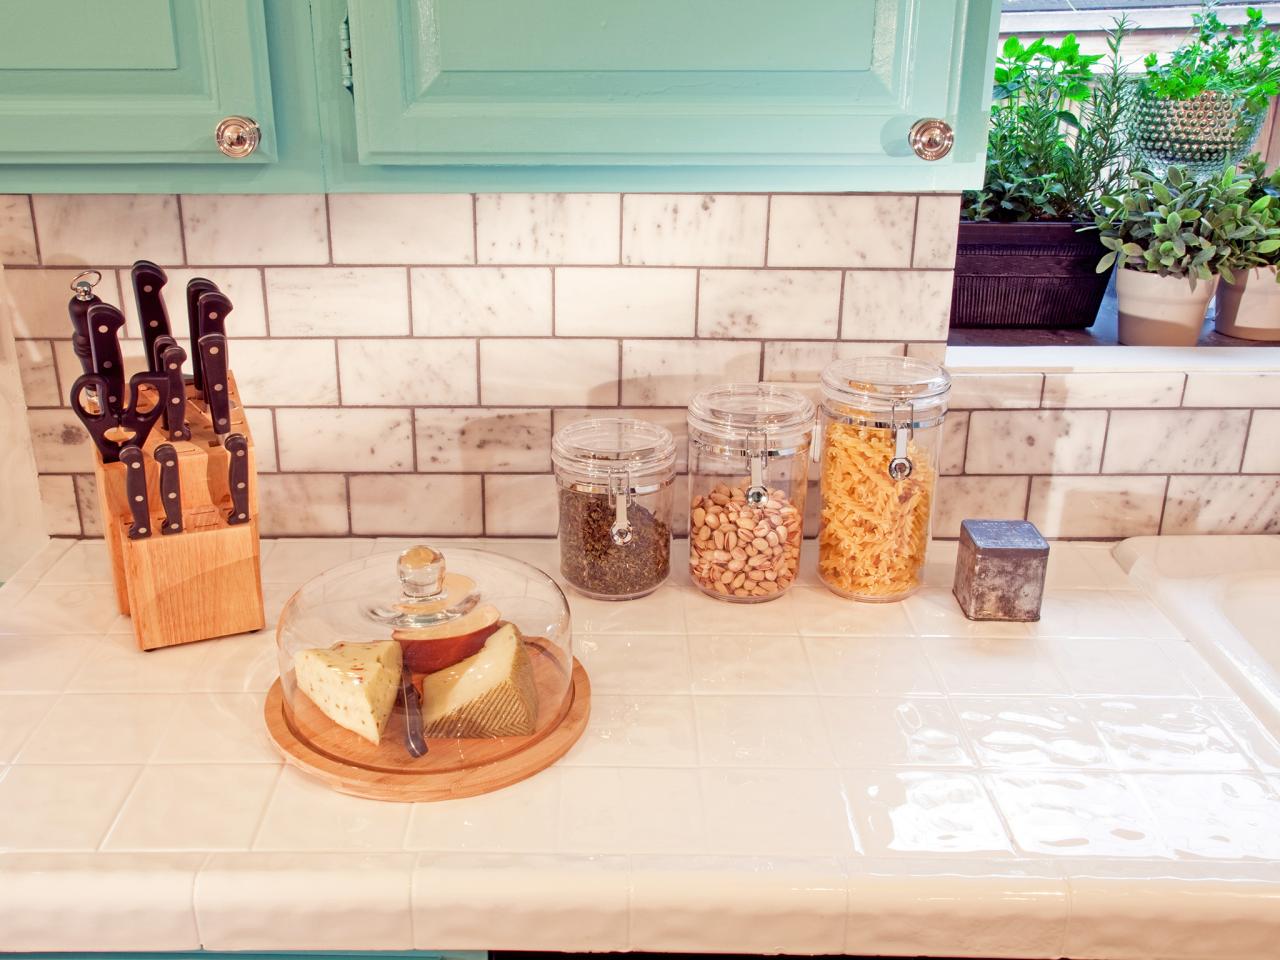
To keep your DIY tile kitchen countertops looking their best, proper maintenance and care are essential. Regularly clean the countertop surface with mild detergent and warm water, using a soft cloth or sponge to remove dirt, grease, and food residues. Avoid using abrasive cleaners or scouring pads, as they can scratch the tile surface and dull the finish.
Periodically inspect the grout lines for signs of wear or damage, such as cracks, chips, or discoloration, and repair any issues promptly to prevent moisture penetration and further deterioration. Use a grout pen or touch-up kit to refresh and revitalize discolored or stained grout, or consider regrouting the entire surface for a fresh, uniform appearance.
In addition to regular cleaning and maintenance, take preventive measures to protect your tile countertops from damage. Use cutting boards and trivets to prevent scratches and heat damage from hot pots, pans, and utensils. Wipe up spills and splashes promptly to prevent staining and avoid harsh chemicals or acidic substances that can etch or damage the tile surface.

Common Mistakes to Avoid:
Skipping Proper Surface Preparation: Ensure the countertop surface is clean, smooth, and properly primed before tiling to ensure adhesion and prevent issues with tile installation.
Poor Tile Layout and Spacing: Take the time to plan and dry-fit tiles to achieve a balanced layout and uniform spacing, avoiding uneven or crooked tiles and grout lines.
Incorrect Grout Application: Apply grout evenly and firmly, ensuring complete coverage and filling of grout lines to prevent moisture penetration and cracking.
Neglecting Sealing and Protection: Seal grout lines and tile surfaces to protect against stains, moisture, and damage, extending the lifespan and beauty of your DIY tile countertops.

Are DIY tile kitchen countertops durable and long-lasting?
Yes, with proper installation and maintenance, DIY tile kitchen countertops can be durable and long-lasting, providing years of beauty and functionality.
What type of tile is best for kitchen countertops?
Porcelain and ceramic tiles are popular choices for kitchen countertops due to their durability, resistance to stains and scratches, and wide range of colors and styles.
Can I install tile over existing laminate or wood countertops?
Yes, tile can be installed over existing laminate or wood countertops with proper surface preparation and adhesive application. However, ensure the existing surface is stable and suitable for tiling.
How do I clean and maintain DIY tile kitchen countertops?
Clean the countertop surface regularly with a mild detergent and warm water, and periodically seal grout lines and tile surfaces to protect against stains and damage.
What should I do if I encounter issues with my DIY tile countertops, such as cracked tiles or loose grout?
If you encounter issues such as cracked tiles or loose grout, assess the extent of the damage and determine whether repairs can be made using DIY methods or if professional assistance is needed. Addressing issues promptly can prevent further damage and ensure the longevity of your tile countertops.

Bullnose tile edges for the kitchen counters. Kitchen counter tile, Outdoor kitchen

Tile Kitchen Countertops: Pictures & Ideas
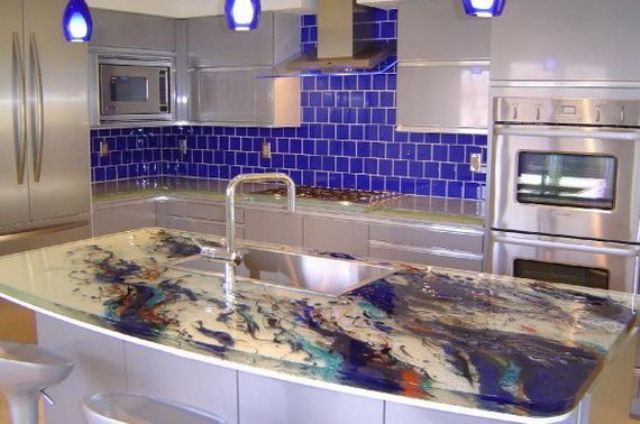
Can I make Stone Coat Countertops?

Porcelain Calacatta slab and tiles Granite, Marble, Limestone

All Amazing Collection for Tile Kitchen Countertops

White cabinets black granite, Black granite kitchen, Black backsplash

Related Posts:
- Kitchen Countertops Vancouver Wa
- Kitchen Countertop Trends 2022
- Vintage Kitchen Countertops
- DIY Kitchen Cabinets And Countertops
- Kw Granite Countertops Kitchener On
- Marble Kitchen Countertops Colors
- Non Porous Kitchen Countertops
- Kitchen Countertops Greenville Sc
- Refinish Kitchen Countertops DIY
- Kitchen Countertop Oven