Tin backsplashes have been making a comeback in kitchen design, offering both aesthetic appeal and practical benefits. These decorative metal panels not only add a touch of vintage charm to your kitchen but also protect your walls against splashes and stains. If you’re considering installing a tin backsplash in your kitchen, here’s everything you need to know.
Why Choose Tin Backsplash?
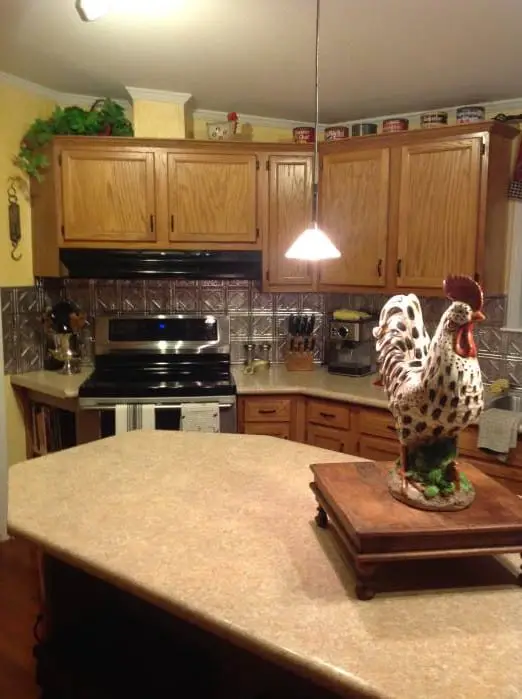
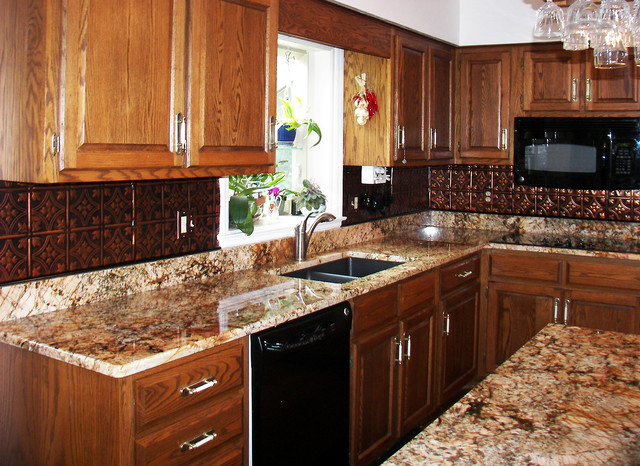
Tin backsplashes are an excellent choice for homeowners looking to enhance the visual appeal of their kitchen. These backsplashes come in a variety of designs, ranging from traditional patterns to more modern styles, allowing you to customize the look of your kitchen to suit your taste. Additionally, tin backsplashes are durable and easy to maintain, making them ideal for high-traffic areas like the kitchen.
When compared to other materials such as ceramic tile or stone, tin backsplashes offer several advantages. They are lightweight and easy to install, requiring minimal tools and expertise. Tin backsplashes are also resistant to moisture and heat, making them suitable for use behind stoves and sinks where they may come into contact with water and steam.
Installation Process
Installing a tin backsplash in your kitchen is a relatively straightforward process that can be completed in a weekend with the right tools and materials. Here’s a step-by-step guide to help you through the installation process:
Step 1: Preparation
Start by thoroughly cleaning the wall surface where you’ll be installing the backsplash. Remove any grease, dirt, or debris, and ensure that the wall is dry and smooth.
Step 2: Measure and Cut
Measure the area where the backsplash will be installed and mark the dimensions on the tin panels. Use tin snips to cut the panels to size, making sure to wear gloves to protect your hands from sharp edges.
Step 3: Apply Adhesive
Apply a thin layer of adhesive to the back of the tin panels using a caulking gun or adhesive spreader. Be sure to follow the manufacturer’s instructions for the specific adhesive you’re using.
Step 4: Install Panels
Carefully place the tin panels onto the wall, starting from one corner and working your way across. Press firmly to ensure good adhesion, and use a level to ensure that the panels are straight and aligned.

Maintenance and Care
Once your tin backsplash is installed, proper maintenance is essential to keep it looking its best for years to come. Fortunately, tin backsplashes are relatively low maintenance and only require occasional cleaning to remove any dirt or grease buildup.
To clean your tin backsplash, simply wipe it down with a mild soap and water solution using a soft cloth or sponge. Avoid using abrasive cleaners or scouring pads, as these can scratch the surface of the tin. Additionally, be sure to dry the backsplash thoroughly after cleaning to prevent water spots and mineral deposits.
Cost Considerations
The cost of installing a tin backsplash in your kitchen will depend on several factors, including the size of the area to be covered, the type of tin panels you choose, and whether you hire a professional installer. On average, homeowners can expect to pay anywhere from $10 to $20 per square foot for materials and installation.
While tin backsplashes may be more expensive upfront than other materials such as ceramic tile, they offer long-term durability and aesthetic appeal that can justify the investment for many homeowners. Additionally, the relatively simple installation process can help to offset labor costs if you choose to tackle the project yourself.

Common Mistakes to Avoid When Installing a Tin Backsplash
Failure to Properly Prepare the Surface: Skipping the step of cleaning and prepping the wall surface can result in poor adhesion and a less-than-perfect finish.
Using the Wrong Adhesive: Using an adhesive that is not suitable for metal surfaces can lead to the panels not adhering properly or even falling off over time.
Incorrect Measurements: Failing to measure accurately or cutting the tin panels incorrectly can result in gaps or uneven seams in the finished backsplash.
Not Allowing Sufficient Drying Time: Rushing the installation process and not allowing the adhesive to fully cure before using the backsplash can compromise its stability and longevity.
Are tin backsplashes easy to clean?
Yes, tin backsplashes are easy to clean and require only mild soap and water for maintenance.
Can I install a tin backsplash myself, or do I need to hire a professional?
While hiring a professional installer is an option, many homeowners find that they can install a tin backsplash themselves with the right tools and materials.
Are tin backsplashes heat resistant?
Yes, tin backsplashes are heat resistant and can safely be installed behind stoves and cooktops.
Do tin backsplashes come in different colors and designs?
Yes, tin backsplashes are available in a variety of colors and designs, allowing homeowners to customize their kitchen’s look to suit their style.
How long do tin backsplashes typically last?
With proper care and maintenance, tin backsplashes can last for many years, providing a durable and stylish addition to your kitchen.

Tin Backsplash For Kitchen Home Design Ideas, Pictures, Remodel and Decor
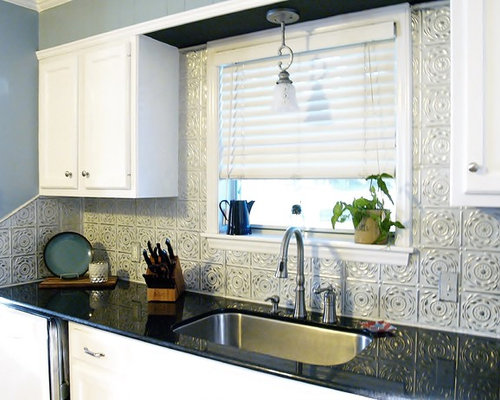
Done Wright Home Improvement: DIY Pressed Tin Kitchen Backsplash

kitchen backsplash Kitchen Backsplash

Incredible Kitchen Backsplash Ideas That Aren’t Tile
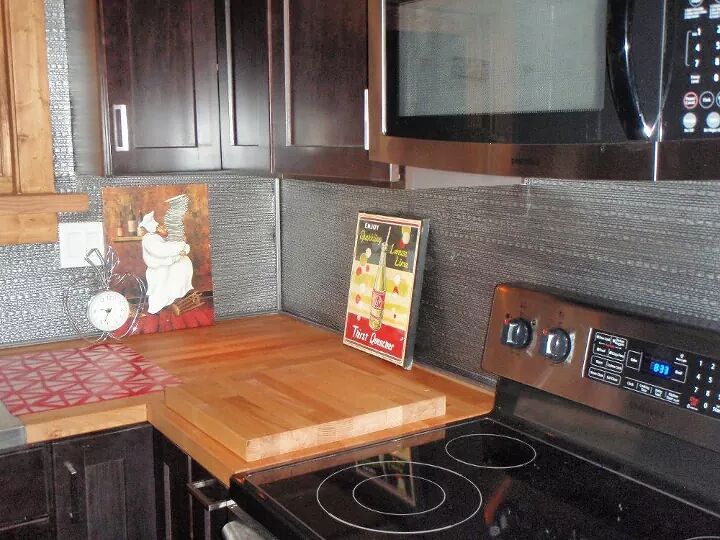
Important Kitchen Interior Design Components, Part 3: To Backsplash or Not to Backsplash

White Wood : progress and play
Pressed Tin Panels Charlotte kitchen splashback silver
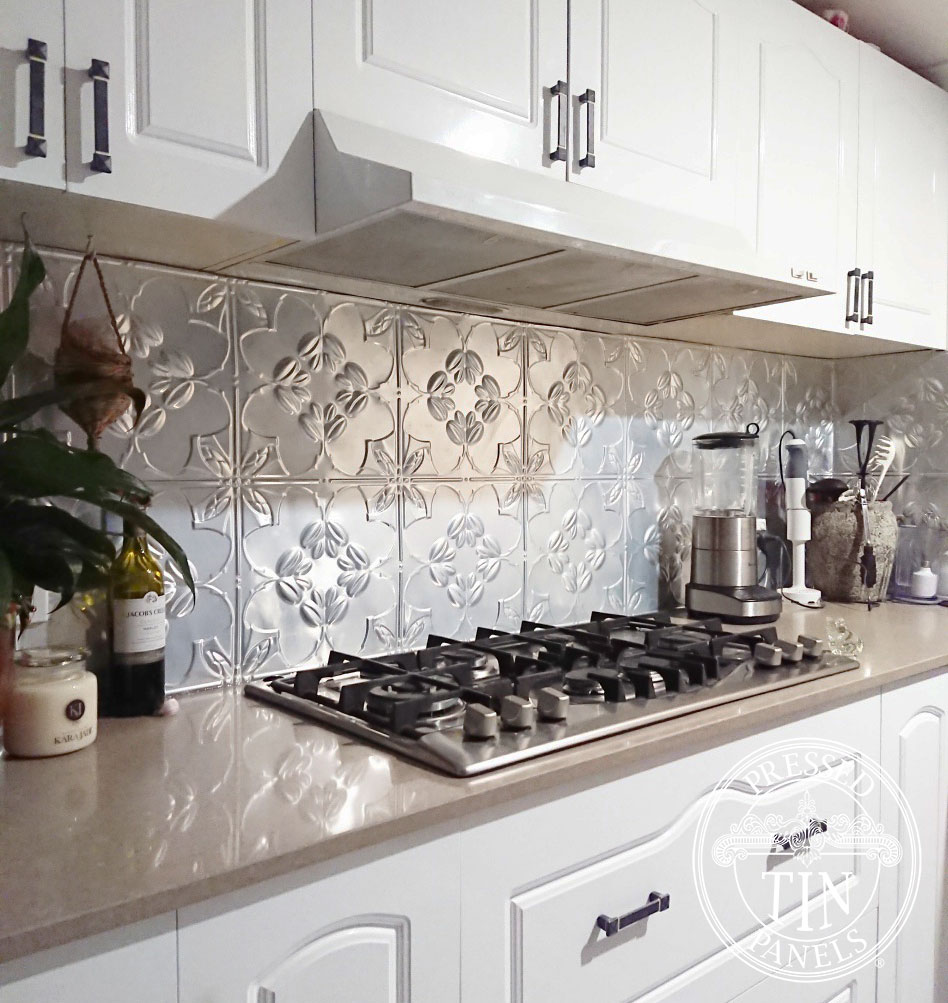
Tin Backsplash – Kitchen Backsplashes – Contemporary – Kitchen – Tampa – by American Tin Ceilings

best tin backsplash, Tin tiles and Backsplash ideas

Related Posts:
- How To Re Tile Kitchen Backsplash
- Backsplashes For Kitchens Nz
- Fasade Kitchen Backsplash Reviews
- Sea Green Kitchen Backsplash
- High End Kitchen Backsplash Tile
- Light Green Kitchen Backsplash
- Kitchen Backsplash With Black Cabinets
- Kitchen Sink Backsplash Guard
- Black Kitchen Tile Backsplash
- Floral Kitchen Tile Backsplash