Refinishing kitchen countertops on your own is a highly rewarding project, offering a fresh look to your space at a fraction of the cost of replacement. Whether your countertops are worn, or outdated, or you’re simply craving a style change, DIY refinishing provides the flexibility to adapt the design to your taste. The process involves prepping, repairing, applying new finishes, and sealing the countertops, which can sound daunting but is achievable with a little patience, the right tools, and some helpful techniques. It’s an excellent project if you want a quick upgrade without a major renovation, and it doesn’t necessarily require extensive DIY experience. In fact, with some guidance, even beginners can achieve beautiful, long-lasting results.
The first step to refinishing kitchen countertops is assessing the current state of the surface. Are there deep scratches, burns, or stains? Different types of countertops, like laminate, granite, or solid wood, require different approaches for refinishing. Laminate countertops are among the most straightforward to refinish since they accept paint and epoxy coatings relatively well. Granite and solid-surface countertops, however, might require more specialized treatments like concrete overlays or polishing kits. Once you know what you’re working with, choose a refinishing method that suits both the material and your design goals, keeping in mind that refinishing can range from painting and sealing to applying concrete or epoxy finishes.
Cleaning the surface thoroughly before beginning is crucial to achieving a smooth, long-lasting finish. Over time, grease, food residues, and grime build up on countertops, and any contaminants left on the surface can interfere with adhesion, leading to peeling or bubbling later. Use a strong degreaser or countertop cleaner and scrub thoroughly, paying extra attention to any grooves, seams, or edges where dirt might accumulate. Once cleaned, rinse with water and dry the countertop completely. Some people go over it a final time with rubbing alcohol to ensure no oils or residues remain. Skipping this step might compromise the final look, so I always emphasize the importance of a spotless surface.
Once the countertop is clean, it’s time to move to the repair phase. Chips, scratches, and dents are inevitable in a well-used kitchen, but addressing these flaws now will ensure a more uniform finish. For laminate or solid-surface countertops, use a two-part epoxy or countertop repair kit to fill in chips or deep scratches. With granite, cracks can be filled with clear epoxy to blend seamlessly into the stone. Sanding helps smooth any raised edges or rough patches and makes it easier for the new finish to adhere. Use fine-grit sandpaper (around 220 grit) to gently roughen the surface, which will help the primer or paint bond more effectively.
With repairs done, apply primer to the countertop, especially if you’re planning on using a paint finish. A primer helps the paint adhere better and ensures an even color. Choose a primer that’s compatible with the type of paint or coating you plan to use. Some people prefer oil-based primers for durability, while others go for water-based primers for ease of cleaning and quicker drying times. I recommend applying the primer with a high-quality roller to avoid streaks and remember to let each coat dry fully before adding the next. For laminate surfaces, two thin coats of primer usually provide a sufficient base.
After priming, the fun part begins—adding the paint or coating. Epoxy paints and kits are especially popular for countertops because they’re durable, glossy, and resistant to water and stains. Epoxy application can be slightly challenging, as it’s self-leveling and needs to be poured rather than brushed. However, the results are well worth the effort: you’ll get a smooth, glass-like finish that can mimic stone or marble. If you choose traditional countertop paint, a paint roller can create a smooth finish, though multiple thin coats will likely be necessary for good coverage. Allow each coat to dry completely to avoid streaks or uneven texture.
Some DIY enthusiasts opt for a concrete overlay, which can provide a trendy, industrial look to kitchen countertops. Concrete overlay kits involve spreading a layer of microcement over the countertop surface, which then needs to be sealed for durability. This technique requires a bit more skill and patience, as concrete can be tricky to work with, but it delivers a unique and durable finish. Concrete overlays are highly customizable, allowing you to sand and polish the surface for a matte or gloss finish depending on your preference.
Once the final coat of paint, epoxy, or overlay has dried, sealing the countertop is essential. Sealants protect the surface from moisture, stains, and daily wear, extending the life of your new finish. For epoxy-coated countertops, sealants may not be necessary, as epoxy itself is waterproof and durable. However, for painted or concrete countertops, applying a polyurethane sealant will give a protective layer that’s easy to clean and maintain. Sealants come in different finishes, including gloss, satin, and matte, so choose one that complements your desired look.
When applying sealant, make sure to follow the manufacturer’s instructions carefully. Some sealants require multiple coats, while others may need a specific drying time. Proper ventilation is also important, as sealants can emit strong fumes, especially when applied indoors. After sealing, allow the countertop to cure fully for a couple of days before heavy use to ensure the finish is set and durable.
Another popular approach to DIY countertop refinishing is faux painting, which allows you to mimic the appearance of expensive materials like granite or marble. Using specialized countertop paint kits, you can create textures and veins that resemble real stone. It’s a meticulous process that involves layering different colors and using sponges or feathers for texture, but it’s a great option if you want a high-end look on a budget. Faux finishes also work well with sealants and can be quite durable if applied and sealed correctly.

When working on DIY countertop projects, always consider the wear and tear your countertops typically endure. Kitchens are high-traffic areas, and your choice of finish should align with your cooking and cleaning habits. For instance, if you frequently cook with ingredients like turmeric or red wine that can stain, opt for a finish that’s stain-resistant and easy to clean. Epoxy finishes are particularly resilient and can stand up to heat, which might make them a better choice than basic paint or concrete for some households.
After completing the project, countertop maintenance is key to making your refinishing efforts last. Avoid harsh chemicals and abrasive cleaners, as they can erode paint or damage the sealant. Instead, opt for gentle, non-abrasive cleaning solutions to maintain the finish. Regularly inspecting your countertops for any signs of wear or damage can help you address small issues before they become bigger problems.
While DIY countertop refinishing is generally straightforward, there are common mistakes that can lead to disappointing results. One frequent error is inadequate cleaning before applying paint or primer, which can cause peeling or bubbles. Another is skipping the repair step; small chips or dents will show through paint or epoxy, so taking the time to patch these imperfections is crucial. Some DIYers also rush through drying times, leading to smudges, uneven finishes, or streaking. Finally, skipping the sealing step or using incompatible sealants with your chosen finish can result in reduced durability, as well as a countertop that’s harder to clean.

Common Mistakes to Avoid
- Skipping Repairs: Any damage to the countertop will become more visible after refinishing, so make sure to fill in chips, scratches, and dents.
- Insufficient Cleaning: Oils, dust, or residue left on the surface can prevent the new finish from adhering properly.
- Rushing Drying Times: Each layer of primer, paint, or sealant needs to fully dry to avoid smudges or streaking.
- Using Incorrect Tools: High-quality rollers, brushes, and mixing tools are worth the investment for a smooth application.
- Ignoring Ventilation Needs: Some primers and sealants emit strong fumes that require adequate ventilation for safe indoor application.
- Skipping Sealant: Unsealed finishes are more vulnerable to stains and damage, so always seal for long-lasting results.
How long does DIY countertop refinishing last?
A properly refinished countertop can last 5-10 years, depending on the materials used and the level of care. Regular maintenance and avoiding abrasive cleaners can help extend the finish’s lifespan.
Can I refinish granite countertops myself?
Yes, granite countertops can be refinished with specialized products, like epoxy or concrete overlay kits. Refinishing granite typically requires more prep work, like filling in cracks and sanding to achieve a smooth surface.
What is the best type of paint to use on kitchen countertops?
Epoxy paint is generally considered the best option for countertops because it is highly durable and resistant to moisture and stains. If epoxy isn’t suitable, acrylic or latex paints designed for countertops also work well but may require additional sealing.

How do I clean and maintain a refinished countertop?
Use mild, non-abrasive cleaners and avoid harsh chemicals that could erode the finish. Wipe spills quickly, and consider using cutting boards and trivets to avoid scratches or heat damage.
Is it safe to apply epoxy on countertops indoors?
Yes, but ensure proper ventilation during application, as epoxy can emit strong fumes. Follow all safety guidelines, including wearing gloves and a mask if recommended, to minimize exposure to fumes.
What surfaces can be refinished with DIY countertop kits?
Most countertop materials, including laminate, granite, and solid wood, can be refinished with DIY kits. Check the compatibility of the kit with your countertop material, as some require specific primers or adhesives to ensure a durable bond.
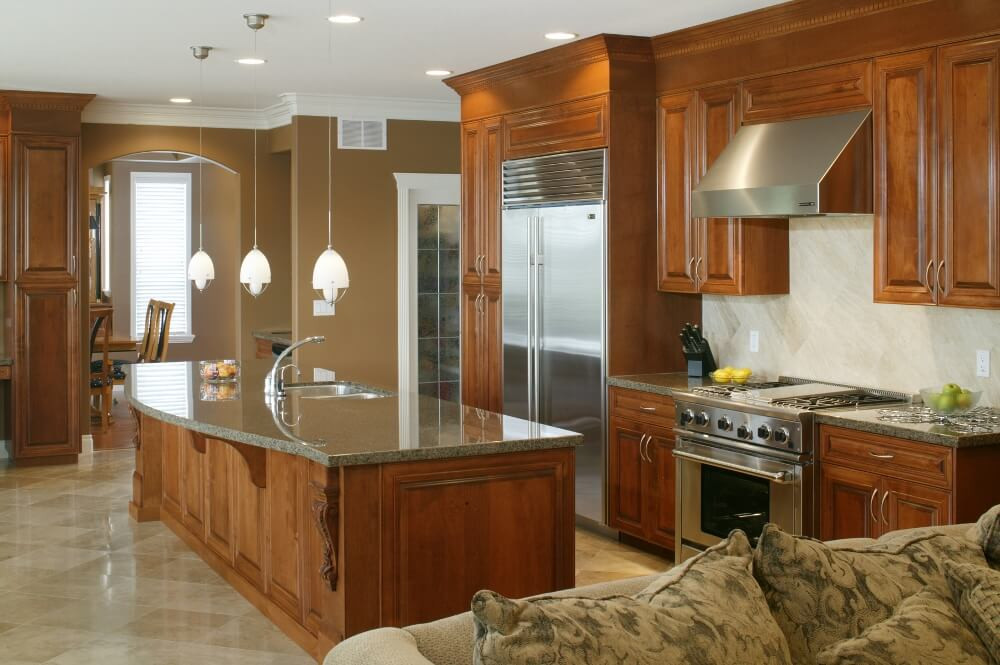
Kitchen Renovations – New Countertops
Affordable Epoxy Countertop DIY
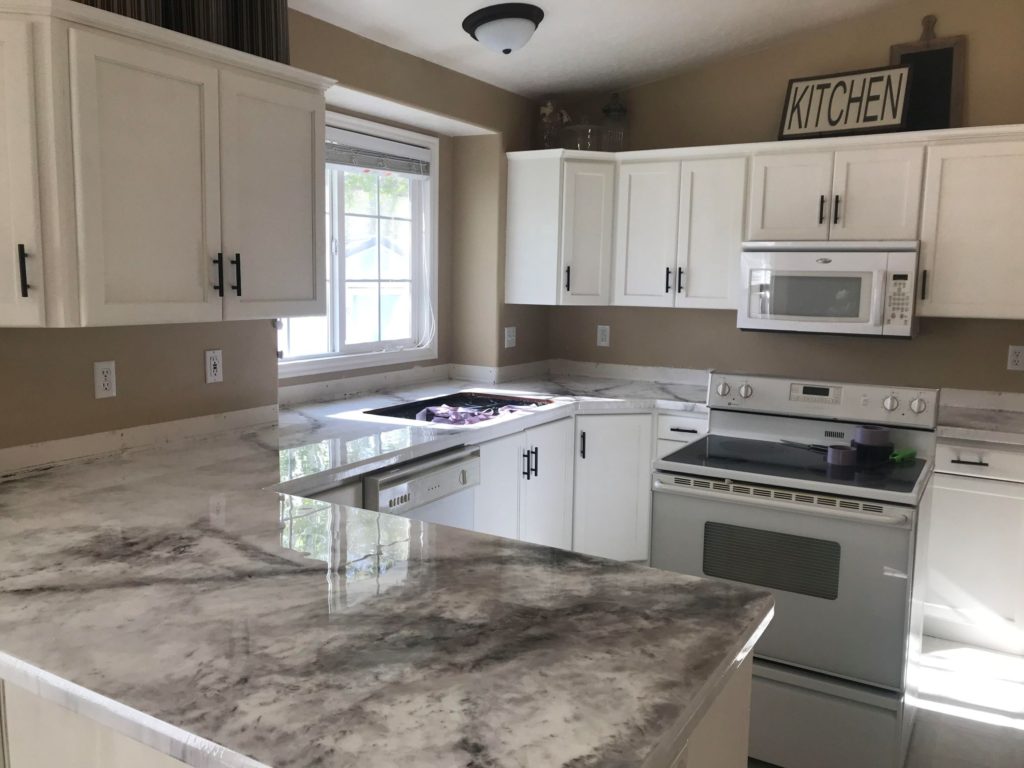
Kitchen Countertops Refinishing

Kitchen Cabinet, Before And After Refacing Oak Kitchen Cabinet To White Kitchen Cabinet With

Pin on DIY GOTTA TRY

Pin on Giani™ Granite Countertop Paint

Related Posts:
- Kitchen Countertops Louisville Ky
- Kitchen Countertop Material Types
- Redoing Kitchen Countertops Yourself
- Outdoor Kitchen Countertop Options
- Kitchen Countertops Halifax
- Tiling A Kitchen Countertop With Ceramic Tiles
- How To Choose Granite For Kitchen Countertops
- Paint Kitchen Countertops To Look Like Marble
- Fossil Countertops Kitchen
- Sandstone Kitchen Countertops