Replacing the backsplash in your kitchen can be a fantastic way to refresh the look of your cooking space. Whether you’re tired of the current design or simply want to update your kitchen, this project can make a significant difference. In this comprehensive guide, we’ll take you through every step of the process, from choosing the right materials to tackling common challenges, and even exploring design and style tips to ensure your new backsplash complements your kitchen’s overall aesthetic.
Choosing the Right Backsplash Material
Selecting the ideal backsplash material is a critical decision that sets the tone for your kitchen’s new look. There are various materials to choose from, each with its unique characteristics and appeal.
Tiles: Classic and Versatile
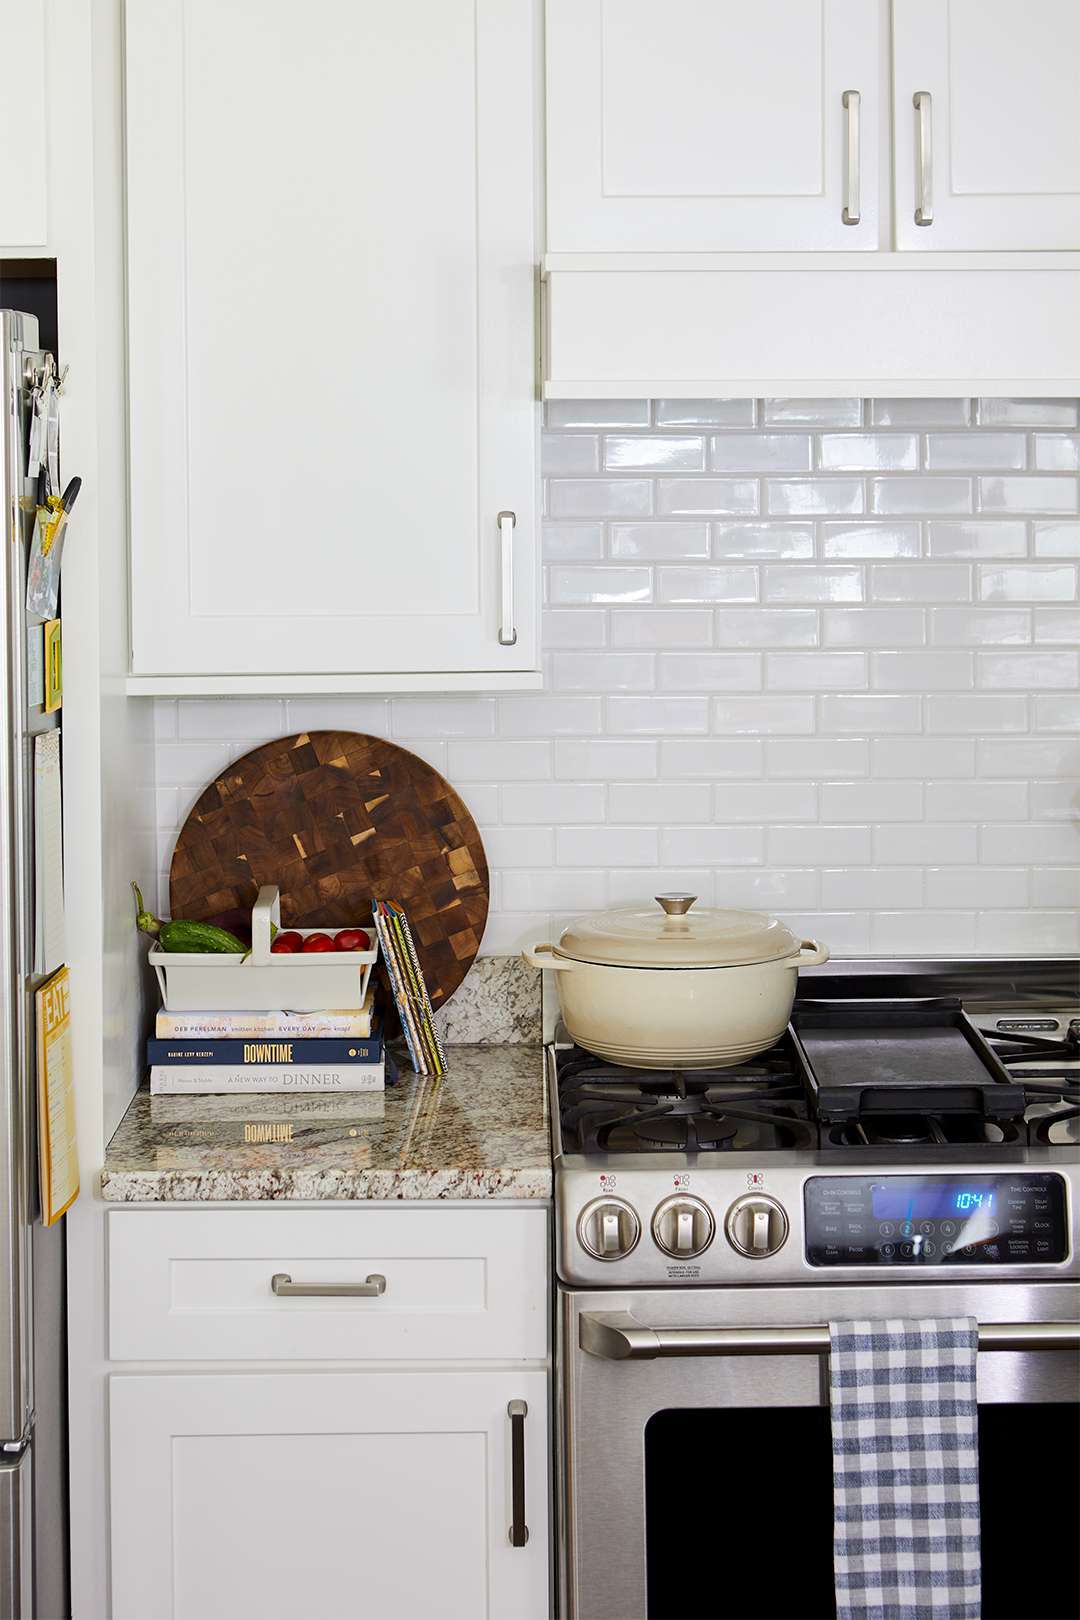
Tiles are a popular choice for kitchen backsplashes due to their versatility. You can find them in various sizes, colors, and patterns, allowing you to get creative with your design. Ceramic, porcelain, and subway tiles are some popular options. They’re durable, easy to clean, and can fit almost any kitchen style.
Glass: Modern and Sleek
If you’re aiming for a modern and sleek look, glass backsplashes can be an excellent choice. They’re easy to clean and reflect light, which can make your kitchen appear more spacious. You can opt for clear, frosted, or colored glass to match your design preferences.
Stone: Timeless Elegance
Natural stone backsplashes, like marble, granite, or travertine, exude timeless elegance. They offer durability and a unique, luxurious appearance. Keep in mind that stone can be a bit more expensive and requires proper maintenance to preserve its beauty.
Beadboard: Charming and Rustic
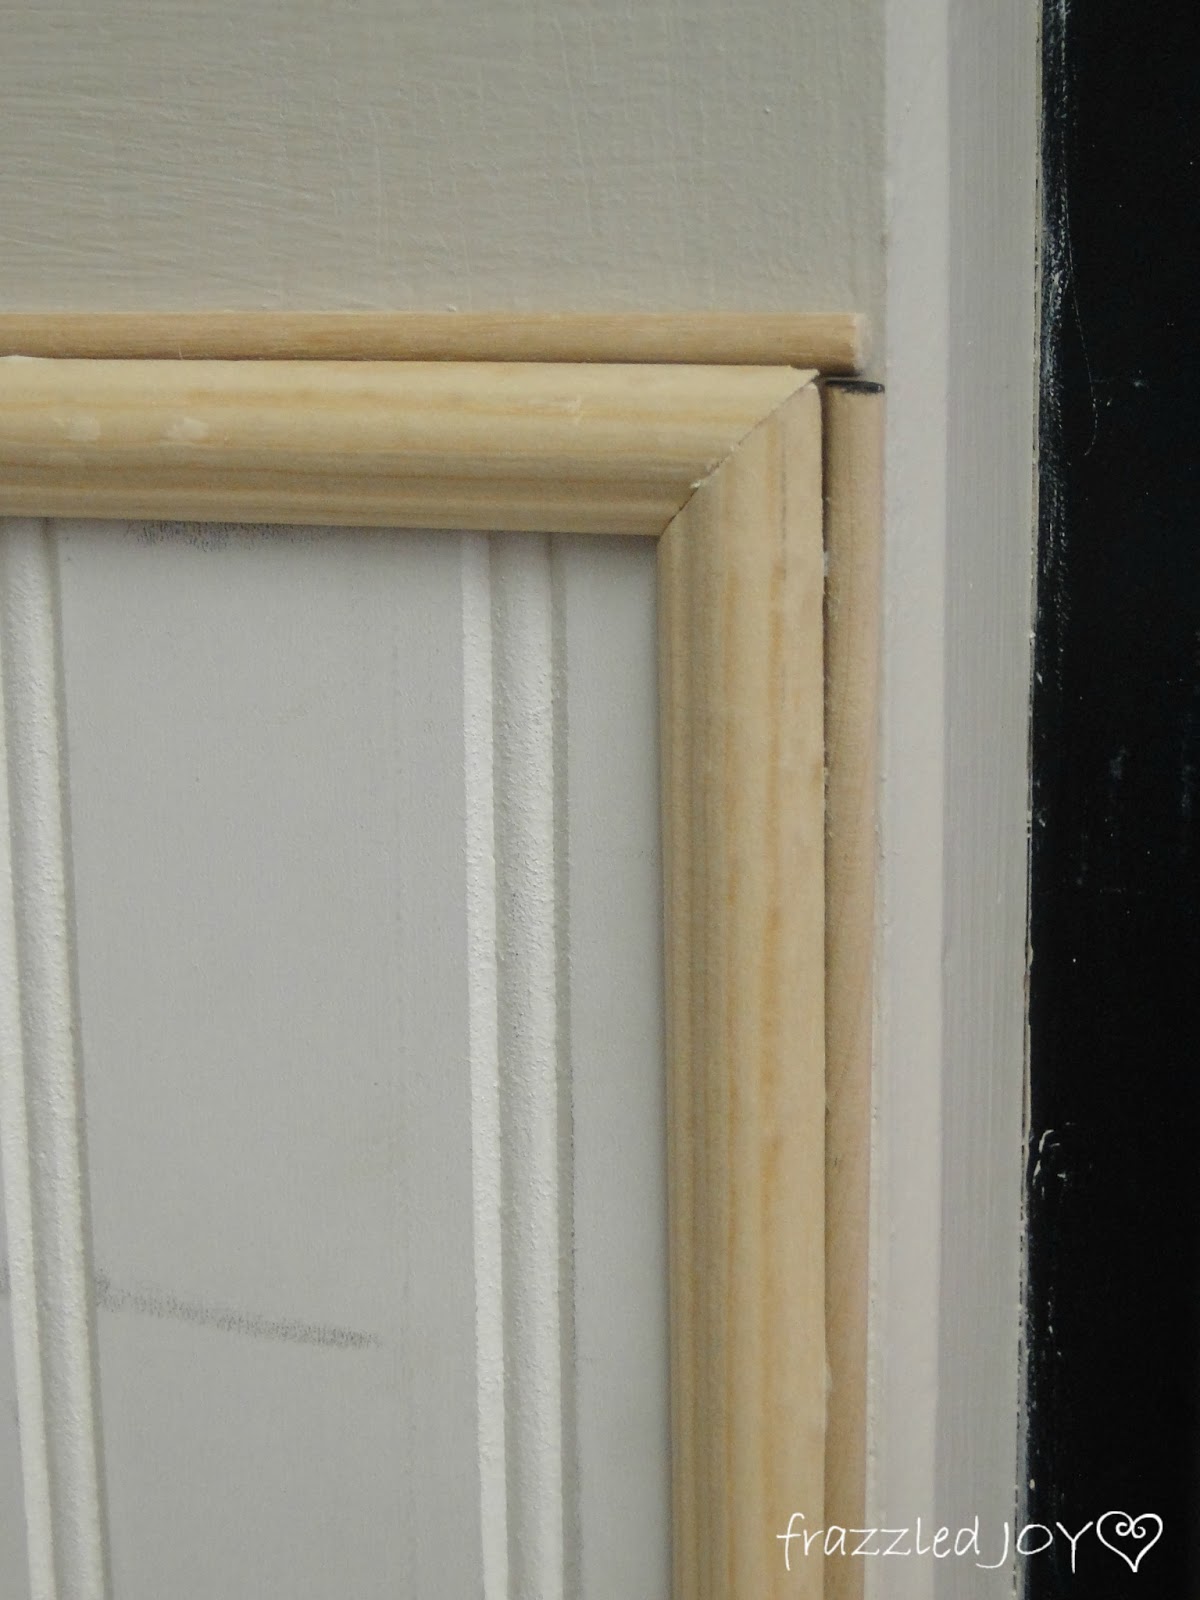
For a charming and rustic look, beadboard panels can be a wonderful option. These panels come in various finishes and can add a cozy cottage feel to your kitchen. They are relatively easy to install and provide a unique texture to your backsplash.
Stainless Steel: Industrial and Hygienic
Stainless steel backsplashes are an excellent choice for modern and industrial-style kitchens. They are not only sleek and stylish but also incredibly durable and easy to clean, making them ideal for a busy kitchen.

Tools and Materials You’ll Need
Before you dive into replacing your kitchen backsplash, it’s crucial to gather all the necessary tools and materials. Having the right equipment will make the installation process smoother and more efficient.
Here’s a list of the tools and materials you’ll need:
Tools:
- Measuring tape: To measure the dimensions accurately.
- Level: For ensuring your backsplash is straight and even.
- Tile cutter or saw: If you’re using tile material.
- Notched trowel: For applying adhesive evenly.
- Grout float: To spread grout between tiles.
- Sponge and bucket: For cleaning tiles and grout.
- Caulking gun: To seal edges and corners.
- Painter’s tape: For protecting adjacent surfaces.
- Safety gear: Safety glasses, gloves, and a dust mask for protection.
Materials:
- Backsplash material: Whether it’s tiles, glass, stone, or other options.
- Adhesive: Suitable for your chosen material.
- Grout: To fill the gaps between tiles.
- Caulk: For sealing corners and edges.
- Spacers: To maintain even gaps between tiles.
- Screws and anchors: For securing your material to the wall, if needed.
- Primer and paint: If you plan to paint the backsplash area.
- Sealer: Necessary for porous materials like stone.
Having these tools and materials ready will save you from last-minute trips to the hardware store and ensure a smooth installation process.
Step-by-Step Installation Guide
Now that you have your materials and tools ready, let’s walk through the step-by-step installation process:
Step 1: Prepare Your Kitchen
- Clear the area around the backsplash to create a clean workspace.
- Turn off power to any electrical outlets or switches near the backsplash area.
Step 2: Remove the Old Backsplash
- Carefully remove the old backsplash using a putty knife or similar tool.
- Fill any holes or imperfections in the wall with spackle and sand the surface.
Step 3: Measure and Mark
- Measure and mark the area where your new backsplash will go.
- Use a level to ensure your lines are straight and even.
Step 4: Apply Adhesive
- Following the manufacturer’s instructions, apply adhesive to the wall.
- Use a notched trowel to spread the adhesive evenly.
Step 5: Install the Material
- Place your chosen material onto the adhesive.
- Use spacers to maintain even gaps between tiles or other materials.
- Make sure everything is level and aligned correctly.
Step 6: Apply Grout
- Once the adhesive has set, remove spacers and apply grout between tiles.
- Use a grout float and sponge to smooth and clean the grout lines.
Step 7: Seal the Edges
- Use caulk to seal the edges and corners of your backsplash.
- Smooth the caulk with your finger for a clean finish.
Step 8: Clean and Finish
- Clean any excess grout and caulk from the tiles.
- Allow the backsplash to set for the recommended time before using your kitchen.

Dealing with Common Challenges
While replacing a backsplash can be a relatively straightforward project, you might encounter some challenges along the way. Here are some common issues and how to address them:
Uneven Walls
If your walls are uneven, it can be challenging to get tiles or other materials to adhere properly. In this case, consider using a leveling compound to even out the surface before applying the adhesive.
Electrical Outlets and Switches
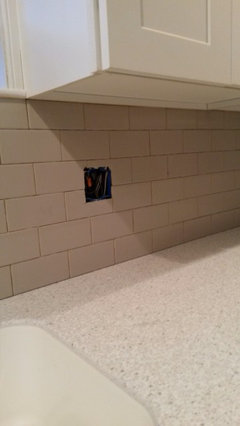
If your backsplash area includes electrical outlets or switches, you’ll need to cut openings in your material to accommodate them. Be sure to turn off power to these outlets and follow safety guidelines when working around electrical components.
Grout Stains
Over time, grout can become stained or discolored. To prevent this, consider using a grout sealer. If stains have already occurred, you can clean the grout or even apply a grout stain to refresh its appearance.
Choosing the Right Color
Picking the right color for your backsplash can be a challenge. It’s essential to consider the overall color scheme of your kitchen and how the backsplash will complement it. You can consult with a design professional for guidance if needed.

Design and Style Tips
Your kitchen backsplash is not just a functional element; it’s also an opportunity to add style and personality to your space. Here are some design and style tips to consider:
Color Coordination
Coordinate the color of your backsplash with your kitchen’s color scheme. You can choose complementary colors for a harmonious look or opt for a contrasting color to make a statement.
Pattern Play
Experiment with different patterns, such as herringbone, subway, or mosaic, to create visual interest. Patterns can add a unique touch to your backsplash.
Texture Matters
Consider textured materials like subway tiles or a beadboard panel to add depth and character to your backsplash. Texture can make your kitchen feel more inviting.
Backsplash Height
Decide how high you want your backsplash to go. Some homeowners choose to extend it to the ceiling for a dramatic effect, while others keep it at a standard height.
Personalization
Add a personal touch to your backsplash by incorporating decorative tiles or creating a mosaic with meaningful designs. This can make your kitchen truly one-of-a-kind.
Incorporating these design and style tips will help you create a backsplash that not only protects your walls but also enhances the overall aesthetics of your kitchen.

Updated Kitchen Backsplash

Our Adventures in Home Improvement: Kitchen Backsplash Update
Kitchen backsplash ideas!

Kitchen Backsplash Installation / 20 Best Kitchen Backsplash Installation Cost Has A : Your

Need help to choose kitchen backsplash

Rustic Backsplash Ideas – HomesFeed

Related Posts:
- Kitchen Backsplash Splatter Guard
- Faux Stone Kitchen Backsplash
- White Kitchen Cabinets Backsplash Pictures
- Kitchen Backsplash Ideas For Light Oak Cabinets
- Red Glass Tile Kitchen Backsplash
- Hand Painted Tiles For Kitchen Backsplash
- Decorative Kitchen Backsplash Panels
- Slate Backsplash Ideas For The Kitchen
- Remodeling Kitchen Countertop And Backsplash
- Mosaic Kitchen Backsplash