Build a Kitchen Island Bar DIY
A kitchen island bar can be a valuable addition to any home, providing extra counter space, storage, and a place for casual dining or socializing. Building a kitchen island bar can be a rewarding DIY project that enhances the functionality and aesthetic of your kitchen. This comprehensive guide will take you through the steps of planning, constructing, and finishing your kitchen island bar. Additionally, we will highlight common mistakes to avoid and answer frequently asked questions related to the project.
Planning Your Kitchen Island Bar
Assessing Your Space
Before you begin construction, it’s essential to assess the available space in your kitchen. Measure the area where you intend to place the island bar, ensuring there is enough room for comfortable movement and seating. Standard guidelines suggest leaving at least 36 to 48 inches of space around the island for easy navigation. Consider the kitchen layout and how the island will fit into the existing design.
Choosing the Right Size and Shape
The size and shape of your kitchen island bar should complement your kitchen’s layout and meet your functional needs. Islands can be rectangular, square, L-shaped, or even curved. The choice depends on your kitchen’s dimensions and your personal preferences. A rectangular island is common for larger kitchens, while a compact square island might be better for smaller spaces. Plan for sufficient counter space, seating, and storage options.
Selecting Materials
Choosing the right materials is crucial for both the durability and aesthetic appeal of your kitchen island bar. Common materials for the countertop include granite, quartz, butcher block, and laminate. For the base, solid wood, plywood, and MDF (medium-density fiberboard) are popular choices. Consider the overall style of your kitchen when selecting materials to ensure a cohesive look.
Designing Functional Features
A kitchen island bar can serve multiple purposes beyond providing extra counter space. Decide which features you want to incorporate, such as additional storage cabinets, open shelving, built-in appliances (like a wine cooler or microwave), or a sink. Including electrical outlets in the design can also be practical for using kitchen appliances or charging devices.
Constructing the Base
Building the Frame
The frame is the foundation of your kitchen island bar. Start by constructing a sturdy frame using 2×4 lumber. Cut the lumber to the desired dimensions of your island base and assemble it using wood screws and brackets for stability. Ensure the frame is level and square before proceeding. This step is critical for the overall structure and durability of the island.
Adding Panels and Supports
Once the frame is complete, attach plywood panels to the sides, front, and back of the frame to create the structure of the island. Secure the panels with wood screws, making sure they are flush with the frame. Add additional supports or braces inside the frame if necessary, particularly if you plan to install heavy countertops or appliances.
Installing Cabinets and Shelving
If your design includes cabinets or shelving, now is the time to install them. You can purchase pre-made cabinets or build custom ones to fit the dimensions of your island. Secure the cabinets to the frame using screws, ensuring they are level and aligned correctly. For open shelving, use sturdy brackets or build shelves directly into the frame for added stability.
Preparing for Utilities
If your island will include utilities such as a sink or electrical outlets, plan and prepare for these installations during the construction phase. Run plumbing lines for a sink and ensure proper ventilation if installing a cooktop. For electrical outlets, consult with an electrician to safely install wiring and outlets according to local codes and regulations.

Installing the Countertop
Selecting the Countertop Material
Choosing the right countertop material is crucial for both functionality and aesthetics. Granite and quartz offer durability and a high-end look, while butcher block provides a warm, natural feel. Laminate is a cost-effective option that comes in a variety of designs. Consider your budget, maintenance requirements, and kitchen style when selecting the material.
Measuring and Cutting the Countertop
Accurate measurements are essential for a seamless fit. Measure the dimensions of your island top, including any overhangs for seating areas. If using a pre-fabricated countertop, cut it to size using a circular saw with a fine-toothed blade to avoid chipping. For stone countertops, professional cutting services are recommended due to the material’s hardness.
Securing the Countertop
Position the countertop on the island base and ensure it fits correctly. Use construction adhesive or silicone caulk to secure the countertop to the base, applying it along the edges and across the surface where the countertop will rest. Press the countertop down firmly and allow the adhesive to dry according to the manufacturer’s instructions.
Finishing Touches
Once the countertop is secured, add any finishing touches to complete the installation. This might include sealing the countertop if it is made of porous material like granite or butcher block, installing a backsplash, or attaching trim pieces to cover any gaps between the countertop and the island base. Ensure all surfaces are smooth and polished.

Adding Seating and Final Touches
Selecting Seating Options
Choosing the right seating is crucial for creating a functional and comfortable kitchen island bar. Bar stools are a popular choice and come in various styles, heights, and materials. Ensure the stools are the correct height for your countertop, typically 24 to 26 inches for standard counter height (36 inches) or 28 to 30 inches for bar height (42 inches). Consider stools with or without backs, depending on your comfort preference.
Arranging Seating
Arrange the seating around your island bar to maximize space and comfort. For a rectangular island, placing stools along one or both longer sides is common. Ensure there is enough space between stools for easy movement and comfort, typically about 24 inches per stool. If space allows, consider adding seating on multiple sides to create a more communal and interactive space.
Adding Decorative Elements
Enhance the look of your kitchen island bar with decorative elements that complement your kitchen’s design. Add pendant lights above the island for both task lighting and visual appeal. Consider under-counter lighting for added ambiance. Decorate the countertop with a vase of fresh flowers, a bowl of fruit, or other stylish accessories to create a welcoming atmosphere.
Ensuring Functionality
Finally, ensure your kitchen island bar is fully functional. Check that all cabinets and drawers open smoothly, the countertop is securely attached, and any installed appliances or utilities work correctly. Make any necessary adjustments to improve functionality and address any issues that may arise. This final step ensures your kitchen island bar is ready for everyday use.

Common Mistakes to Avoid
Incorrect Measurements
One of the most common mistakes is inaccurate measurements. Incorrect measurements can lead to a countertop that doesn’t fit properly, cabinets that don’t align, and overall poor functionality. Always double-check your measurements and consider enlisting a professional for precise cutting and fitting, especially for the countertop.
Skipping the Planning Phase
Skipping the planning phase can result in a kitchen island bar that doesn’t meet your needs or fit your space. Take the time to thoroughly plan your design, considering factors like size, shape, materials, and functional features. Detailed planning helps ensure a smooth construction process and a satisfying end result.
Using Inadequate Materials
Using low-quality or inappropriate materials can compromise the durability and appearance of your island bar. Invest in high-quality materials that are suitable for kitchen use, such as durable wood for the base and a resilient countertop material. Avoid cutting corners on materials, as this can lead to costly repairs or replacements down the line.
Ignoring Local Codes and Regulations
Failing to adhere to local building codes and regulations, especially for plumbing and electrical installations, can result in unsafe conditions and potential legal issues. Always check and follow local codes, and consider hiring licensed professionals for any utility installations to ensure compliance and safety.
How much space do I need around a kitchen island bar?
To ensure comfortable movement and functionality, you should have at least 36 to 48 inches of space around the kitchen island bar. This allows for easy navigation, opening of cabinets and drawers, and comfortable seating arrangements. Adequate space is essential for maintaining a functional and inviting kitchen layout.
Can I install a kitchen island bar myself, or should I hire a professional?
Building a kitchen island bar can be a DIY project if you have the necessary skills and tools. However, for complex tasks such as plumbing, electrical work, or installing heavy countertops, it’s advisable to hire professionals. This ensures the work is done safely and to code, avoiding potential issues in the future.
What materials are best for a kitchen island bar countertop?
The best material for a kitchen island bar countertop depends on your budget, style preferences, and maintenance requirements. Granite and quartz are durable and visually appealing options, while butcher block offers a warm, natural look. Laminate is a budget-friendly choice with a wide range of designs. Consider the pros and cons of each material to make an informed decision.
How do I add electrical outlets to my kitchen island bar?
Adding electrical outlets to your kitchen island bar involves running electrical wiring through the base of the island. It’s important to follow local electrical codes and regulations. Hiring a licensed electrician is recommended to ensure the outlets are installed safely and correctly. They can also advise on the best placement for functionality.
What features should I consider including in my kitchen island bar?
Consider including features that enhance the functionality and usability of your kitchen island bar. Common features include additional storage cabinets, open shelving, built-in appliances (like a wine cooler or microwave), a sink, and electrical outlets. Tailor these features to your specific needs and kitchen layout for a personalized and practical island bar.
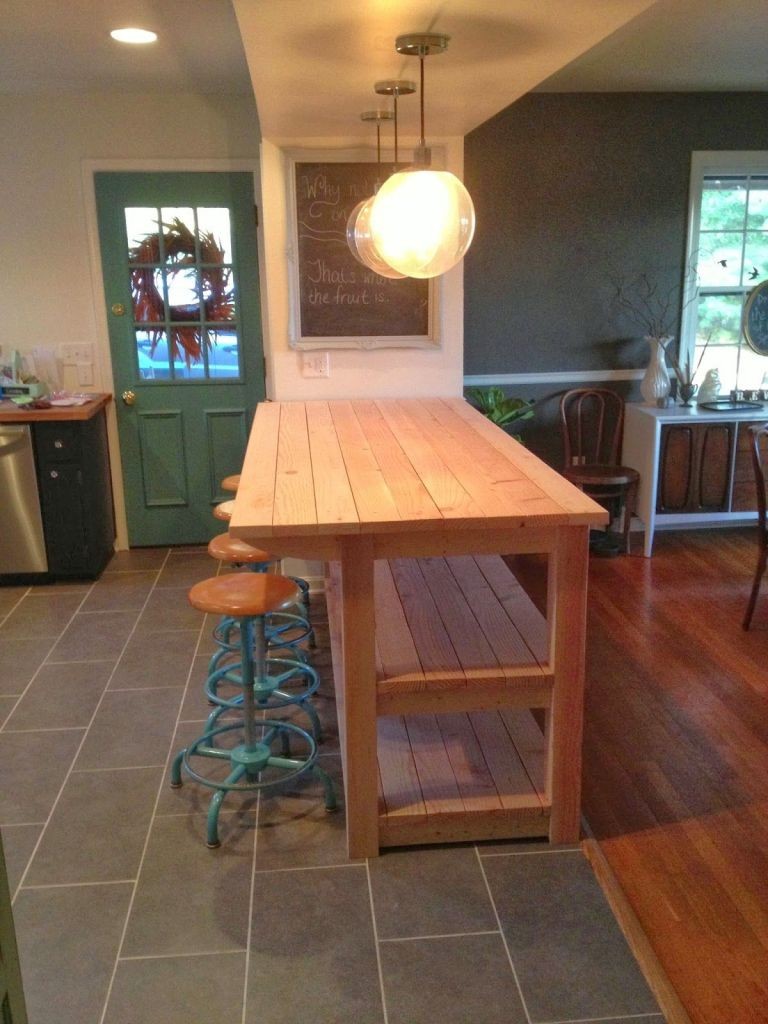
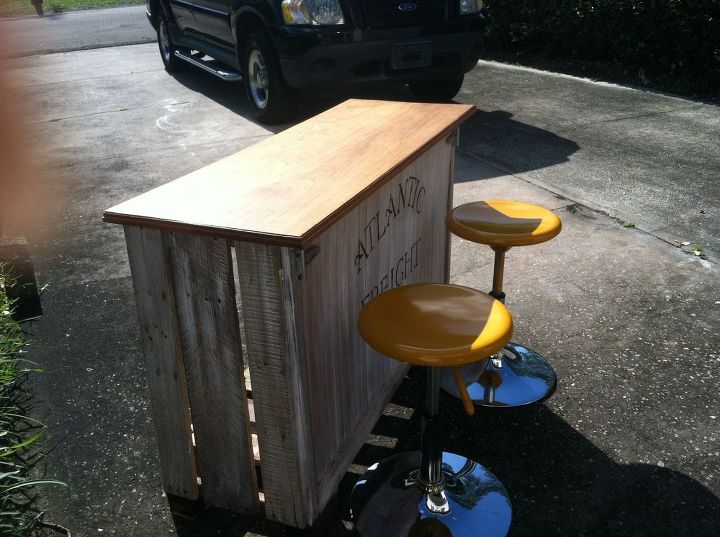
Small Kitchen Island? Bar? ~ Versatile And On The Go!
Tips on Designing a Home Bar for your Kitchen
Ginger’s Backyard: Kitchen Island/Bar Makeover

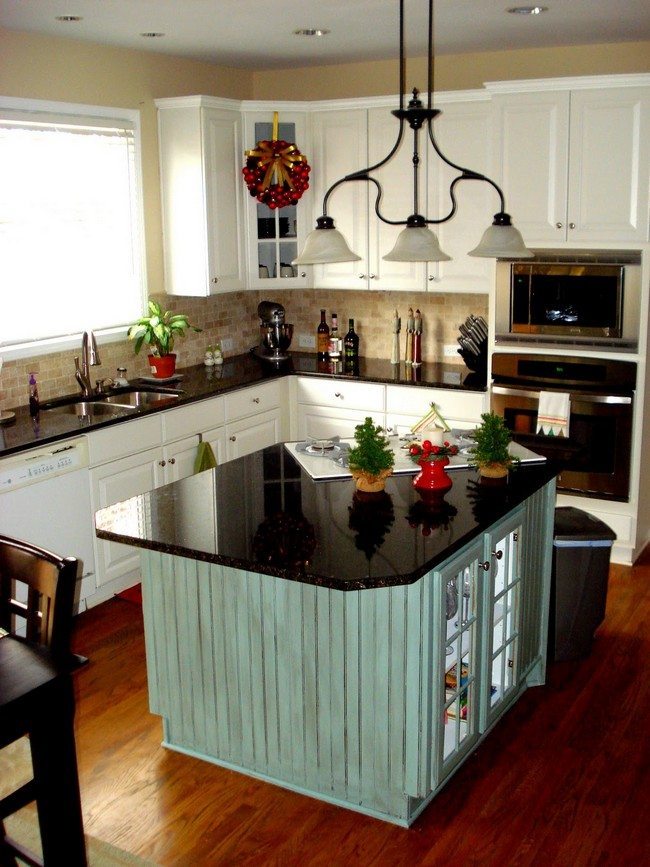
Small Kitchen Island

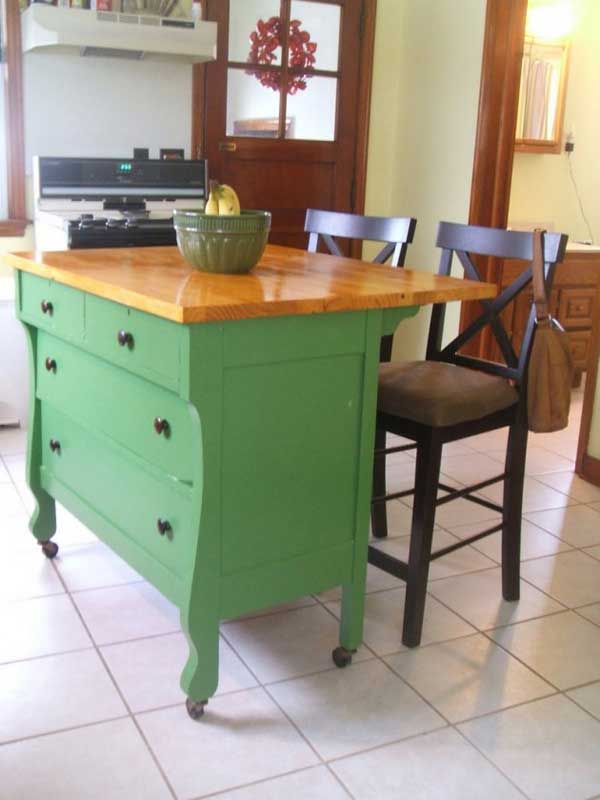
Simple Rustic Homemade Kitchen Islands – DIY
Kitchen renovation: Hiding outlets on islands

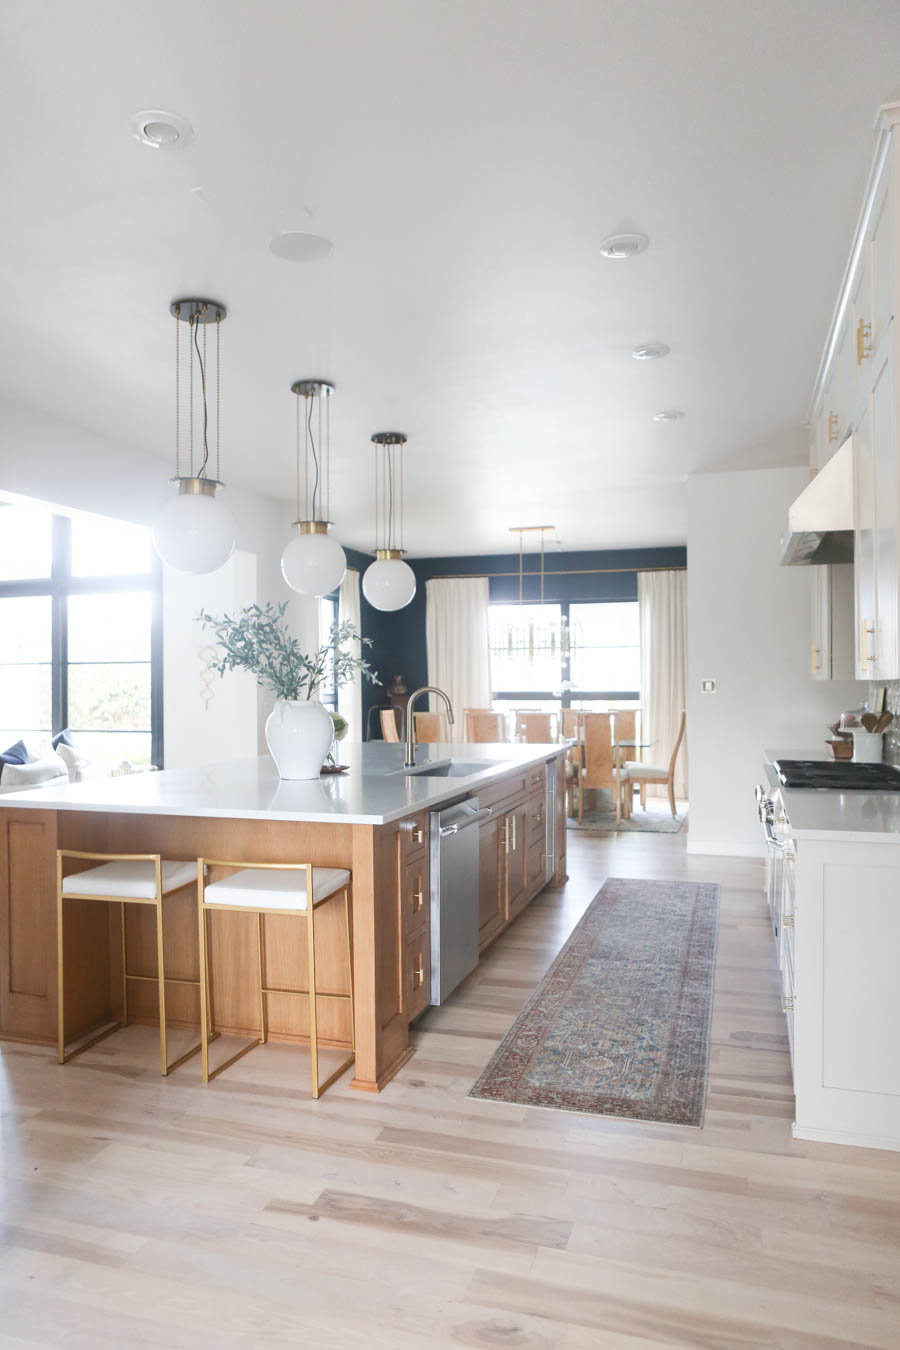
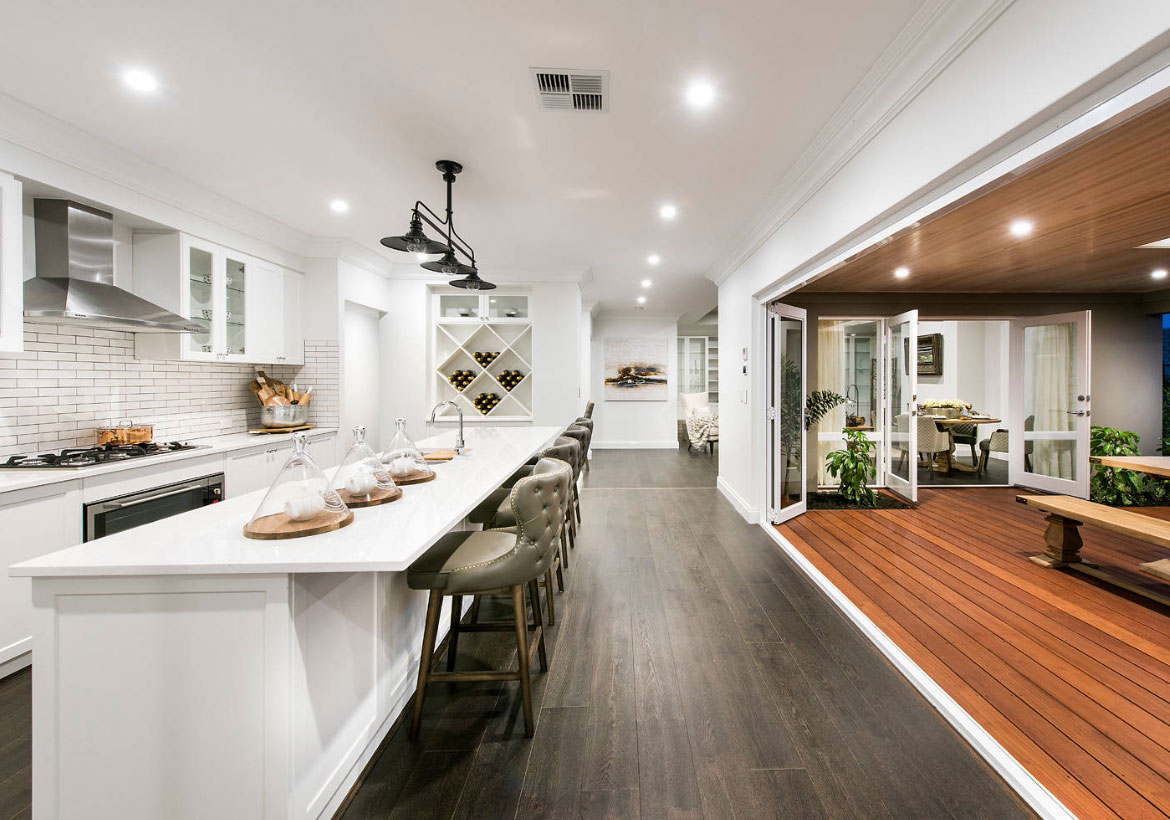
Large Family Kitchen and Island Design Options Design Build Planners

Related Posts:
- Kitchen Island Lighting Low Ceiling
- Cherry Wood Kitchen Island Table
- Crate And Barrel Belmont Kitchen Island White
- Cost Of Large Kitchen Island
- Kitchen Island Ventilation System
- Monarch Kitchen Island With Granite Top
- Kidkraft Modern Island Kitchen Play Set
- Aluminum Kitchen Island
- Crosley Cambridge Kitchen Island
- How Much Space Is Needed For A Kitchen Island