Creating a kitchen island table can be a rewarding project that not only enhances the functionality of your kitchen but also adds a touch of style. The first step in building a kitchen island table is to carefully plan its design and dimensions. Consider the available space in your kitchen and how you want the island to complement the overall aesthetics. Once you have a clear vision, gather the necessary materials, including lumber for the frame, plywood for the tabletop, and tools like a saw, drill, and screws.
Start by constructing the frame of the kitchen island. Measure and cut the lumber according to your design, ensuring that the frame is sturdy and well-balanced. Use pocket screws or traditional screws to secure the pieces together, creating a solid foundation. It’s crucial to pay attention to the height of the island, keeping it ergonomic for comfortable food preparation and dining.
After constructing the frame, focus on the tabletop. Plywood is a popular choice for its durability and affordability. Measure and cut the plywood to match the dimensions of the frame, and secure it firmly in place. Consider adding an overhang on one side to accommodate bar stools, creating a casual dining space. Sand the edges and surface of the tabletop to achieve a smooth finish.

To further enhance the functionality of your kitchen island table, incorporate storage options. Install cabinets or open shelves beneath the tabletop to store kitchen essentials, such as pots, pans, and utensils. This not only keeps your kitchen organized but also makes items easily accessible during cooking.
Choosing the right finish for your kitchen island table is essential for both aesthetics and protection. You can opt for paint or stain to match the existing decor of your kitchen. Seal the wood with a clear polyurethane coat to add a layer of protection against spills and stains, ensuring the longevity of your DIY project.
Consider adding additional features based on your needs and preferences. Incorporate electrical outlets into the island for convenient access to power sources. This is especially useful if you plan to use small kitchen appliances or charge electronic devices while working in the kitchen.

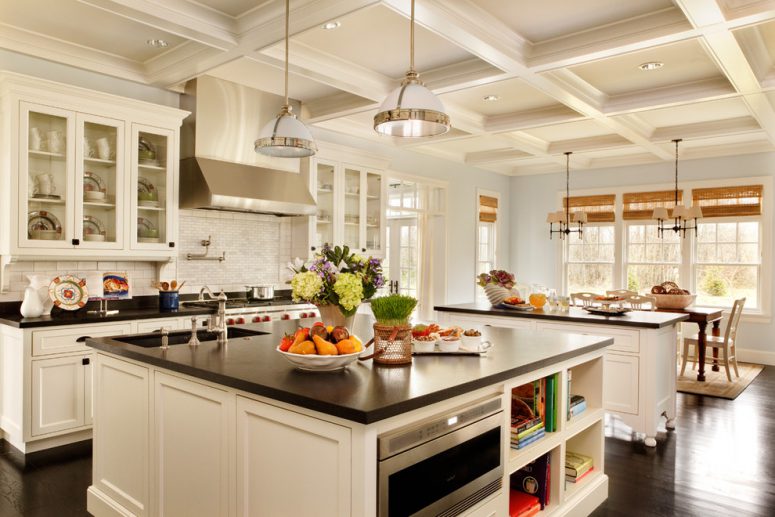
When it comes to the design of the kitchen island table, think about incorporating a contrasting color or material for visual interest. This can make the island a focal point in your kitchen, adding a touch of uniqueness. Additionally, consider the shape of the island—whether it’s rectangular, square, or has rounded corners—to complement the overall layout of your kitchen.
If you enjoy a rustic or farmhouse style, consider using reclaimed wood for your kitchen island table. This not only adds character but also promotes sustainability by repurposing materials. Sand the reclaimed wood to remove any rough edges and seal it with an eco-friendly finish.
The placement of your kitchen island is crucial for its functionality. Ideally, it should be strategically located to create a natural flow in the kitchen. Ensure there is enough space around the island for easy movement and that it doesn’t obstruct any kitchen pathways.

Incorporate seating options into your kitchen island table design. Whether it’s bar stools or built-in benches, having a seating area adds a social element to your kitchen. It’s a great place for family and friends to gather while you cook or enjoy casual meals together.
Maintenance is key to preserving the beauty and functionality of your kitchen island table. Regularly clean the surface with a mild soap and water solution, avoiding harsh chemicals that may damage the finish. Inspect for any loose screws or structural issues, addressing them promptly to prevent further damage.
If you’re feeling adventurous, consider adding a butcher block countertop to your kitchen island. This not only provides a durable and practical surface for food preparation but also adds a warm and inviting element to your kitchen.

To personalize your kitchen island table, consider incorporating design elements that resonate with your style. This could include decorative corbels, molding details, or a custom paint finish. Let your creativity shine through to make the island a true reflection of your taste.
When building a kitchen island table, it’s essential to adhere to safety guidelines. Wear appropriate safety gear, such as safety glasses and gloves, when cutting and assembling materials. If you’re not experienced with power tools, consider seeking assistance from a professional or enlisting the help of a friend who has expertise in woodworking.
Last, enjoy the process of building your kitchen island table. It’s a hands-on project that allows you to customize a central element in your kitchen. Whether you’re a seasoned DIY enthusiast or a beginner, creating a kitchen island table is a satisfying endeavor that brings both form and function to your culinary space.

Kitchen islands – Rustic kitchen island, Repurposed and Home

kitchen island with expandable table

Best Kitchen Islands with attached tables

Cantilevered Tables Floating In Modern Luxury Homes

Island and dining table combo Kitchen # 2 Pinterest Kitchens, House and Spaces

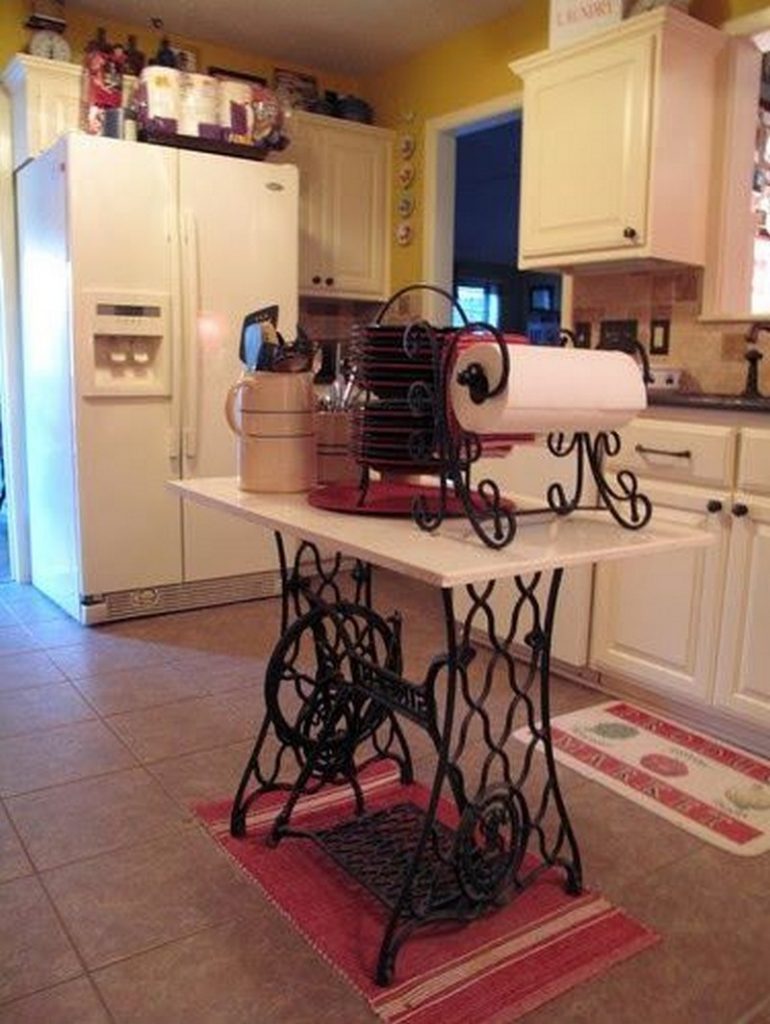
Creative ways to reuse your old sewing machine table The Owner-Builder Network

Rustic Narrow Galley Kitchen Island Narrow kitchen island, Kitchen island decor, Modern

Kitchen Island with Table Attached – YouTube

Related Posts: