Changing a kitchen faucet hose might seem like a daunting task, but with the right guidance, it can be a straightforward and rewarding DIY project. This guide will walk you through the entire process, from understanding the different types of faucet hoses to detailed, step-by-step instructions on replacing your old hose with a new one.
The Different Types of Faucet Hoses
Overview of Faucet Hoses
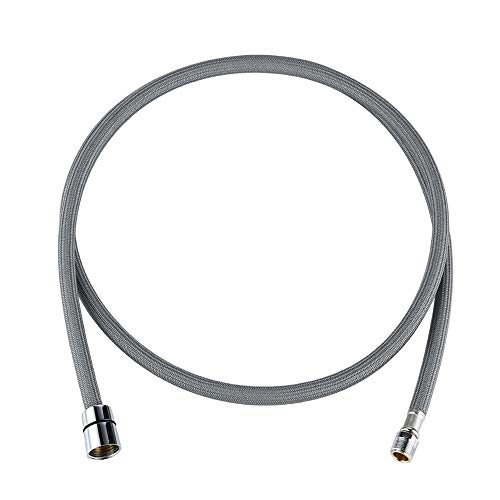
Faucet hoses come in various types, each designed for specific needs and preferences. Understanding these differences is crucial before embarking on the replacement process. The most common types include braided nylon hoses, stainless steel hoses, and polymer hoses. Each type has its advantages and disadvantages, depending on your kitchen setup and usage habits.

Braided Nylon Hoses
Braided nylon hoses are popular due to their flexibility and durability. They are made from multiple layers of nylon fibers, which makes them resistant to kinks and bends. This type of hose is ideal for kitchen faucets that require frequent movement, such as pull-down or pull-out models. Additionally, braided nylon hoses are generally more affordable than their stainless steel counterparts.
Stainless Steel Hoses
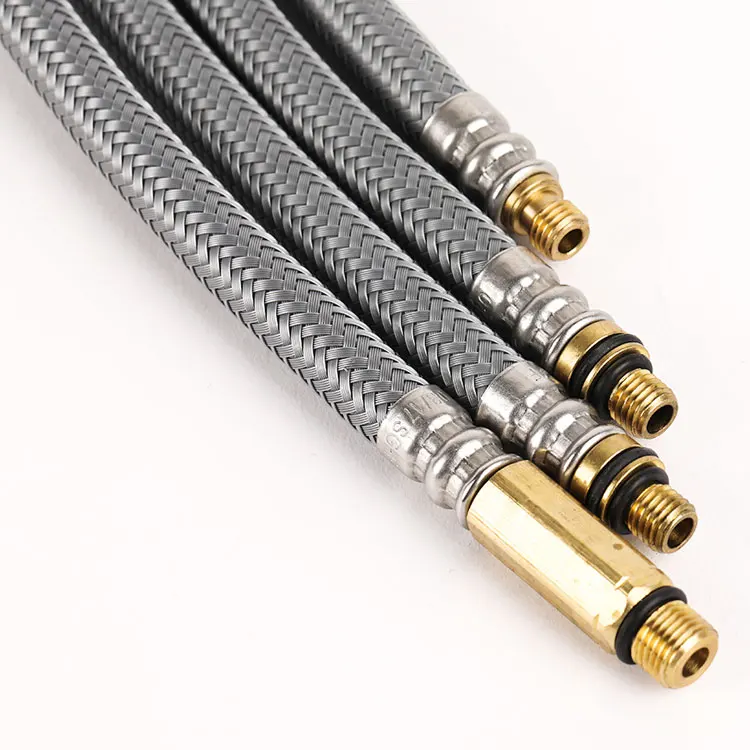
Stainless steel hoses are known for their strength and longevity. They consist of an inner rubber tube covered with a braided stainless steel sheath, providing excellent protection against wear and tear. These hoses are particularly suitable for high-use kitchens where durability is a priority. Although they are more expensive, their lifespan and reliability often justify the cost.

Polymer Hoses
Polymer hoses are a less common but still viable option for kitchen faucets. Made from high-quality synthetic materials, these hoses are lightweight and easy to handle. They offer decent flexibility and durability, making them a good choice for basic kitchen setups. However, they may not be as robust as braided nylon or stainless steel hoses.
Compatibility and Sizing
Before purchasing a new faucet hose, it’s essential to ensure it is compatible with your existing faucet model. Check the manufacturer’s specifications for the hose size, typically measured in inches or millimeters. Most standard kitchen faucets use a 1/2-inch hose, but it’s always best to double-check to avoid any fitting issues during installation.
Selecting the Right Hose for Your Needs
Choosing the right faucet hose depends on your specific needs and preferences. Consider factors such as flexibility, durability, and price when making your decision. If you have a high-traffic kitchen, a stainless steel hose might be the best option. For those on a budget, a braided nylon hose offers a good balance of cost and performance.

Tools and Materials Needed
Essential Tools
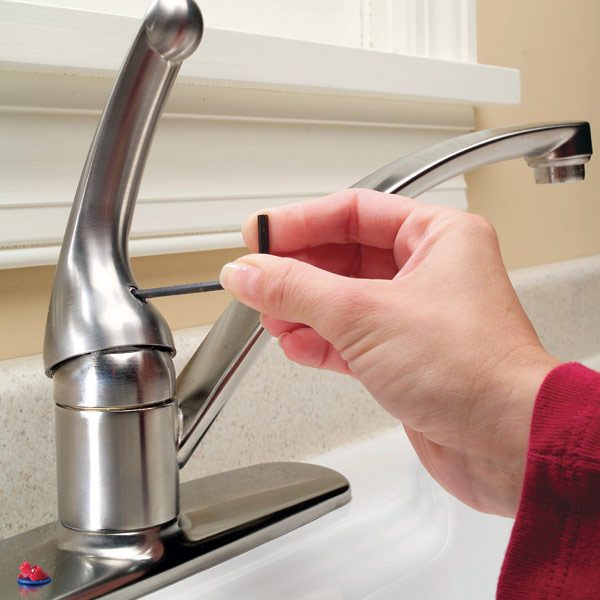
To change your kitchen faucet hose, you will need a set of basic tools. These include an adjustable wrench, a basin wrench, pliers, a screwdriver, and a bucket. Having the right tools on hand will make the process smoother and more efficient, reducing the risk of damage to your plumbing.
Replacement Hose
Obviously, you will need the replacement hose that matches your faucet’s specifications. Ensure you have the correct length and type of hose before beginning the project. It’s also a good idea to have some Teflon tape and plumber’s putty on hand for sealing connections.
Safety Gear
While changing a faucet hose is generally safe, it’s always wise to take precautions. Wear safety gloves to protect your hands from sharp edges and potential cuts. If you are working in a tight space, consider using a headlamp to ensure good visibility.

Cleaning Supplies
Prepare some cleaning supplies, such as rags or paper towels, to clean up any water spills during the process. A small brush or old toothbrush can also be useful for cleaning around the faucet area before installing the new hose.
Backup Supplies
In case of unexpected issues, it’s helpful to have some backup supplies. This might include extra washers, O-rings, and a bucket to catch any water that might leak during the process. These small items can save you time and hassle if any problems arise.
Organizational Tools
Keep all your tools and materials organized to avoid misplacing anything during the project. Use a small toolbox or a tray to keep everything within reach. This will make the process more efficient and reduce the chances of losing any important components.

Step-by-Step Instructions
Step 1: Prepare Your Work Area
Start by clearing out the area under your sink to give yourself plenty of room to work. Place a bucket or basin under the faucet to catch any water that may spill during the process. Turn off the water supply valves under the sink to prevent any accidental leaks.
Step 2: Disconnect the Old Hose
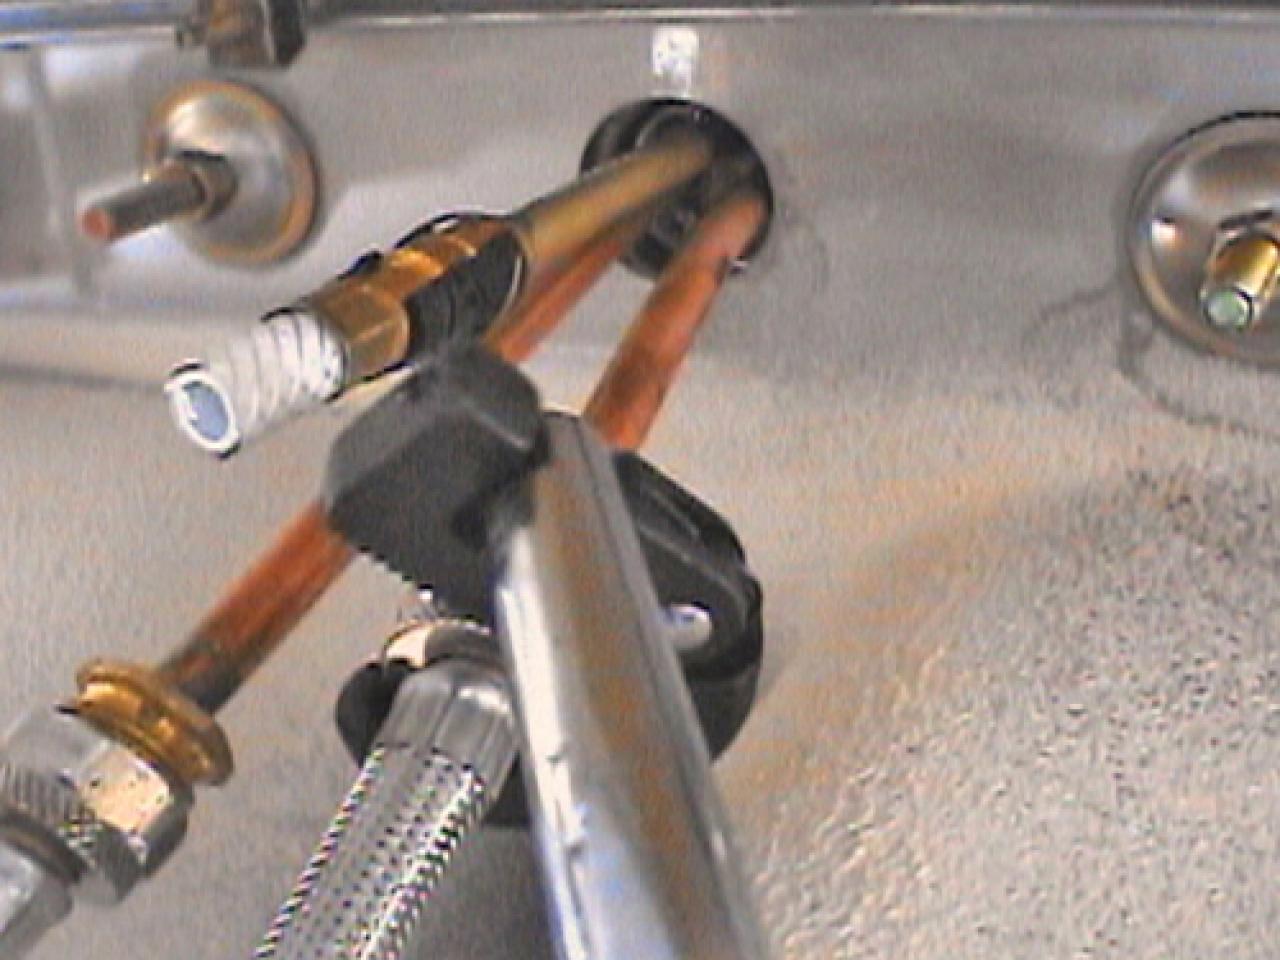
Using an adjustable wrench, loosen the nut connecting the old hose to the faucet. Be sure to have your bucket ready to catch any remaining water in the hose. Once the nut is loose, carefully remove the hose from the faucet and drain any excess water into the bucket.
Step 3: Remove the Hose from the Spray Head
Next, disconnect the old hose from the spray head. This usually involves unscrewing a nut or clip that holds the hose in place. Be gentle to avoid damaging the spray head. Once the hose is free, set it aside and inspect the spray head for any debris or buildup.
Step 4: Install the New Hose
Take your new hose and attach it to the spray head, ensuring a secure connection. Use Teflon tape on the threads to prevent leaks. Once the hose is connected to the spray head, attach the other end to the faucet. Tighten the nut with an adjustable wrench, but be careful not to overtighten and damage the fittings.
Step 5: Test for Leaks
Turn the water supply valves back on and test the new hose for leaks. Run water through the faucet and check all connections. If you notice any leaks, tighten the fittings slightly and reapply Teflon tape if necessary. Make sure the hose moves smoothly and does not kink or bind.
Step 6: Clean Up
After confirming that there are no leaks and everything is functioning properly, clean up your work area. Dispose of the old hose and any packaging from the new hose. Wipe down the sink area and replace any items you removed from under the sink.

Troubleshooting Common Issues
Leaks at the Connections
One of the most common issues when changing a faucet hose is leaks at the connections. If you notice water dripping from the fittings, double-check that all connections are tight and properly sealed. Use Teflon tape to ensure a watertight seal and avoid over-tightening, which can damage the threads.
Hose Not Fitting Properly
If the new hose does not fit properly, it’s possible that you have the wrong size or type. Verify the specifications of your faucet and the new hose to ensure compatibility. If the hose is too short or too long, you may need to exchange it for the correct length.
Spray Head Issues
Sometimes, the spray head can be the source of problems. If the spray head is not functioning correctly after installing the new hose, check for debris or buildup inside the spray head. Clean it thoroughly and reassemble it to see if the issue is resolved.
Water Pressure Problems
If you experience a drop in water pressure after changing the hose, it could be due to a kinked or twisted hose. Make sure the hose is straight and free from any obstructions. Additionally, check the aerator on the faucet for clogs and clean it if necessary.
Difficulties with Tightening Connections
Tightening connections in tight spaces can be challenging. If you’re having trouble, use a basin wrench to reach awkward angles. Take your time and ensure that each connection is secure without forcing or overtightening.
Persistent Leaks
If you continue to experience leaks despite your efforts, it may be time to call a professional plumber. Persistent leaks can indicate a more serious issue with your faucet or plumbing that requires expert attention.

Maintenance Tips for Your New Faucet Hose
Regular Inspections
Regularly inspect your faucet hose for signs of wear and tear. Look for cracks, leaks, or any other damage that might compromise its functionality. Early detection can prevent more significant issues and prolong the life of your hose.
Cleaning and Care
Keep your faucet hose clean to ensure it operates smoothly. Periodically wipe down the hose and spray head with a mild cleaner to remove any buildup of dirt or grime. Avoid using harsh chemicals that could damage the hose material.
Avoiding Kinks
To prevent kinks in your faucet hose, ensure that it is properly routed and free from obstructions. Avoid pulling or twisting the hose excessively, as this can weaken the material and lead to leaks. Consider using a hose weight to help keep it in place and reduce strain.
Handling with Care
When using the faucet, handle the hose and spray head with care. Avoid jerking or pulling the hose forcefully, which can cause damage over time. Gentle handling will help maintain the integrity of the hose and its connections.
Replacing the Hose When Needed
Even with proper care, faucet hoses will eventually wear out and need replacement. Pay attention to any signs of deterioration and be proactive about replacing the hose when necessary. This will prevent unexpected leaks and ensure your faucet continues to function properly.
Professional Maintenance
If you’re unsure about any aspect of your faucet hose or encounter persistent problems, don’t hesitate to seek professional help. A plumber can provide expert advice and assistance, ensuring that your faucet remains in good working condition.

Common Mistakes to Avoid
Skipping the Water Shutoff
One common mistake is forgetting to turn off the water supply before starting the replacement process. This can lead to water damage and make the task much messier. Always ensure the water is completely off before beginning any work on your faucet.
Using the Wrong Tools
Using improper tools can damage your faucet and hose connections. Make sure you have the correct tools for the job, such as an adjustable wrench and basin wrench. Avoid using pliers or other makeshift tools that can slip and cause damage.
Over-Tightening Connections
Over-tightening the hose connections can strip the threads and cause leaks. Tighten the connections just enough to ensure a secure fit without applying excessive force. If you’re unsure, it’s better to tighten gradually and check for leaks.
Ignoring Compatibility
Another mistake is not verifying the compatibility of the new hose with your faucet model. Using an incompatible hose can lead to poor performance and potential damage. Always check the manufacturer’s specifications and ensure you have the right hose for your faucet.
Neglecting Regular Maintenance
Neglecting regular maintenance can shorten the lifespan of your faucet hose. Make a habit of inspecting and cleaning the hose periodically. Address any minor issues promptly to prevent them from becoming major problems.
Failing to Test for Leaks
After installing the new hose, failing to test for leaks is a common oversight. Always run water through the faucet and check all connections for any signs of leakage. This step is crucial to ensure that your installation is successful and there are no hidden issues.
How often should I replace my kitchen faucet hose?
The frequency of replacing a kitchen faucet hose depends on its material and usage. Generally, a high-quality hose can last anywhere from 5 to 10 years. However, if you notice any signs of wear, leaks, or reduced functionality, it’s best to replace it sooner to avoid potential water damage.
Can I replace the faucet hose myself, or should I hire a plumber?
Replacing a faucet hose is a relatively simple DIY task that most homeowners can handle with basic tools and instructions. However, if you’re uncomfortable with plumbing work or encounter persistent issues, it’s wise to consult a professional plumber to ensure the job is done correctly.
What should I do if my new hose doesn’t fit my faucet?
If your new hose doesn’t fit your faucet, double-check the specifications and compatibility. Ensure you have the correct size and type of hose for your faucet model. If the hose is still incompatible, consider consulting with the manufacturer or a plumbing professional for further guidance.
Why is my new faucet hose leaking?
Leaking from a new faucet hose can occur due to several reasons, such as improper installation, over-tightening, or using incompatible parts. Ensure all connections are properly sealed with Teflon tape and tightened appropriately. If the issue persists, inspect the hose and fittings for any defects or damage.
Are all kitchen faucet hoses the same size?
No, kitchen faucet hoses come in various sizes and types. The most common size for kitchen faucets is 1/2 inch, but it’s crucial to check your faucet’s specifications before purchasing a replacement hose. Using the correct size ensures a proper fit and prevents leaks.
How can I prevent my faucet hose from kinking?
To prevent your faucet hose from kinking, ensure it is routed smoothly and free from obstructions. Avoid pulling or twisting the hose excessively and consider using a hose weight to keep it in place. Regularly inspect the hose for any signs of wear and address any issues promptly to maintain its flexibility.

Related Posts:
- Kitchen Faucet Installation Service
- Kitchen Faucet Makes Hammering Noise
- Square Shaped Kitchen Faucets
- Blanco Meridian Kitchen Faucet
- Single Lever Pull Down Kitchen Faucet
- How To Repair Moen Kitchen Faucet Spout
- Jaclo Kitchen Faucets
- Average Cost For A Plumber To Install A Kitchen Faucet
- Moen Kitchen Faucet Installation Directions
- Water Ridge Kitchen Faucet Nsf 61 9
