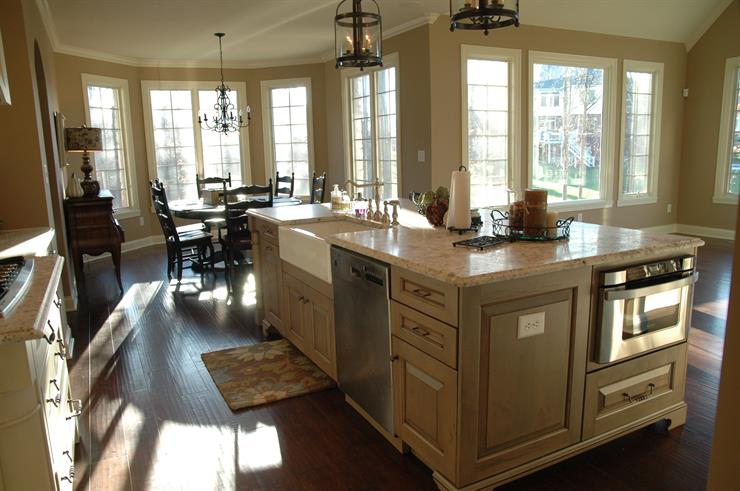
A DIY kitchen island countertop can be a great addition to your kitchen, providing extra workspace and storage. It can also be a cost-effective option compared to purchasing a pre-made countertop. In this comprehensive guide, we will explore the steps and considerations involved in creating your own DIY kitchen island countertop.
1. Planning: Before starting your DIY project, it’s important to plan the design and dimensions of your kitchen island countertop. Consider the available space in your kitchen, the desired size of the countertop, and the materials you want to use. This will help you create a detailed plan and ensure a smooth execution.
2. Material selection: There are various materials you can choose from for your DIY kitchen island countertops, such as wood, laminate, granite, or concrete. Each material has its advantages and considerations. Wood offers a warm and natural look, while laminate is affordable and easy to clean. Granite and concrete provide durability and a sleek appearance.
3. Tools and equipment: Depending on the material you choose, you will need specific tools and equipment for the installation. Common tools include a circular saw, jigsaw, drill, sander, and measuring tape. It’s essential to have the necessary tools on hand before starting your project.
4. Measurement and cutting: Accurate measurements are crucial for a well-fitted countertop. Measure the dimensions of your kitchen island and mark the measurements on the material you have chosen. Use a circular saw or jigsaw to cut the material according to the measurements.

5. Sanding and smoothing: After cutting the material, use sandpaper or a sander to smooth out the edges and surfaces. This will ensure a polished and professional finish. Pay attention to any imperfections or rough spots and sand them down until the surface is even and smooth.
6. Joining and fastening: If your kitchen island countertop consists of multiple pieces, you will need to join them together. Depending on the material, you can use adhesive, screws, or brackets to secure the pieces in place. Follow the manufacturer’s instructions for the best results.
7. Finishing touches: Once the countertop is secured, it’s time to add the finishing touches. This may include sealing the surface to protect it from moisture and stains, applying a coat of paint or varnish, or adding decorative elements such as trim or edging.
8. Installation: When your DIY kitchen island countertop is complete, it’s time to install it in your kitchen. Ensure that the supporting structure is sturdy and level to provide a stable base for the countertop. Follow the manufacturer’s instructions for the specific installation process.
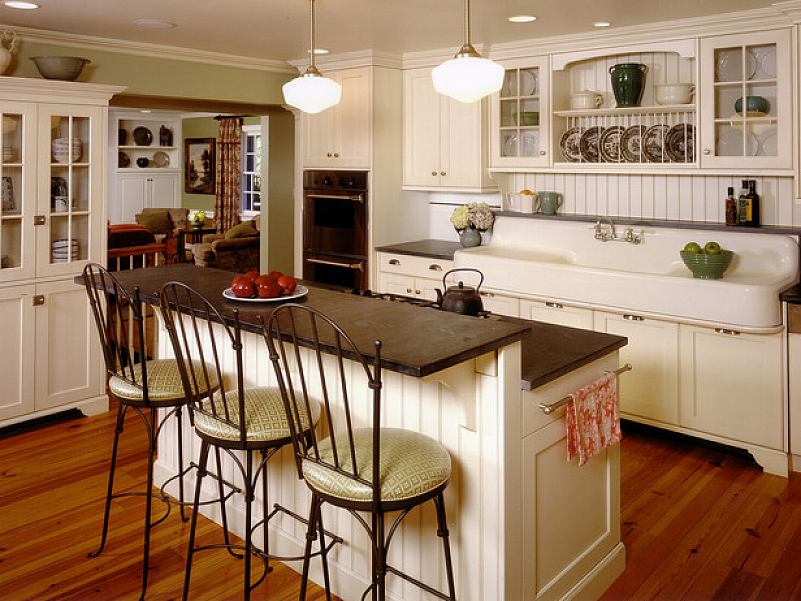
9. Maintenance: To ensure the longevity of your DIY kitchen island countertop, proper maintenance is essential. Regularly clean the surface with mild soap and water, avoiding abrasive cleaners that can damage the material. Consider resealing the countertop periodically to maintain its appearance and durability.
10. Considerations for specific materials: Different materials require specific considerations. If you choose wood, make sure to protect it from water damage by applying a waterproofing sealant. Laminate countertops should be handled with care to avoid scratching or chipping. Granite and concrete countertops may require professional installation due to their weight and complexity.
11. Budgeting: DIY projects can be a cost-effective option, but it’s important to budget for the materials, tools, and any professional assistance you may need. Research the prices of different materials and compare them to find the best option for your budget.
12. Safety precautions: When working with tools and materials, safety should be a top priority. Always wear protective gear such as safety goggles, gloves, and a dust mask. Follow the manufacturer’s instructions for safe tool operation and take necessary precautions to prevent accidents.

13. Building codes and regulations: Before starting your DIY kitchen island countertop project, it’s important to check local building codes and regulations. Some areas may have specific requirements for kitchen remodeling projects, including countertop installations. Ensure that your project complies with these regulations to avoid any legal issues.
14. Personalization: One of the benefits of a DIY kitchen island countertop is the ability to personalize it according to your preferences. Consider adding unique features such as built-in spice racks, wine racks, or additional storage compartments. Let your creativity shine through in the design and functionality of your countertop.
15. Enjoying the fruits of your labor: Once your DIY kitchen island countertop is complete and installed, take a moment to appreciate the hard work and effort you put into the project. Enjoy the additional workspace, storage, and aesthetic appeal that your custom countertop brings to your kitchen.

kitchen island countertop ideas (With images) Kitchen tiles design, Outdoor kitchen

Adding a Kitchen Island Cabinet & Countertop Inspirations
How A Simple Kitchen Island Countertop Change Can Totally Update A Kitchen — DESIGNED
Pin on Improvement Diy and Renovation of Kitchen

Attractive Replacing Kitchen Countertops On A Budget , Inspirational Replacing Kitchen

Inexpensive Ways to Make Your Small Kitchen More Functional
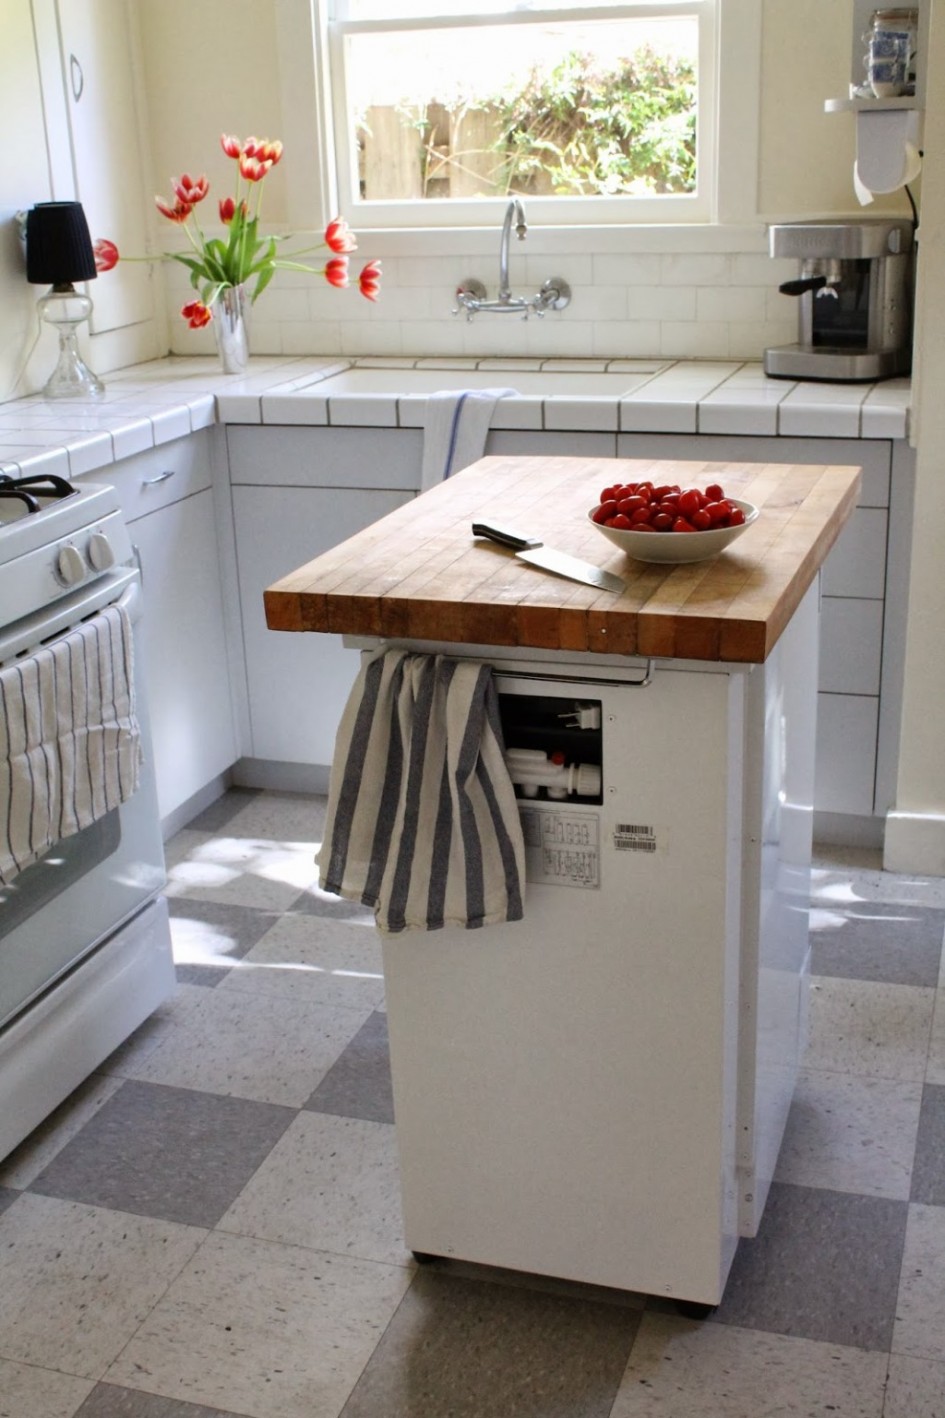
How To Create A Great Kitchen Island Design? – Best Home Ideas and Inspiration Transitional

Image result for copper sink butcher block Wood countertops, Countertops, Reclaimed wood

Extended Kitchen Island Countertop Home Design Ideas, Pictures, Remodel and Decor

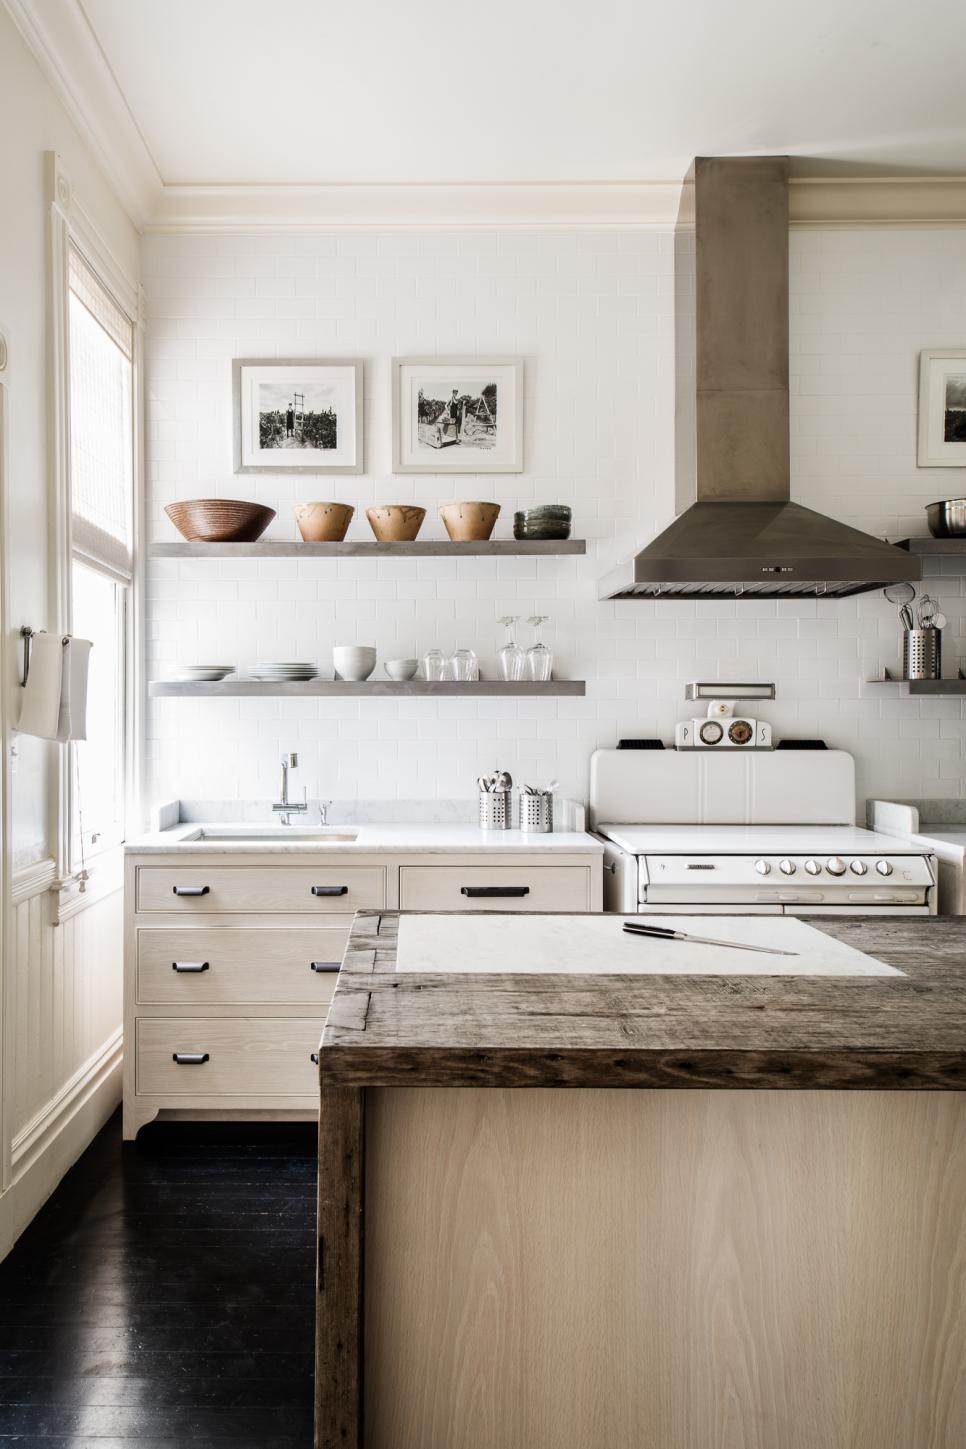
Floating Shelves, Natural Wood Island and White Subway Tile Backsplash Wall in Country Kitchen
Related Posts:
- Affordable Kitchen Countertop Ideas
- Kitchen Design White Countertops
- Engineered Stone Kitchen Countertops
- Gray Tile Kitchen Countertop
- Green Kitchen Countertop Options
- Kitchen Countertop Decorating Ideas
- Solid Wood Kitchen Countertops
- Average Cost Of Quartz Kitchen Countertops
- Contemporary Kitchen Countertops
- Cheap Kitchen Island Countertops
