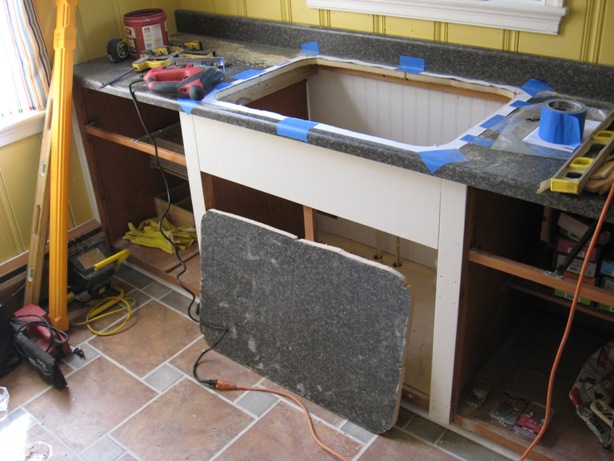
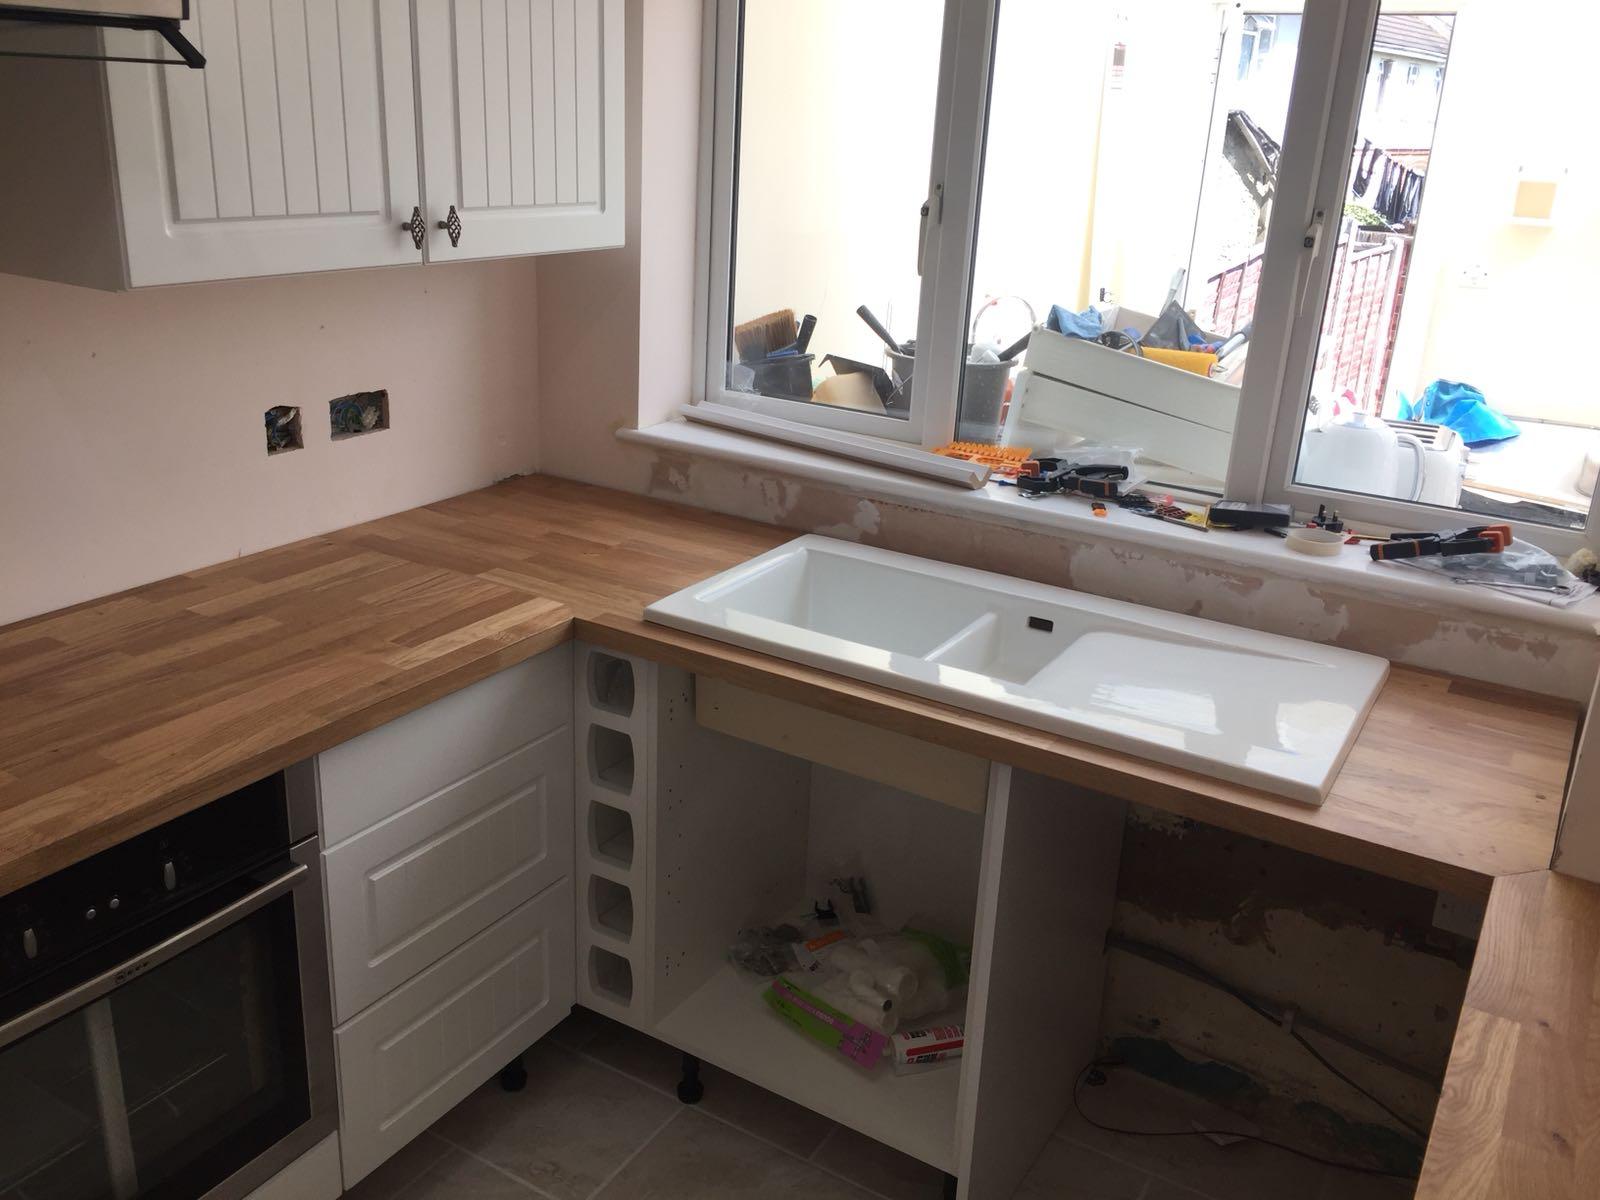
When cutting a hole for a kitchen sink, the first step is to gather all the necessary tools and materials. Having the right equipment ensures a smooth and precise cutting process. Some essential tools include a measuring tape, a pencil or marker, a jigsaw or reciprocating saw, a drill, and safety equipment such as safety glasses and gloves. Additionally, make sure to have the sink template provided by the manufacturer, which serves as a guide for the exact measurements and shape of the hole. It’s crucial to double-check the sink dimensions and the required hole size before starting the cutting process. Having all the tools and materials ready, I can proceed confidently and efficiently with cutting the hole for my kitchen sink.

Once I have gathered all the necessary tools, the next step is to mark and prepare the cutting area. Start by measuring and marking the exact position of the sink on the countertop. Using the sink template as a guide, carefully mark the outline of the sink on the countertop surface. Ensuring the measurements are accurate and the sink is centered properly is important. Next, mark the area where the hole needs to be cut within the outline. Double-check the measurements and use a straightedge to create straight lines for precision. Before proceeding with cutting, it’s essential to clear the surrounding area, removing any objects or obstacles that may hinder the cutting process. I also protect the cabinets and floor by placing drop cloths or cardboard to catch any debris and prevent damage.

With the cutting area marked and prepared, it’s time to cut the hole for the kitchen sink with precision and care. I begin by drilling a pilot hole inside the marked area to create a starting point for the jigsaw or reciprocating saw. Once the pilot hole is created, I carefully insert the jigsaw or reciprocating saw blade and follow the marked lines, moving slowly and steadily. Keeping the saw blade perpendicular to the countertop surface is crucial to ensure a clean and even cut. I wear safety glasses and gloves throughout the cutting process to protect myself from flying debris or accidental slips. Taking my time and letting the saw do the work is important, avoiding any rush or excessive force that could lead to mistakes or damage. Once the hole is fully cut, I inspect the edges and make any necessary adjustments to ensure a smooth and even surface. With the hole successfully cut, I can proceed with installing my kitchen sink, knowing that I have achieved a precise and professional-looking result.

How to Install an Undermount Sink – The Home Depot

How To Remove a Kitchen Sink in 5 Steps

That Little Hole at the Top of Your Sink, Explained Reader’s Digest

How to Make a DIY Play Kitchen Part 1: Selection and Prep of a Great Entertainment Center

Do-It-Yourself Butcher-Block Kitchen Countertop HGTV

How to Choose a Kitchen Sink

How to Cut & Polish Granite Countertop DIY – Undermount Sink – YouTube

Making Hole In Ceramic Sink – Kitchen Units & Worktops – BuildHub.org.uk

Cutting out hole for sink in worktop tomorrow – any tips? – Page 2 – Homes, Gardens and DIY

Outside Clyde: The Sink Hole

Double kitchen sink – 1LFS82A – F.lli Barazza Srl – stainless steel / overmount / corner

Related Posts:
- Cast Kitchen Sinks
- Kitchen Sink Wash Tub
- Kitchen Sink Tap Replacement
- Kitchen Sink Sizes In Inches
- Kitchen Sink Blanco Harga
- Extjs Charts Kitchen Sink
- How To Get Rid Of Bad Smell Under Kitchen Sink
- Vintage Kitchen Sink Unit
- Mobile Home Kitchen Sink Plumbing
- Kitchen Sink Faucet Hose Leaking