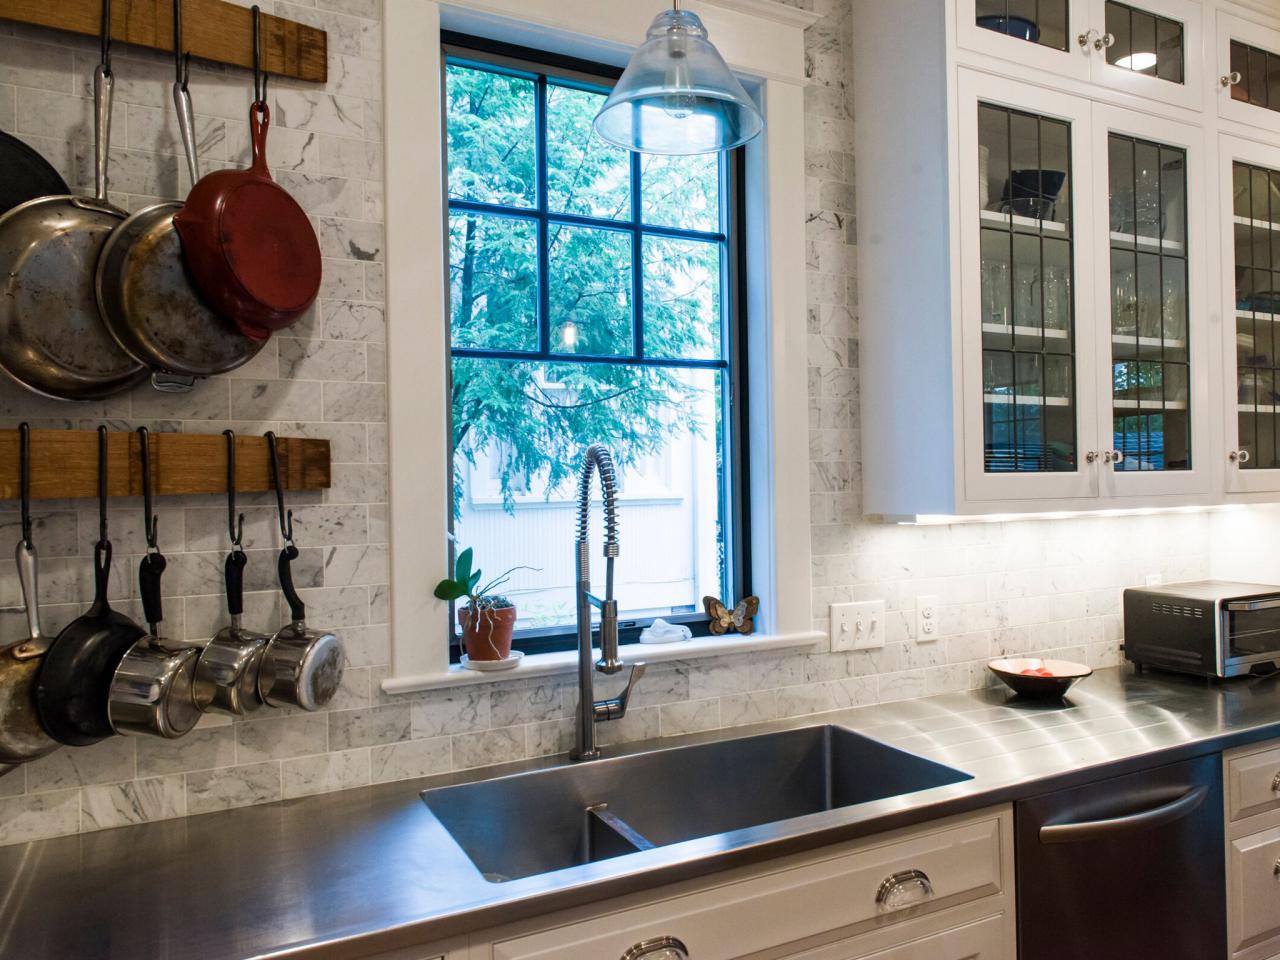
Embarking on the journey to install a kitchen island countertop requires careful planning and execution. Whether you’re upgrading your existing island or adding a new one, the process demands attention to detail and a systematic approach. Begin by ensuring that you have all the necessary tools and materials, including the chosen countertop material, screws, a drill, a level, and appropriate adhesive.
Before diving into the installation process, it’s crucial to prepare the kitchen space. Clear the area around the island, removing any obstacles that may hinder the installation process. Ensure that the floor is clean and level, as an uneven surface can impact the stability and alignment of the countertop.
The next step involves measuring and marking the placement of the kitchen island. Use a tape measure to determine the exact dimensions of the countertop, taking into account any overhangs or additional features. Mark the position of the island on the floor using painter’s tape or pencil lines. This step is crucial in ensuring that the countertop is centered and aligned properly.
With the island’s position marked, it’s time to place the base cabinets or support structure. If the island is being added to an existing kitchen, the cabinets should already be in place. For a new island, assemble and install the base cabinets according to the manufacturer’s instructions. Ensure that the cabinets are level and securely anchored to the floor.
The choice of countertop material will influence the installation process. For materials like granite, quartz, or solid surface, it’s common to have the countertop pre-cut to fit the dimensions of the island. Place the countertop on the base cabinets, ensuring that it aligns with the marked position on the floor. If you’re working with a laminate countertop, you may need to cut it to size using a circular saw or jigsaw.
Once the countertop is in position, secure it to the base cabinets. Use screws to anchor the countertop to the cabinets from below. Be mindful of the location of seams if you’re working with a countertop material that requires multiple sections. Ensure that the seams are tightly aligned and use a color-matching adhesive to conceal them seamlessly.
Check the levelness of the countertop at this stage. A level countertop is not only visually appealing but also functional. Adjust the base cabinets or shim the countertop as needed to achieve a perfectly level surface. This step is crucial for ensuring that liquids and items placed on the countertop don’t pool or roll.
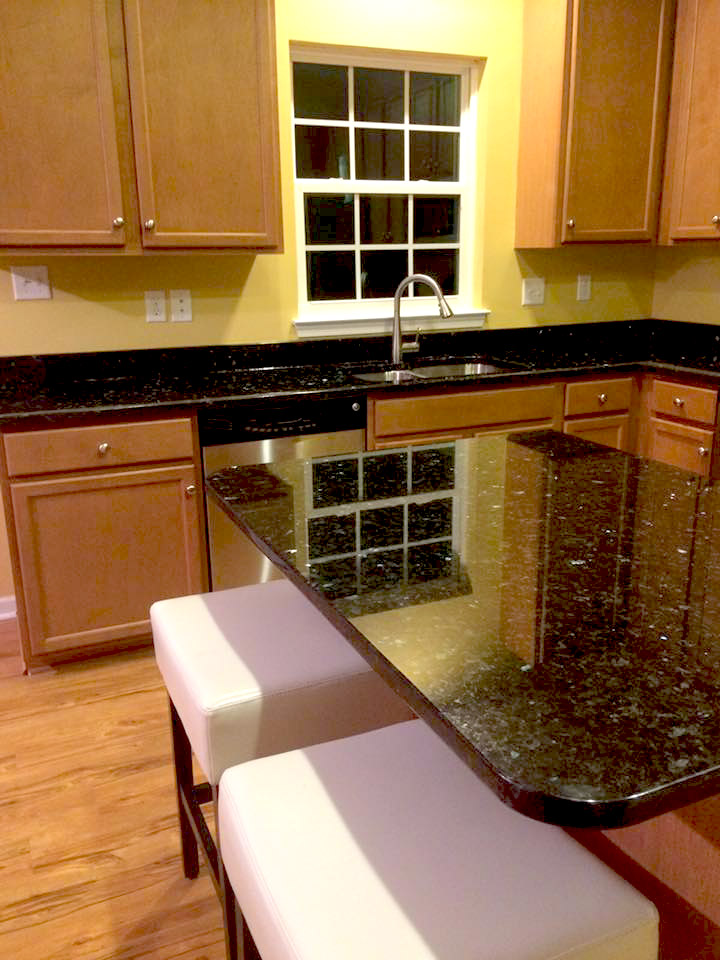
If your kitchen island includes an overhang for seating, make sure it is properly supported. Install brackets or corbels underneath the overhang to provide additional stability. This step is crucial for the safety of anyone sitting at the island. Ensure that the overhang is well-supported and does not compromise the structural integrity of the countertop.

Seal the seams and edges of the countertop, especially if you’re working with porous materials like natural stone. Apply a high-quality sealant to prevent moisture penetration and staining. Follow the manufacturer’s recommendations for sealant application and curing time. This step contributes to the longevity and durability of the countertop.
Finish the installation by addressing any final details. Check for any gaps or inconsistencies in the seams and edges. Use a color-matching filler or caulk to address any visible gaps and create a seamless appearance. Clean the countertop thoroughly to remove any dust, debris, or adhesive residue.
Take a step back to admire your newly installed kitchen island countertop. Ensure that it meets your expectations in terms of aesthetics, functionality, and stability. This is also the time to make any necessary adjustments or corrections before the installation process is considered complete.
The final step involves integrating the kitchen island into the overall design of the space. Add finishing touches such as decorative molding or trim to enhance the visual appeal of the island. Consider how the island complements the existing cabinetry, flooring, and overall design aesthetic. Personalize the space with accessories and decor to make the kitchen island a cohesive and stylish element of your kitchen.

How A Simple Kitchen Island Countertop Change Can Totally Update A Kitchen — DESIGNED

Spectacular Kitchens With Island Stoves – Décoration de la maison
outlet installation inside cabinet. How to install kitchen island, Kitchen cabinet outlet

Pin on Improvement Diy and Renovation of Kitchen

Kitchen Countertop Installation
Beadboard Kitchen Island Ideas and Inspiration Hunker

How To Replace Kitchen Island Countertop – instaimage

How to install Countertop Support Brackets – The Original Granite Bracket

Extended Kitchen Island Countertop Home Design Ideas, Pictures, Remodel and Decor

Related Posts: