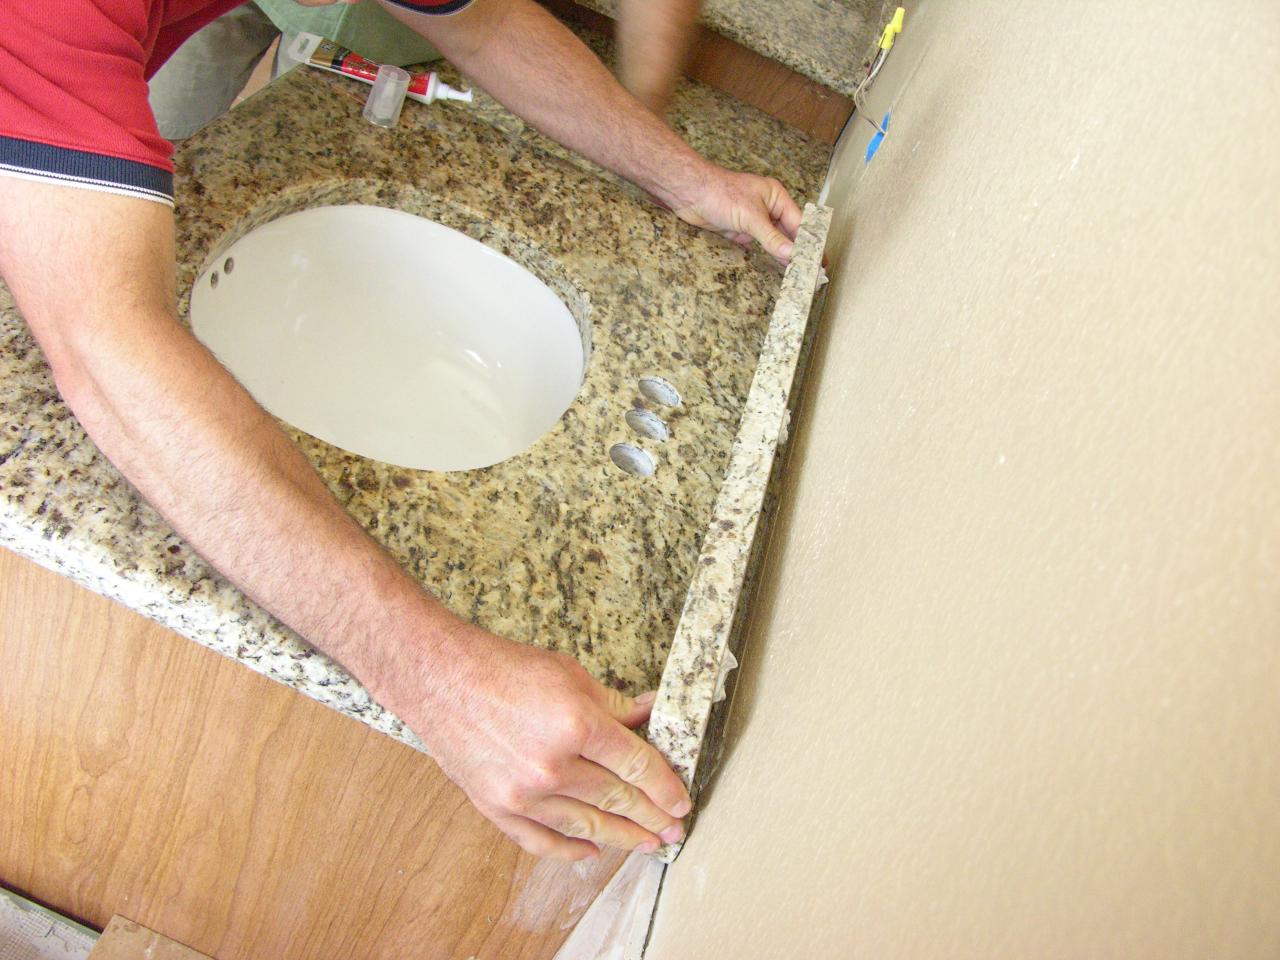
To guarantee a flawless and tight fit, installing a kitchen faucet on a granite countertop takes meticulous planning and execution. Acquiring the required equipment and materials is crucial before starting the installation process. These usually consist of a basin wrench, plumber’s tape, an adjustable wrench, and the replacement faucet kit, which ought to have all the necessary parts and comprehensive instructions.
First, shut off the kitchen sink’s water supply. To stop water flow while the installation is being done, find the shut-off valves underneath the sink and close them. After that, turn on the faucet to let any last drop of water out of the pipes, and set a pail or some towels underneath the sink to catch any spills.
Disconnect the current faucet as soon as the water supply is switched off. To remove and loosen the nuts holding the supply lines to the faucet, use the adjustable wrench. For gaining access to confined areas, a basin wrench comes in very useful. Loosen the mounting nuts beneath the sink to remove the faucet while the supply lines are disconnected.
Make sure the granite countertop’s faucet holes and the area surrounding the sink are spotless before replacing the old faucet. This keeps the surface clean for the new installation and stops any dirt from interfering with the functionality of the faucet.

Put the plumber’s tape on the new faucet’s threads. This stops leaks and aids in the creation of a watertight seal. Make sure the direction of the faucet installation matches the way the tape is wrapped around the threads, clockwise.
Place the new faucet into the granite countertop’s mounting holes. To ensure a tight seal, make sure the rubber or plastic gasket that comes with the faucet is in place. Tighten the mounting nuts on the faucet to firmly anchor it from underneath the sink. If you need to reach and tighten the bolts in tight places, use a basin wrench.
Attach the supply lines coming from the faucet to the under-sink shut-off valves. First, use the adjustable wrench to further secure the nuts after hand-tightening them into the valve threads. Take care not to overtighten to prevent harm to the supply lines or the faucet.
Turn on the water supply to check for leaks after the faucet is firmly in place. To let water pass through the lines, slowly open the faucet. Check for leaks in the connections, and tighten them if needed.

Install the separate sprayer, if it comes with the new faucet, according to the manufacturer’s instructions. This usually entails attaching one end of the sprayer hose to the sprayer underneath the sink and the other end to the faucet body.
Run both hot and cold water through the faucet to check its operation. Verify that the water is flowing properly and that no strange noises or vibrations are present. Review the connections and make any necessary modifications if problems occur.
Make sure the pull-down or pull-out sprayers on faucets with extra features are working smoothly by testing them. Check that all of the buttons and controls work properly and that the sprayer retracts securely.
Examine the faucet’s alignment and overall appearance. Make sure it rests flush against the granite countertop and is centered in the mounting holes. To get the look you want, make any necessary changes.

To get rid of any dirt, residue, or fingerprints left over from the installation process, thoroughly clean the faucet and its surroundings. For this task, a soft cloth and a mild soapy solution work well.
And lastly, pause to admire your newly fitted kitchen faucet on the granite worktop. Appreciate the improved appearance and increased functionality it provides for your kitchen. For the sake of your granite countertop’s integrity and the longevity of your faucet, routinely check for leaks and take quick corrective action when necessary.
To sum up, there are several methodical stages involved in installing a kitchen faucet on a granite countertop to guarantee a tight and safe fit. Paying close attention to detail is essential, from cutting off the water supply and unplugging the old faucet to properly locating and fastening the new one. An essential component of the installation procedure is adhering to the manufacturer’s instructions, checking for leaks, and evaluating the overall performance and appearance. Homeowners can add flair and practicality to their kitchen area by skillfully installing a kitchen faucet on a granite countertop with the correct equipment, time, and attention to detail.

Granite Verona White countertop remnant in San Antonio, Texas.

Related Posts:
- Best Kitchen Faucet Filter
- Chrome Kitchen Faucet With Spray
- Replace Hose Kitchen Faucet Sprayer
- Grohe Feel Kitchen Faucet
- Repairing A Moen Kitchen Faucet
- Pfister Kitchen Faucet Replacement Head
- U Bracket Kitchen Faucet
- Replace Moen Kitchen Faucet Cartridge 1225
- Eclipse Kitchen Faucet
- Moen Kitchen Faucet Cartridge Replacement Instructions