Installing a tin backsplash for your kitchen is a great way to add a touch of vintage charm and a unique focal point to your space. This DIY project can be completed with a little bit of patience and some basic tools. In this article, we will guide you through the step-by-step process of installing a tin backsplash, along with some common mistakes to avoid and frequently asked questions.
Prepare the surface: Before you begin, make sure the surface behind your kitchen stove or sink is clean and free of any grease, dirt, or debris. Use a mild detergent and warm water to thoroughly clean the wall. Allow it to dry completely.
Measure and cut the tin backsplash: Measure the area where you want to install the tin backsplash and mark the measurements on the tin. Use tin snips to carefully cut the tin sheets according to your measurements. Make sure to wear gloves to protect your hands from sharp edges.

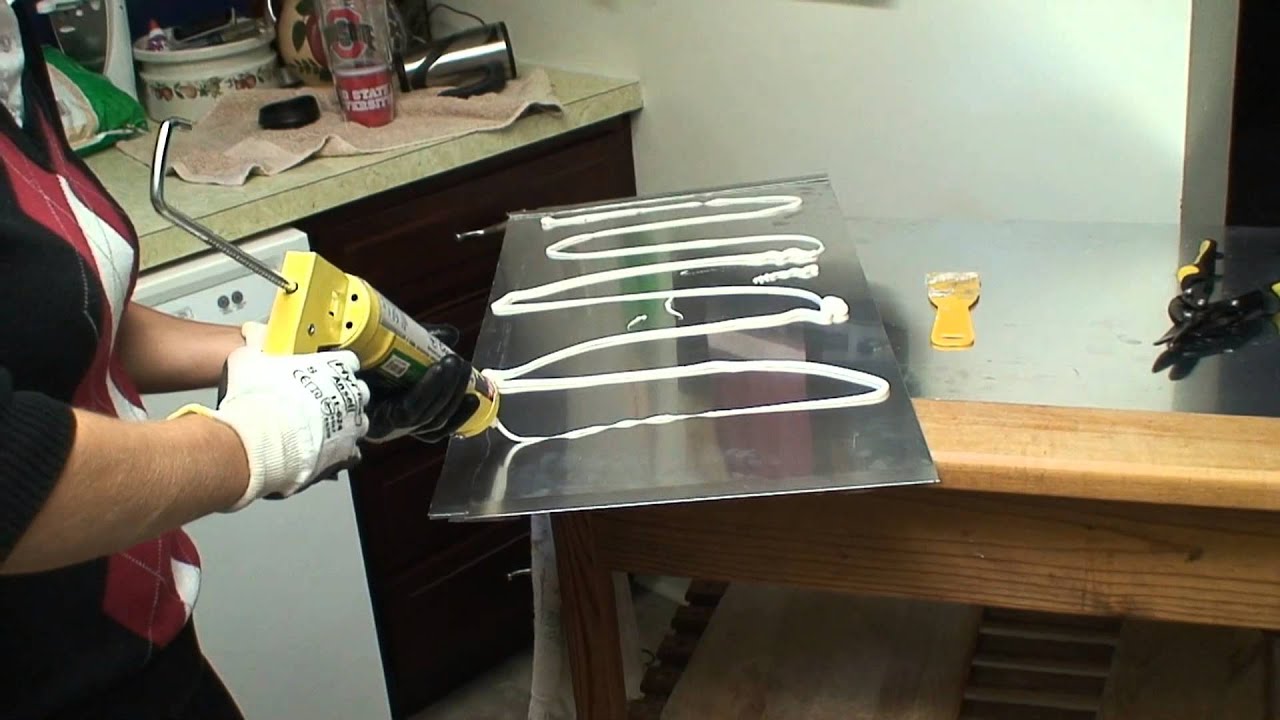
Apply adhesive: Apply a thin layer of adhesive or construction adhesive to the back of the tin sheets. Spread it evenly using a putty knife or trowel. Be careful not to apply too much adhesive, as it may seep through the gaps in the tin sheets.
Position the tin sheets: Carefully position the first tin sheet at the bottom of the wall, aligning it with the countertop or any existing tiles. Press it firmly against the wall to ensure it adheres properly. Continue placing the rest of the tin sheets, overlapping the edges by about 1/4 inch to create a seamless look.
Secure with nails: Use a nail gun or tin snips to secure the tin sheets in place. Place nails or tin snips along the edges and corners of each tin sheet to hold them securely to the wall. Be mindful of the tin’s pattern and avoid placing nails in conspicuous areas.

Trim excess tin: Once all the tin sheets are in place, use tin snips to trim any excess tin along the edges. Take your time to ensure clean and precise cuts.
Fill gaps: If there are any gaps between the tin sheets, use a small amount of adhesive or caulk to fill them in. Smooth it out with a putty knife or your finger for a seamless finish.
Apply a protective finish: To protect the tin backsplash and enhance its appearance, apply a clear coat of polyurethane or a metal sealer. This will prevent tarnishing and make cleaning easier.
Clean and maintain: To keep your tin backsplash looking its best, clean it regularly using a mild detergent and a soft cloth. Avoid using abrasive cleaners or scrub brushes that can scratch the surface.
Common mistakes to avoid: One common mistake is not properly cleaning the wall before installation. This can prevent the adhesive from sticking properly and cause the tin sheets to come loose over time. Another mistake is not measuring accurately, which can result in ill-fitting tin sheets and gaps between them. Additionally, applying too much adhesive can cause it to seep through the tin sheets, creating a messy appearance.
Can I install a tin backsplash over the existing tiles?
Yes, you can install a tin backsplash over existing tiles. Make sure the tiles are clean and free of any loose or damaged pieces. Apply adhesive directly to the tiles and follow the same installation process as mentioned earlier.
Can I paint my tin backsplash?
Yes, you can paint your tin backsplash. Make sure to clean the surface thoroughly and use a metal primer before applying paint. Choose a high-quality metal paint for the best results.
Can I install a tin backsplash without using nails?
Yes, you can use adhesive alone to install a tin backsplash. However, using nails or tin snips to secure the tin sheets will provide extra stability and ensure a long-lasting installation.
How do I remove a tin backsplash?
To remove a tin backsplash, start by carefully prying off the tin sheets using a putty knife or a similar tool. If the tin was installed with adhesive, use a heat gun or a hairdryer to soften the adhesive and make removal easier. Clean the wall thoroughly after removing the tin.
Can I install a tin backsplash behind a gas stove?
Yes, you can install a tin backsplash behind a gas stove. However, make sure to follow local building codes and regulations regarding the distance between the stove and combustible materials. Use a heat-resistant adhesive and avoid placing the tin sheets too close to the open flame.

Tin Backsplashes
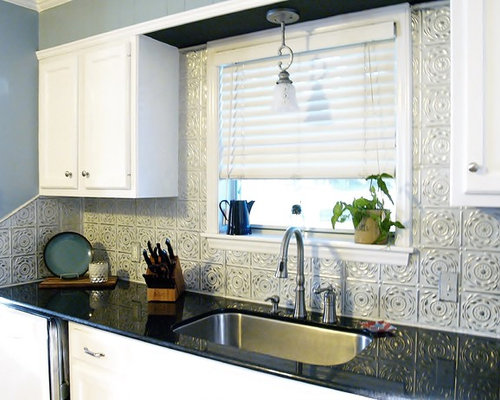
DIY Pressed Tin Kitchen Backsplash – Bless’er House

DIY Pressed Tin Kitchen Backsplash – Bless’er House

Pressed Tin Panel Kitchen Splash Back Cheap kitchen backsplash, Tin tile backsplash, Metal

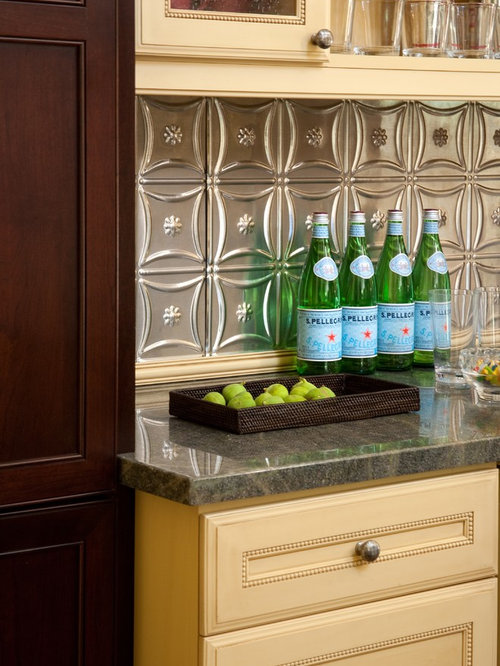
Design Metal Backsplash Install
My Kitchen Re-Do! Quartz Backsplash Quartz backsplash, Farmhouse backsplash, Metallic backsplash

Ways to Redo a Backsplash (Right Over the Old One!) • The Budget Decorator

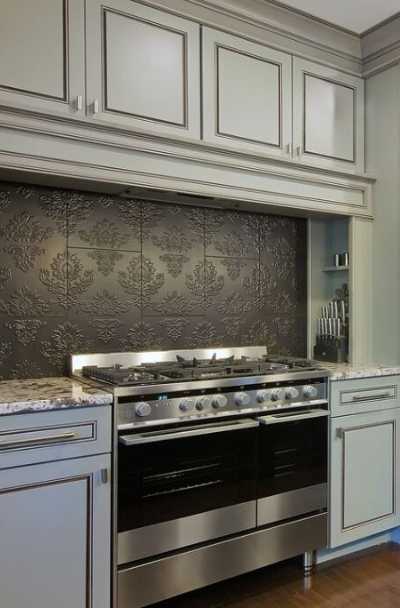
Tin Backsplash For Kitchen Houzz
Fasade Backsplash-Traditional 1 in Paintable White Tin backsplash kitchen, Tin tiles, Faux tin

Related Posts:
- Cheap DIY Kitchen Backsplash
- Vinyl Kitchen Tiles Backsplash
- Small Kitchen Backsplash Ideas
- Modern Farmhouse Kitchen Backsplash
- Green Kitchen Backsplash Ideas
- Mexican Tile Backsplash Kitchen Ideas
- Rustic Stone Kitchen Backsplash
- Kitchen Backsplash Tile Ideas
- Decorative Kitchen Backsplash Ideas
- Kitchen Backsplash Tile Designs