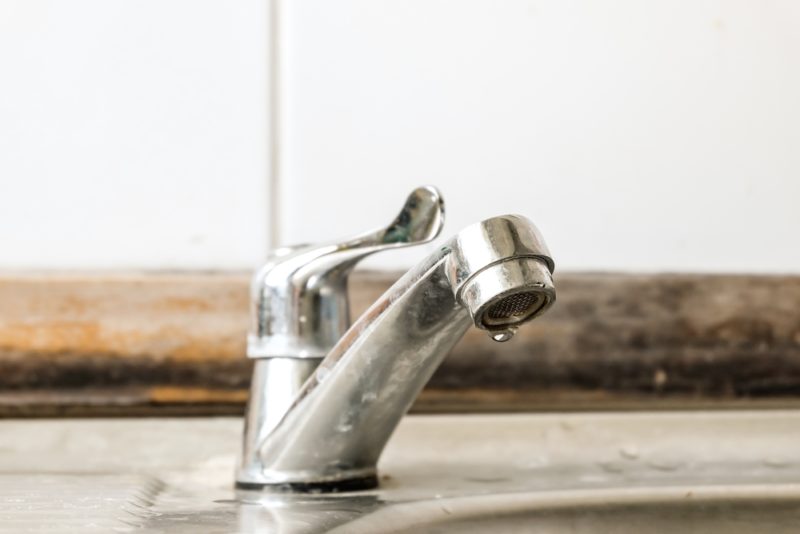
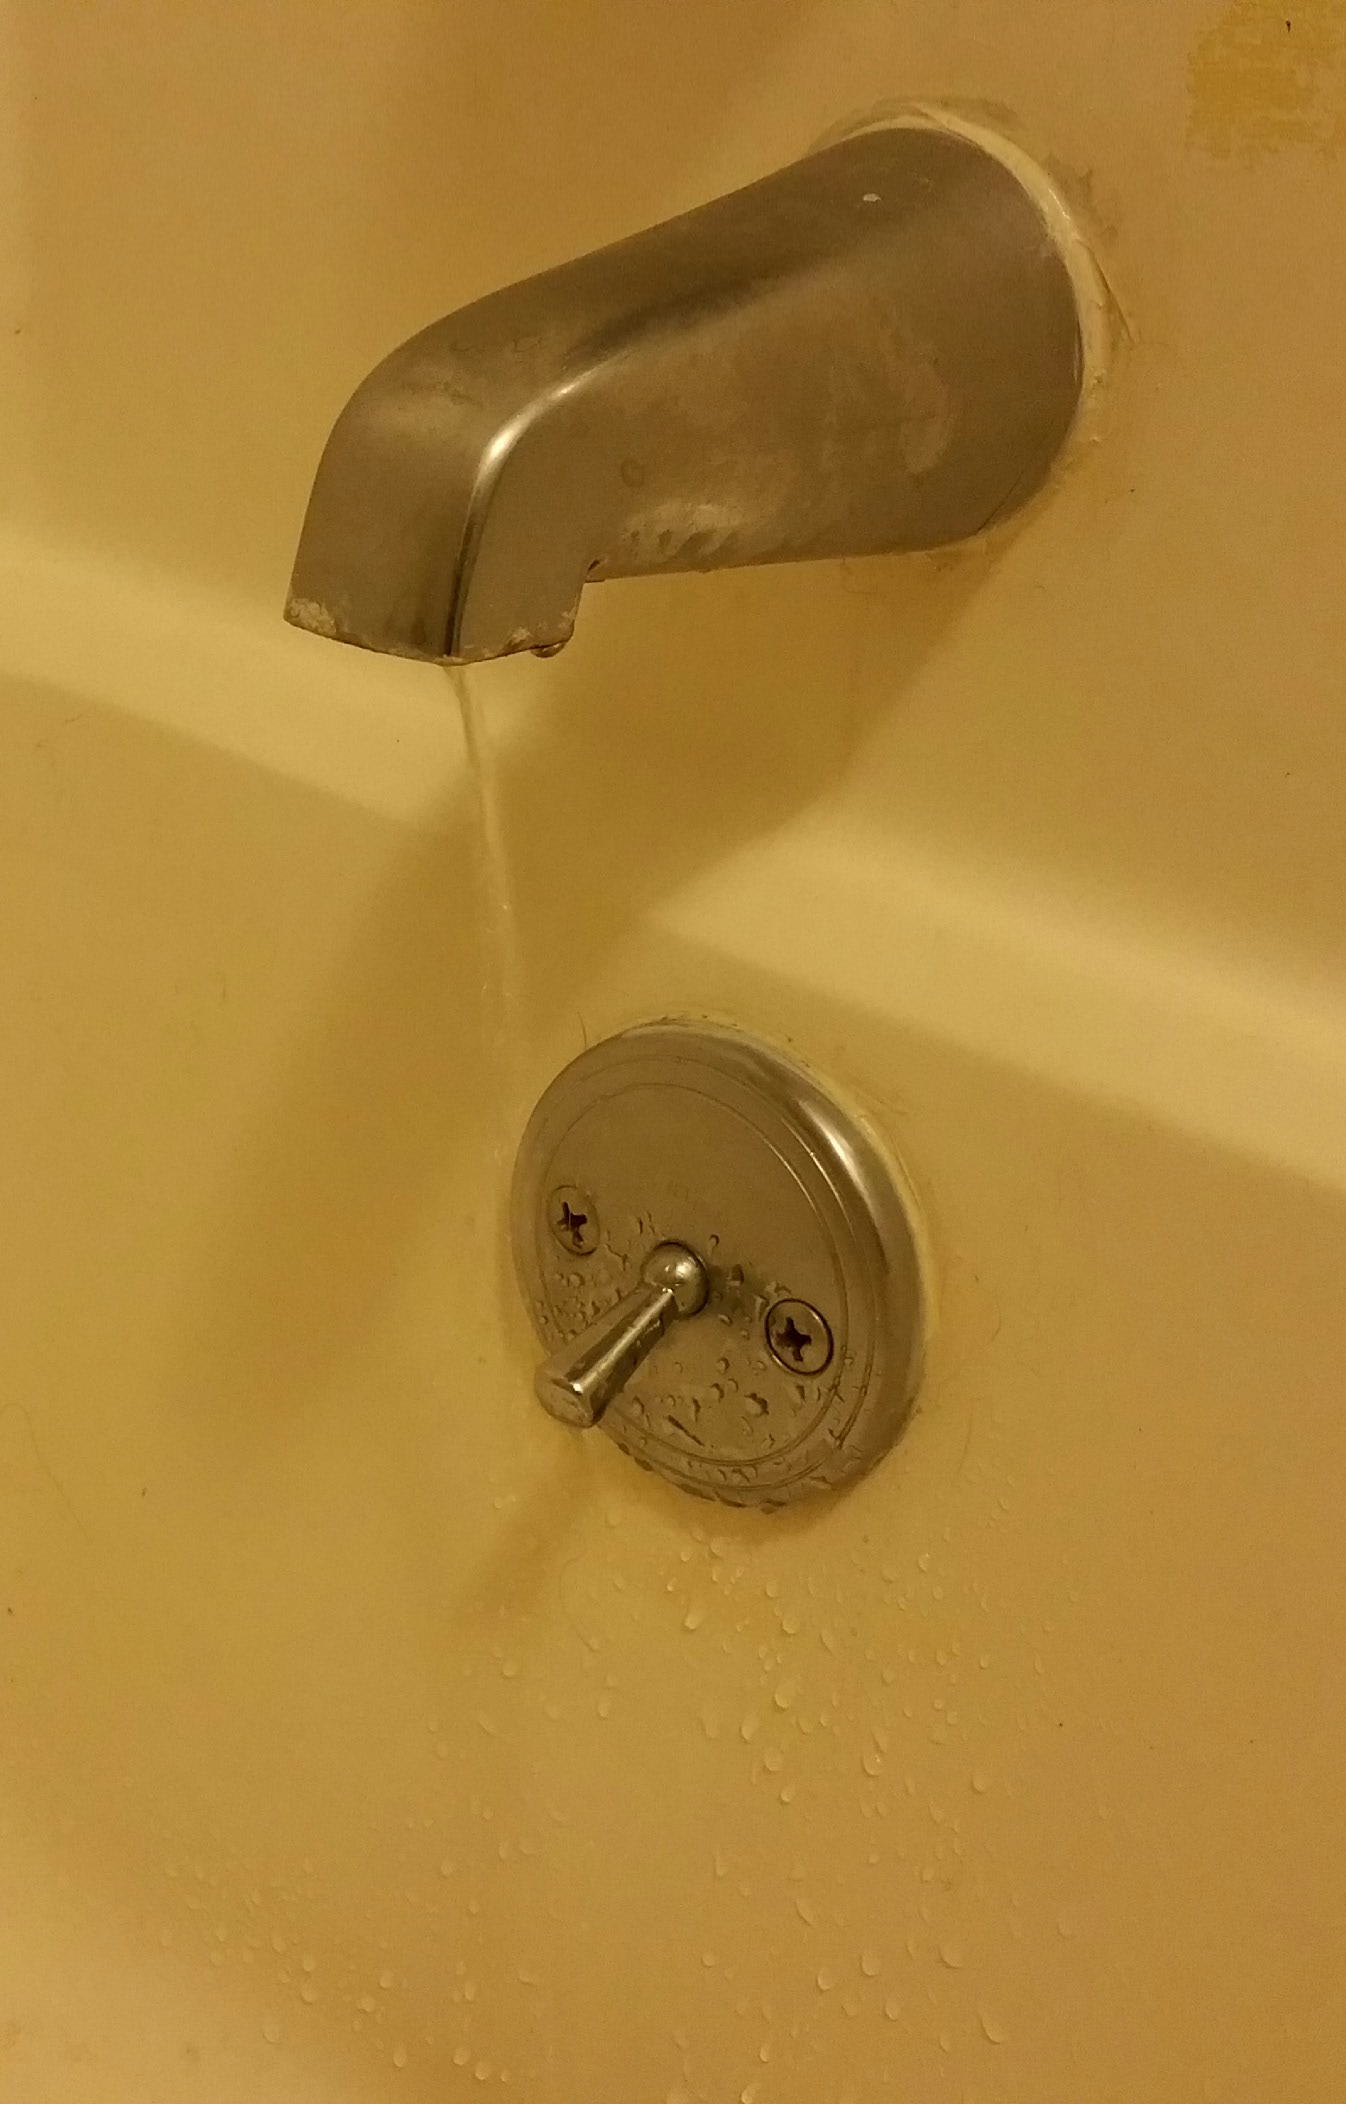
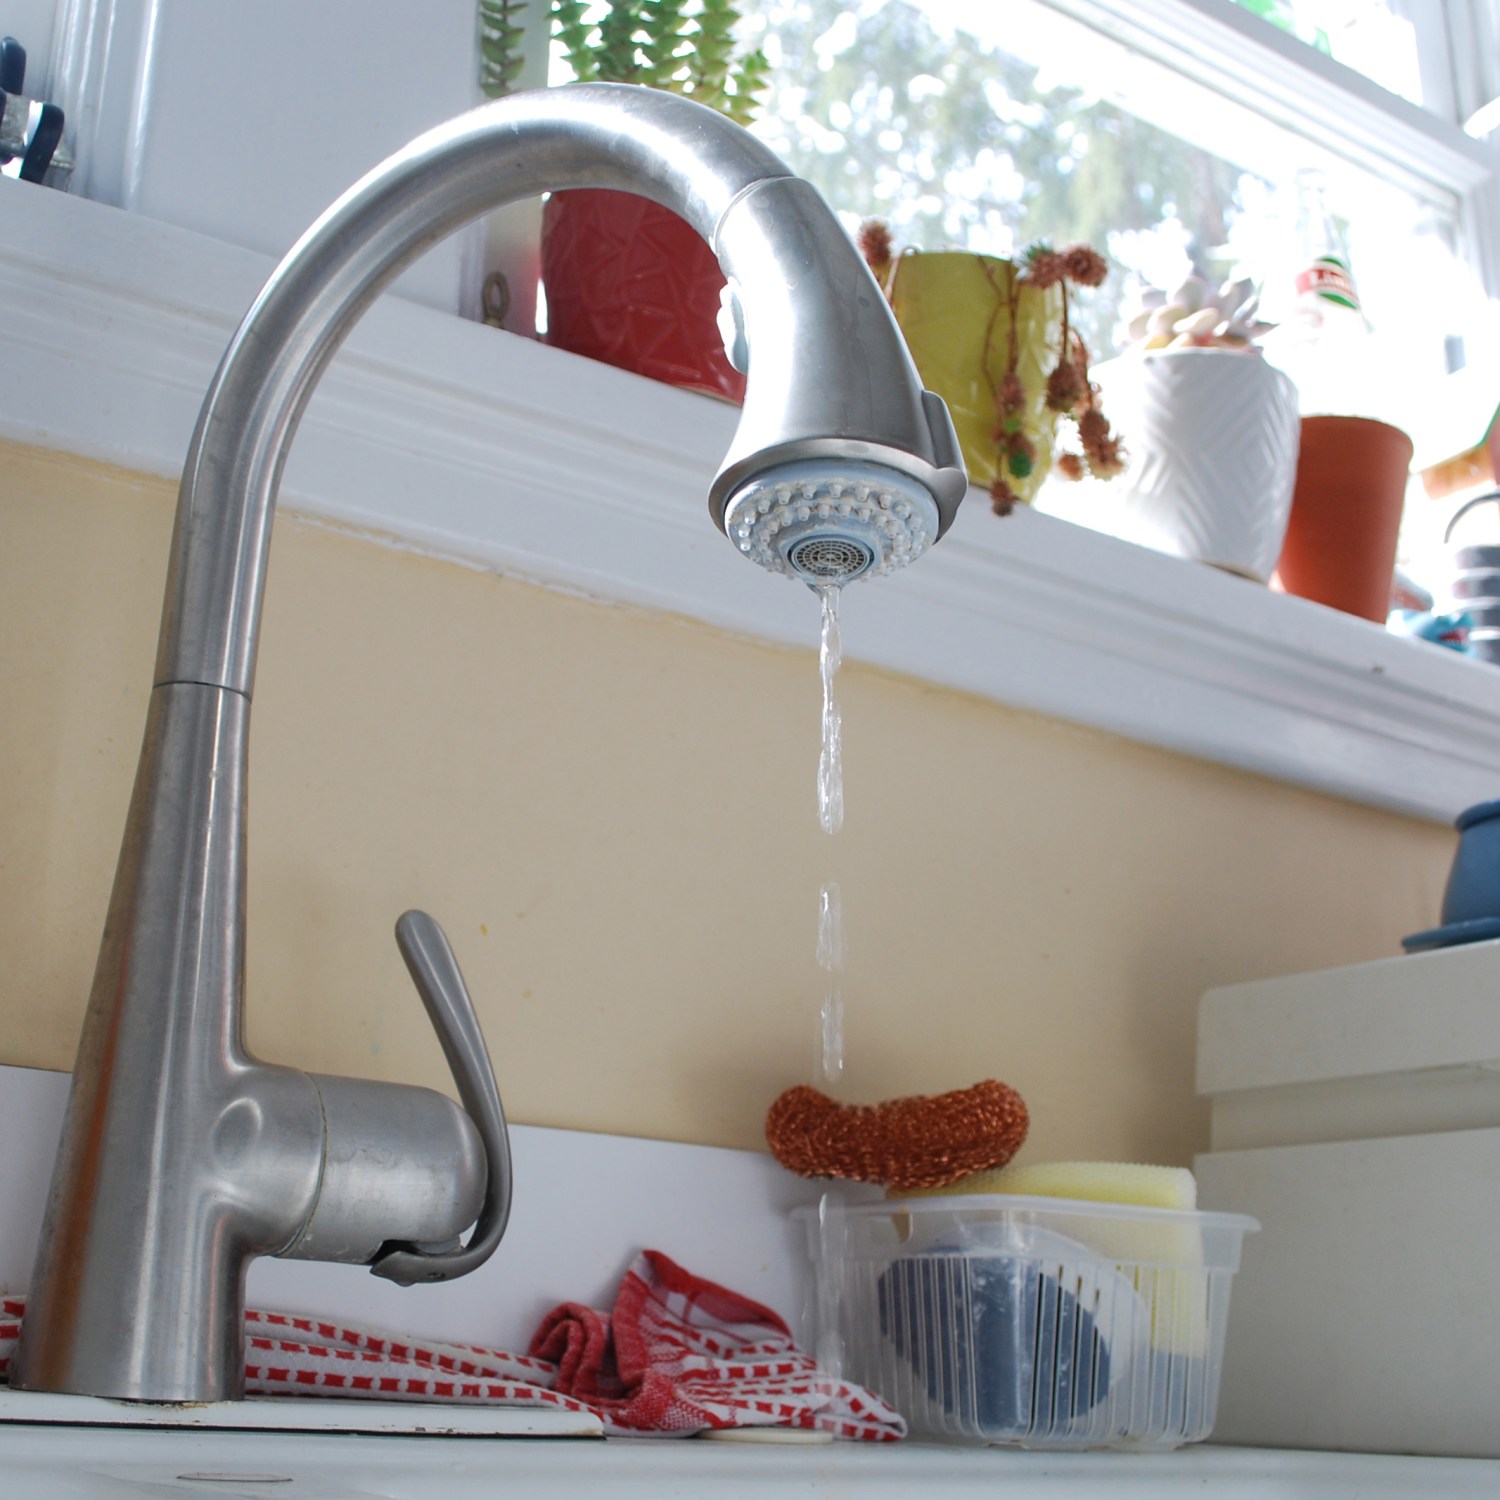
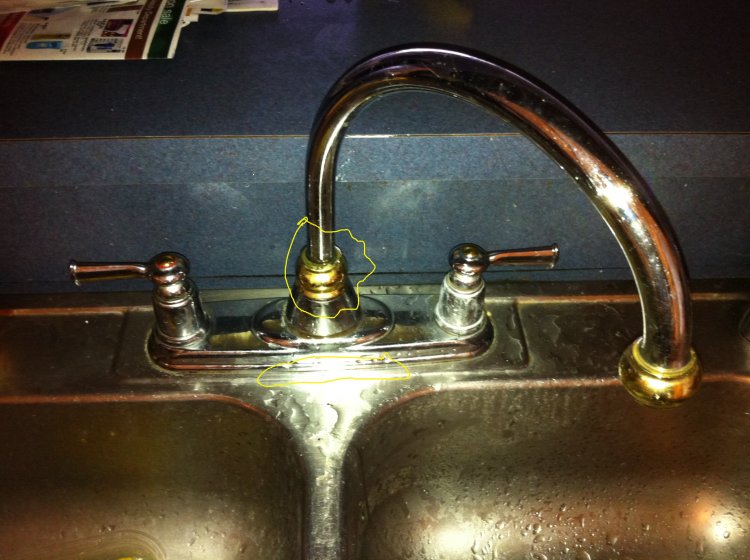
A dripping kitchen faucet can be both annoying and wasteful. Not only does the constant drip create an irritating sound, but it also leads to the unnecessary wastage of water, which can increase your water bill over time. Fortunately, fixing a dripping kitchen faucet is a relatively simple task that you can tackle on your own with just a few tools and some basic knowledge.
First, it’s important to identify the type of faucet you have, as different types may require different approaches for repair. The most common types of kitchen faucets are compression, cartridges, ceramic disks, and ball faucets. Each type has its unique mechanism, so understanding how your faucet works is crucial in determining the appropriate method for fixing it.
One of the most common causes of a dripping faucet is a worn-out or damaged washer. Washers are small rubber or plastic discs that form a watertight seal when the faucet is turned off. Over time, these washers can degrade or become damaged, causing water to leak through. Replacing the washer is often the simplest and most effective solution to stop the dripping.
To replace the washer, you’ll need to turn off the water supply to the faucet and disassemble the faucet handle to access the old washer. Once you’ve removed the old washer, inspect it for any signs of damage or wear and tear. If it looks worn out, replace it with a new washer of the same size and shape. Be sure to reassemble the faucet properly and turn the water supply back on to test for leaks.
Another common culprit behind a dripping faucet is a faulty cartridge or valve. Cartridge faucets use a cartridge to control the flow of water, while ball faucets use a ball-shaped mechanism. If your faucet is leaking from the handle, there’s a good chance that the cartridge or valve needs to be replaced.
To replace the cartridge or valve, you’ll need to shut off the water supply to the faucet and remove the handle and trim to access the cartridge or valve assembly. Once you’ve removed the old cartridge or valve, inspect it for any signs of damage or wear. If it’s damaged, replace it with a new one of the same size and type. Reassemble the faucet and turn the water supply back on to check for leaks.

In some cases, a dripping faucet may be caused by a loose or worn-out O-ring or seal. O-rings are rubber rings that create a watertight seal between moving parts of the faucet. If the O-ring is loose or damaged, water can leak through, causing the faucet to drip.
To fix a dripping faucet caused by a faulty O-ring, you’ll need to shut off the water supply and disassemble the faucet to access the O-ring. Inspect the O-ring for any signs of damage or wear, and replace it if necessary. Reassemble the faucet and turn the water supply back on to check for leaks.
Another common cause of a dripping faucet is mineral buildup or corrosion inside the faucet. Over time, minerals in the water can accumulate inside the faucet, causing the internal components to become clogged or corroded. This can interfere with the proper functioning of the faucet and lead to leaks.

To fix a dripping faucet caused by mineral buildup or corrosion, you’ll need to clean the internal components of the faucet. Start by shutting off the water supply and disassembling the faucet to access the internal components. Use a mixture of vinegar and water to dissolve any mineral deposits, and scrub away any corrosion with a brush or scrubbing pad. Once the internal components are clean, reassemble the faucet and turn the water supply back on to check for leaks.
Finally, if you’ve tried all of the above methods and your faucet is still dripping, it may be time to replace the faucet altogether. Over time, faucets can become worn out and beyond repair, especially if they’re old or low-quality. Installing a new faucet is a relatively simple task that you can do yourself with just a few basic tools.
When replacing a faucet, be sure to choose a high-quality faucet that’s compatible with your sink and plumbing. Shut off the water supply to the faucet and follow the manufacturer’s instructions for installation. Once the new faucet is installed, turn the water supply back on and check for leaks.

Common Mistakes to Avoid:
- Neglecting to shut off the water supply before attempting to repair or replace a faucet can lead to water damage and flooding.
- Using the wrong tools or techniques for the type of faucet you have can cause further damage and make the problem worse.
- Reusing old or damaged washers, cartridges, or O-rings instead of replacing them can result in continued leaking and the need for additional repairs.
- Over-tightening faucet components during reassembly can damage the internal parts and lead to leaks.
- Ignoring signs of corrosion or mineral buildup inside the faucet can cause ongoing issues with water flow and quality.

Why is my kitchen faucet dripping?
A dripping kitchen faucet is often caused by worn-out or damaged internal components such as washers, cartridges, valves, or O-rings. These parts can degrade over time due to regular use, mineral buildup, or corrosion.
Can I fix a dripping faucet myself?
Yes, fixing a dripping faucet is a relatively simple task that you can often tackle on your own with just a few tools and some basic knowledge. However, if you’re not comfortable with DIY repairs, you can always call a plumber for assistance.
How do I know which type of faucet I have?
The most common types of kitchen faucets are compression, cartridges, ceramic disks, and ball faucets. You can usually identify the type of faucet you have by examining its handle and internal components. Each type has its unique mechanism for controlling water flow.
What should I do if replacing the washer doesn’t stop the dripping?
If replacing the washer doesn’t stop the dripping, the issue may be with the cartridge, valve, O-ring, or internal components of the faucet. Try inspecting and replacing these parts as necessary, or consider replacing the faucet altogether if it’s old or beyond repair.
How can I prevent my kitchen faucet from dripping in the future?
To prevent your kitchen faucet from dripping in the future, be sure to perform regular maintenance such as cleaning the internal components, inspecting for signs of wear or damage, and promptly repairing any leaks or issues that arise. Additionally, investing in a high-quality faucet and avoiding harsh cleaning products can help prolong its lifespan.

Repair Dripping Faucet – YouTube

Repairing A Dripping Faucet – Kitchen Faucet Reviews Pro

Fix A Dripping Tap Or Faucet – VisiHow

How to replace cartridge Kingston Brass KS8971DL kitchen faucet video – YouTube

Why Are My Faucets Leaking? The Plumbing Works

Moel kitchen faucet leaking at the base

How to Fix a Leaking Moen 1225 Series Bathroom Faucet by Replacing the Cartridge – YouTube

Ikea kitchen mixer leaking at base of swivel head DIYnot Forums
Related Posts:
- Moen Kitchen Faucet Leak Repair
- Moen Biscuit Kitchen Faucet
- Handle Kitchen Faucet
- Home Hardware Moen Kitchen Faucets
- Standard Kitchen Faucet Size
- Vigo Chrome Pull Down Spray Kitchen Faucet
- Cae Kitchen Faucet
- Delta Leland Arctic Stainless 1 Handle Pull Down Kitchen Faucet
- Stylish Kitchen Faucets
- Moen Pull Out Kitchen Faucet Leaking
