Addressing a Leaking Kitchen Faucet Hose
A leaking kitchen faucet hose can be more than just an inconvenience—it can lead to higher water bills, potential water damage, and even mold growth if left unchecked. Understanding how to identify and repair a leaking hose is crucial for maintaining the functionality and integrity of your kitchen. This guide provides detailed steps on diagnosing, fixing, and preventing kitchen faucet hose leaks.
Identifying the Source of the Leak
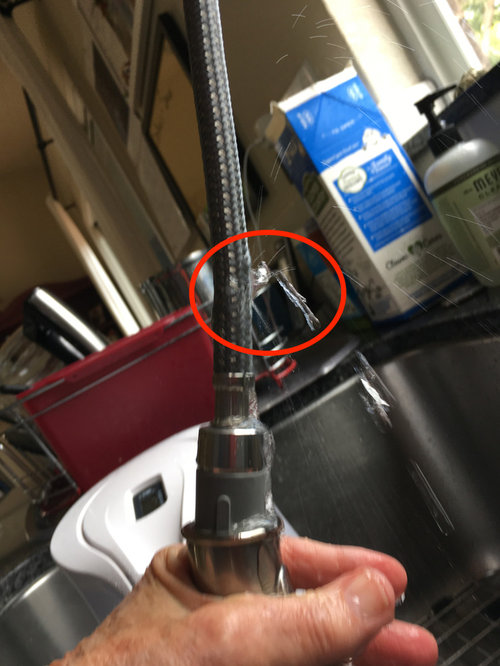
Before diving into repairs, it’s essential to accurately identify the source of the leak. The hose may not always be the culprit; leaks can also stem from the connections, the faucet itself, or even the sink’s plumbing.
Checking the Hose and Connections: Begin by inspecting the hose for visible signs of damage such as cracks, punctures, or fraying. Run your fingers along the length of the hose while water is running to feel for any moisture. Examine the connections where the hose attaches to the faucet and the water supply. Loose or corroded fittings can often cause leaks.
Examining the Faucet Base: Leaks that appear to originate from the base of the faucet might be due to worn-out O-rings or seals inside the faucet body. Turn off the water supply and gently move the faucet back and forth to see if water seeps out from the base. This can help determine if the internal components are compromised.
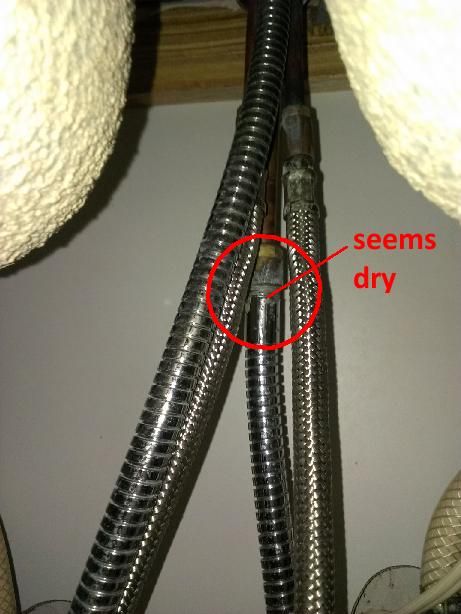
Under-Sink Inspection: Sometimes, the leak may be more evident under the sink. Use a flashlight to inspect the area where the hose connects to the water supply valve. Look for signs of water pooling or dripping. Also, check for any corrosion or mineral buildup on the valves and connections, which can indicate a slow leak.
Testing for Intermittent Leaks: Not all leaks are constant. Some may only occur when the faucet is turned on or when the hose is moved. To test for intermittent leaks, run the faucet and pull the hose in different directions. This can help reveal leaks that might not be immediately apparent during a static inspection.

Repairing a Leaking Kitchen Faucet Hose
Once the source of the leak is identified, the next step is to repair or replace the leaking hose. Depending on the severity of the damage and the type of faucet, different approaches may be required.
Replacing the Hose: For a severely damaged or old hose, replacement is often the best option. Start by turning off the water supply to the faucet. Disconnect the hose from both the faucet and the water supply valve. Take the old hose to a hardware store to ensure you get the correct replacement. Install the new hose by connecting it to the faucet and the water supply valve, ensuring all connections are tight and secure.
Fixing Minor Leaks: If the hose has a minor leak, such as a small puncture, you might be able to repair it with waterproof tape or a hose repair kit. Clean and dry the area around the leak thoroughly. Apply the tape or repair kit according to the manufacturer’s instructions, ensuring a tight seal around the damaged area.
Tightening Connections: Leaks at the connections can often be fixed by simply tightening the fittings. Use an adjustable wrench to carefully tighten the connections at both the faucet and the water supply valve. Be cautious not to overtighten, as this can damage the fittings or the hose.
Replacing O-Rings and Seals: If the leak is coming from the faucet base, it may be due to worn-out O-rings or seals. Disassemble the faucet according to the manufacturer’s instructions and replace the O-rings and seals. This usually involves removing the handle and spout to access the internal components. Ensure all parts are properly lubricated with plumber’s grease before reassembly.

Preventing Future Leaks
Preventing future leaks involves regular maintenance and mindful use of your kitchen faucet and hose. Implementing some simple habits can extend the life of your faucet hose and prevent leaks from occurring.
Regular Inspections Perform routine checks of your kitchen faucet and hose to catch potential problems early. Look for signs of wear and tear, corrosion, or loose connections. Regular inspections can help you address minor issues before they become significant problems.
Proper Use and Handling Avoid yanking or pulling the faucet hose excessively. Gentle use can prevent unnecessary stress on the hose and connections. If your faucet has a pull-out or pull-down hose, retract it smoothly rather than letting it snap back into place.
Timely Replacement of Components Components like O-rings, seals, and washers can wear out over time. Replacing these parts periodically, even if they are not currently leaking, can prevent future leaks. Keep a maintenance schedule to ensure these components are replaced before they fail.
Water Pressure Management Excessively high water pressure can strain your faucet hose and connections, leading to leaks. Install a water pressure regulator if your home’s water pressure is too high. This can protect your plumbing system and extend the life of your fixtures.
When to Call a Professional
While many faucet hose leaks can be fixed with basic tools and a little DIY know-how, some situations may require professional assistance. Knowing when to call a plumber can save you time and prevent further damage.
Persistent Leaks If you’ve attempted to repair the leak multiple times without success, it may be time to call a professional. Persistent leaks can indicate more serious underlying issues that require expert diagnosis and repair.
Extensive Damage If the hose or faucet has sustained extensive damage, such as severe corrosion or multiple leaks, replacing the entire unit might be necessary. A professional can assess the situation and recommend the best course of action.
Complex Faucet Designs Modern faucets often have complex designs and specialized components that can be challenging to repair. If your faucet has electronic or touch-sensitive features, professional assistance is recommended to avoid damaging these delicate systems.
Water Damage Concerns If the leak has caused significant water damage to cabinets, flooring, or walls, a professional plumber can help address both the leak and the resulting damage. They can also provide advice on preventing mold growth and further structural issues.

Common Mistakes to Avoid
Using Inappropriate Tools: One common mistake is using the wrong tools for the job. Using pliers instead of an adjustable wrench can damage fittings and connections. Always use the appropriate tools to avoid causing additional problems.
Ignoring Manufacturer Instructions: Faucet hoses and components often come with specific instructions from the manufacturer. Ignoring these instructions or using generic parts that don’t fit properly can lead to leaks and further damage. Always follow the manufacturer’s guidelines.
Overtightening Connections: While ensuring connections are tight is crucial, overtightening can cause damage to threads and fittings. This can lead to leaks or even breakage of the components. Tighten connections firmly but carefully to avoid this issue.
Neglecting Regular Maintenance: Skipping regular maintenance checks can lead to undetected issues that worsen over time. Regular inspections and timely replacements of worn-out parts can prevent leaks and extend the lifespan of your faucet hose.
How can I tell if my kitchen faucet hose is leaking?
You can identify a leaking kitchen faucet hose by looking for visible signs of water under the sink, around the hose connections, or directly on the hose itself. Run the water and feel along the hose for any moisture or drips. Inspect the connections for any signs of corrosion or mineral buildup, which can also indicate a leak.
Can I repair a leaking hose myself, or do I need to hire a plumber?
Many leaking hose issues can be repaired with basic tools and DIY knowledge. Replacing a hose, tightening connections, or using a repair kit for minor leaks are tasks most homeowners can handle. However, if the leak persists, if there’s extensive damage, or if your faucet has a complex design, it might be best to hire a professional plumber to ensure the job is done correctly.
What type of hose should I buy as a replacement?
When replacing a kitchen faucet hose, it’s essential to purchase one that matches your faucet’s make and model. Take the old hose to a hardware store to find a suitable replacement, or consult the faucet’s manual or manufacturer’s website for specifications. Using the correct hose ensures proper fit and function.
How often should I inspect my kitchen faucet hose for leaks?
It’s a good practice to inspect your kitchen faucet hose at least once every six months. Regular inspections can help you catch minor issues before they become major problems. Additionally, check the hose and connections any time you notice a drop in water pressure or unusual water bills, as these can be signs of a leak.
What should I do if the leak has caused water damage?
If a leaking faucet hose has caused water damage to cabinets, flooring, or walls, it’s important to address both the leak and the damage promptly. Start by fixing the leak to prevent further water escape. Then, assess the extent of the water damage. Minor damage can often be dried and cleaned up with household tools, but extensive damage may require professional restoration services to prevent mold growth and structural issues.

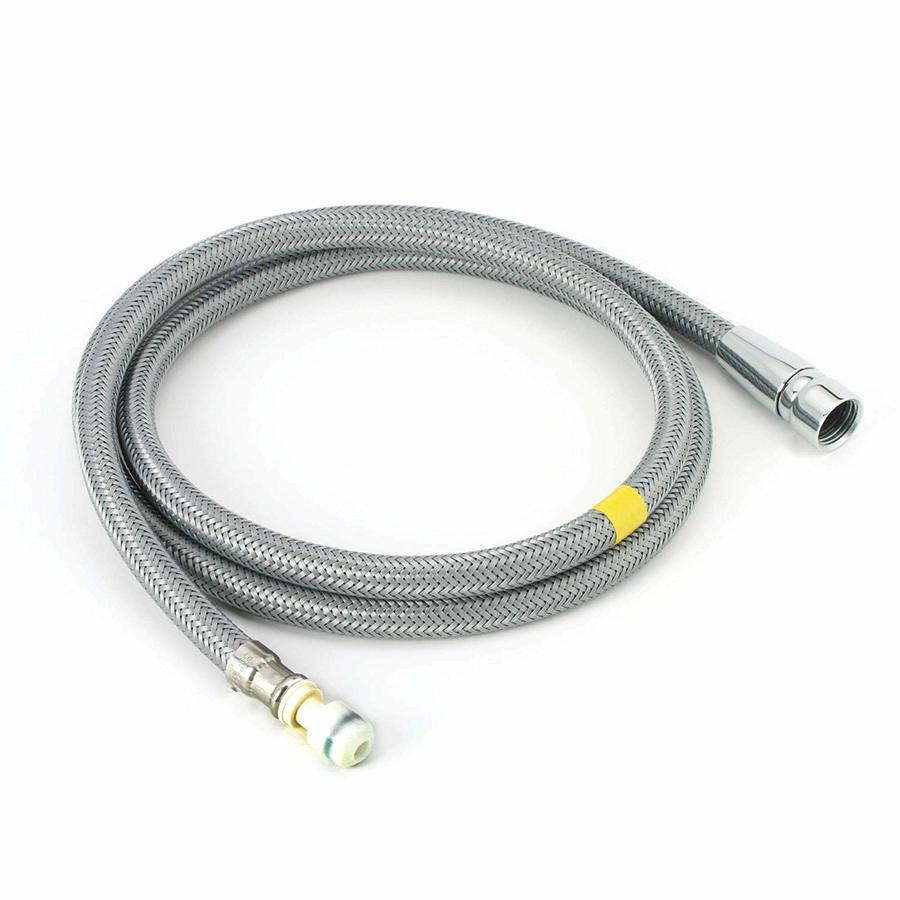
Moen Faucet Sprayers & Hoses
RV Faucet Repair

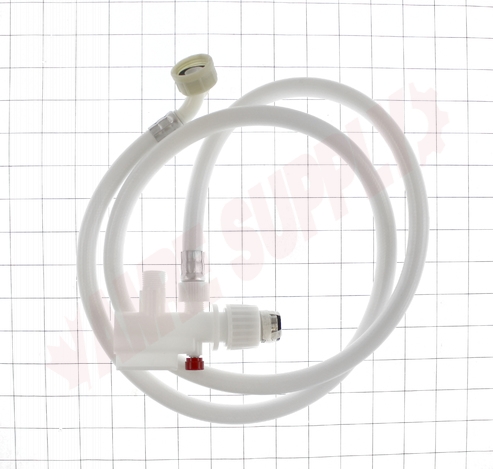
Danby Portable Dishwasher Quick Connect & Hose Assembly
Installing a new bathroom faucet
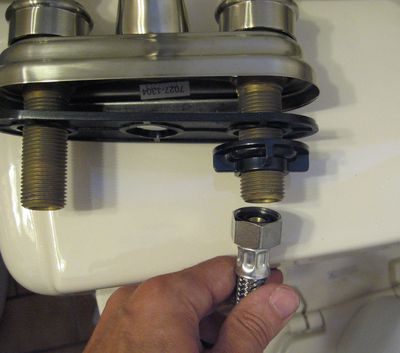
DIY Plumbing: How to Fix a Leaking Faucet
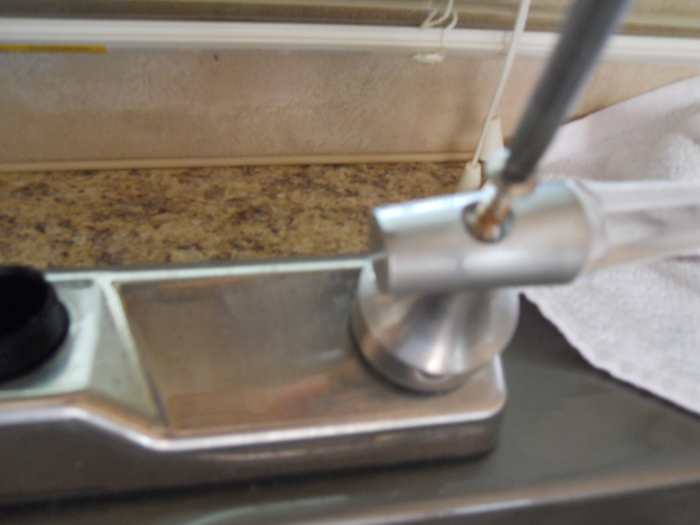
Fixing Faucets : How to Replace a Garden Hose Faucet

Leak-Free Plumbing

Related Posts:
- Kitchen Faucets Montreal
- Kitchen Faucet Plumbing Fittings
- Moen Kitchen Faucet Leak Repair
- Best Single Hole Kitchen Faucet
- Kingston Brass Wall Mount Kitchen Faucet
- How To Unscrew Kitchen Faucet
- Delta Arabella Single Handle Pull Down Sprayer Kitchen Faucet
- Kitchen Sink Faucet With Soap Dispenser
- Kitchen Faucet Splashing
- Canadian Tire Kitchen Sink Faucets
