The kitchen sink sprayer is an essential component of any kitchen, allowing for easy and efficient rinsing and cleaning of dishes, utensils, and countertops. Over time, the sprayer head may become worn out or damaged, leading to reduced water pressure or leaks. In such cases, replacing the sprayer head is a simple and cost-effective solution to restore the functionality of the kitchen sink sprayer.
When considering a kitchen sink sprayer replacement head, there are several factors to keep in mind to ensure a successful installation. First and foremost, it’s important to choose a replacement sprayer head that is compatible with the existing sprayer hose and mounting hardware. Take note of the brand and model of the existing sprayer to ensure a proper fit.
There are various types and styles of kitchen sink sprayer replacement heads available on the market, ranging from basic models to more advanced options with features such as adjustable spray patterns and ergonomic designs. Consider your specific needs and preferences when selecting a replacement sprayer head, keeping in mind factors such as ease of use, durability, and aesthetic appeal.
Before purchasing a replacement sprayer head, it’s a good idea to measure the diameter of the sprayer hose connection to ensure compatibility with the new head. Most replacement sprayer heads come with universal adapters or fittings that can accommodate different hose sizes, but it’s always best to double-check before making a purchase.
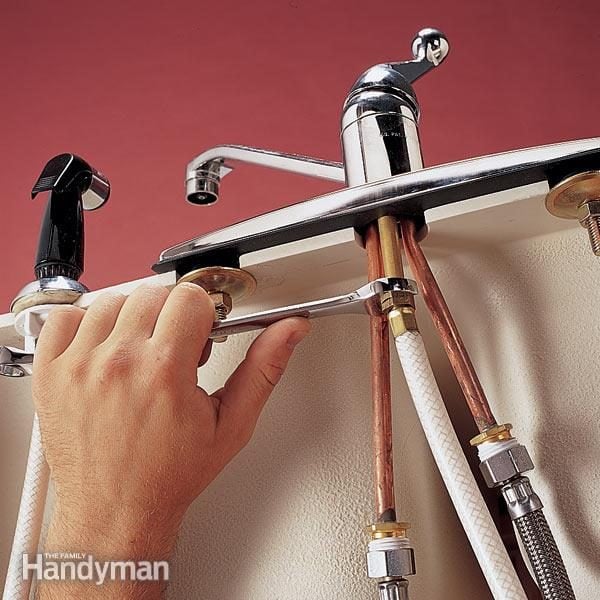
Once you have selected a replacement sprayer head, the installation process is relatively straightforward and can typically be completed in a few simple steps. Start by turning off the water supply to the sink to prevent any accidental leaks or spills. Next, unscrew the old sprayer head from the hose connection using an adjustable wrench or pliers.
After removing the old sprayer head, clean the threads of the hose connection to remove any debris or residue that may prevent a tight seal with the new sprayer head. Apply the plumber’s tape to the threads of the hose connection to create a secure and watertight seal when attaching the new sprayer head.
Carefully thread the new sprayer head onto the hose connection, ensuring that it is securely tightened by hand. Avoid over-tightening the sprayer head, as this can cause damage to the threads or fittings. Once the new sprayer head is securely in place, turn on the water supply to the sink and test the sprayer to ensure that it is functioning properly.
In addition to replacing the sprayer head, it may also be necessary to replace the sprayer hose if it is damaged or leaking. Most replacement sprayer heads come with a new hose included, but if not, be sure to purchase a compatible hose to ensure a proper fit.
Regular maintenance and cleaning of the kitchen sink sprayer can help prolong its lifespan and prevent the need for frequent replacements. Periodically inspect the sprayer head and hose for signs of wear or damage, and clean them regularly to remove any buildup of mineral deposits or debris that may affect performance.
Replacing the kitchen sink sprayer head is a simple and cost-effective solution to restore the functionality of the sprayer and ensure efficient rinsing and cleaning in the kitchen. By selecting a compatible replacement head and following proper installation techniques, homeowners can quickly and easily upgrade their kitchen sink sprayer for optimal performance.

How do I know if I need to replace my kitchen sink sprayer head?
Signs that indicate the need for a replacement sprayer head include reduced water pressure, leaks or drips from the sprayer head, or visible damage such as cracks or breaks.
Are all kitchen sink sprayer replacement heads universal?
While many replacement sprayer heads come with universal adapters or fittings to accommodate different hose sizes, it’s important to check the compatibility with the existing sprayer hose and mounting hardware before purchasing.
Can I install a new kitchen sink sprayer head myself?
Yes, replacing a kitchen sink sprayer head is a relatively simple DIY task that can typically be completed with basic tools and minimal plumbing knowledge. Just be sure to follow proper installation techniques and ensure compatibility with the existing sprayer hose and mounting hardware.
What should I do if my kitchen sink sprayer hose is also damaged?
If the sprayer hose is damaged or leaking, it may be necessary to replace it along with the sprayer head. Most replacement sprayer heads come with a new hose included, but if not, be sure to purchase a compatible hose to ensure a proper fit.
How often should I replace my kitchen sink sprayer head?
The lifespan of a kitchen sink sprayer head can vary depending on factors such as usage, water quality, and maintenance. Generally, it’s a good idea to inspect the sprayer head periodically for signs of wear or damage and replace it as needed to ensure optimal performance.

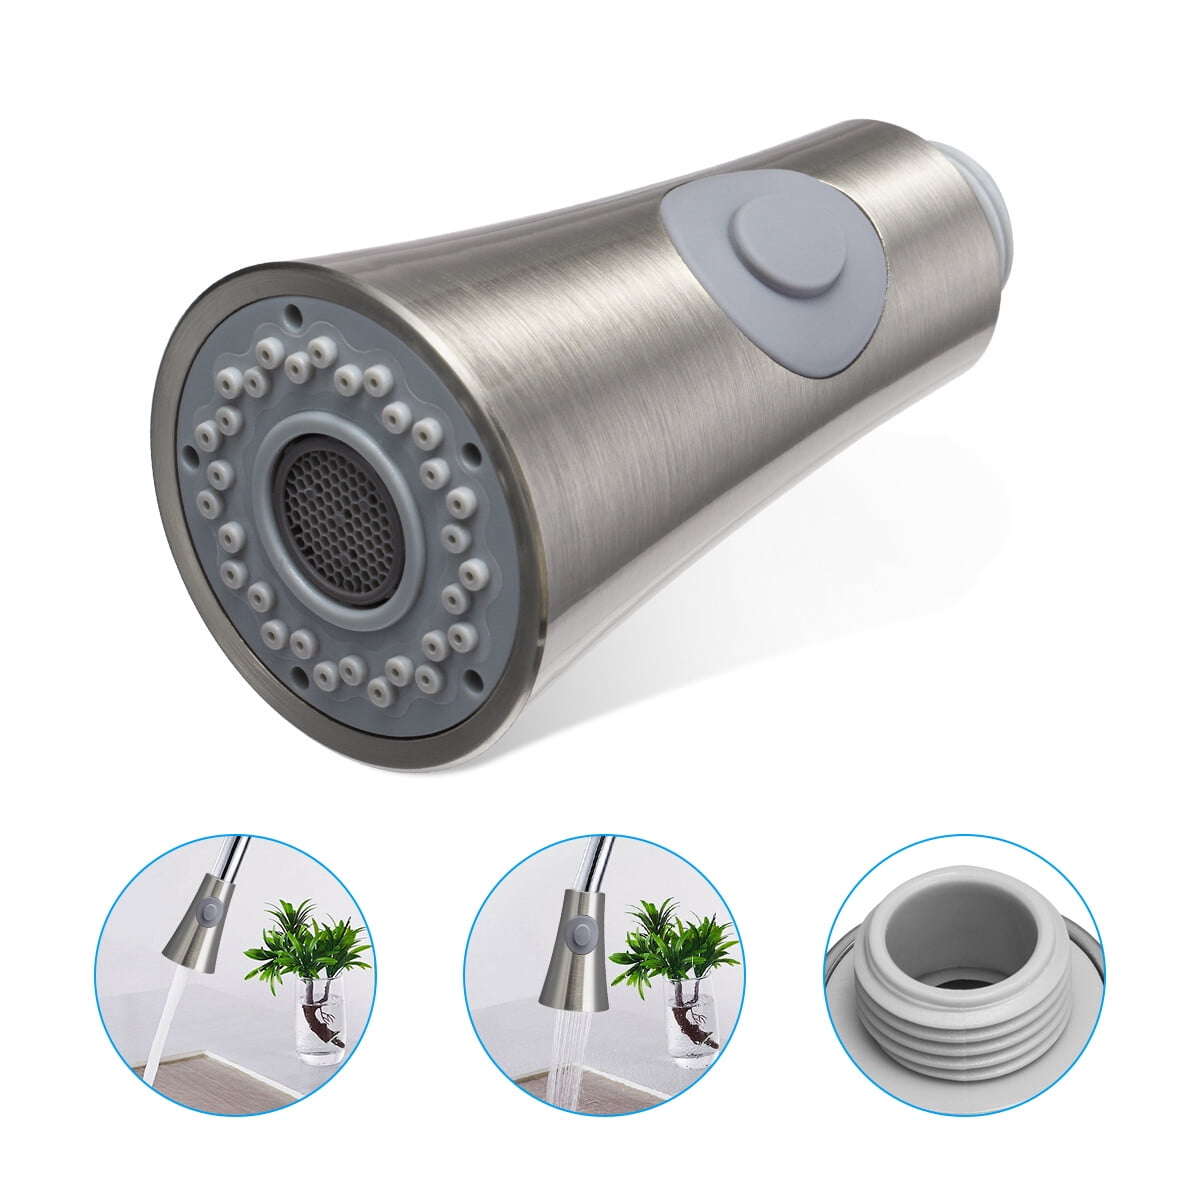
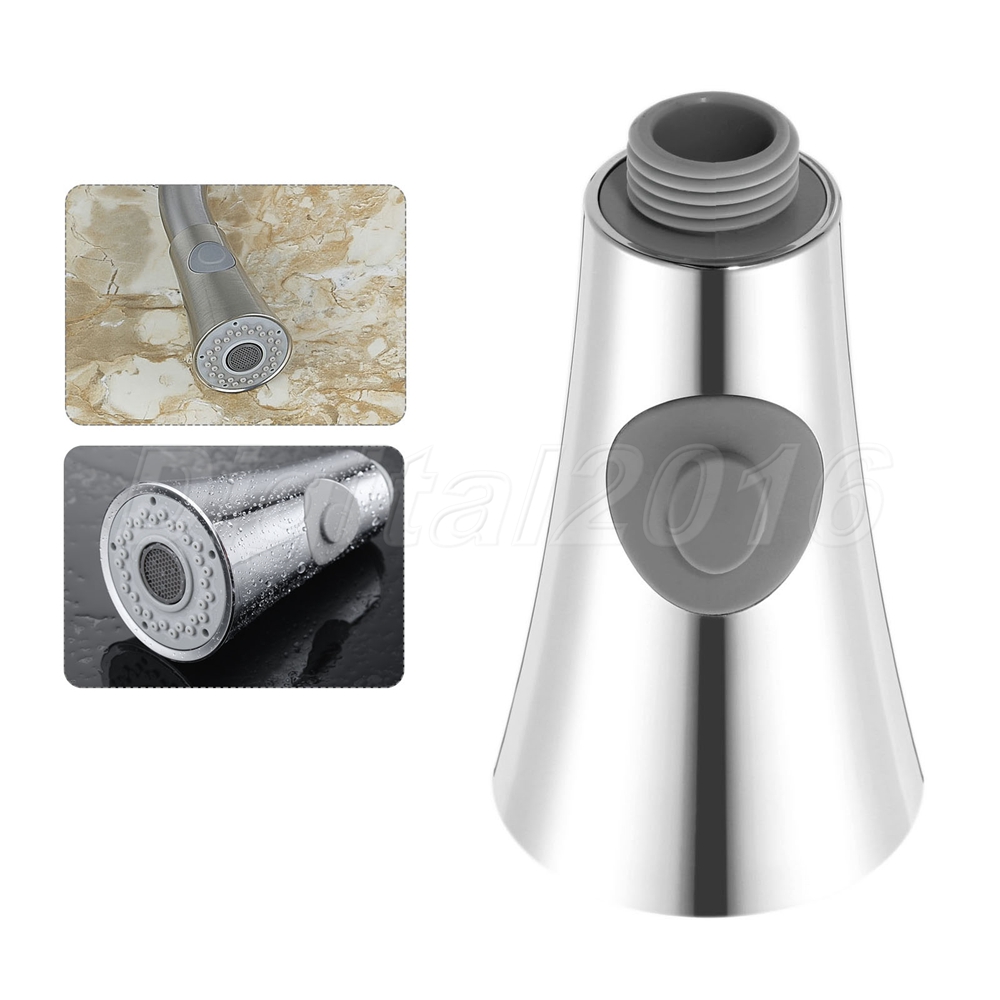
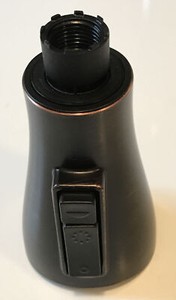
Kitchen Side Sprayer Brushed Nickel, Kitchen Sink Sprayer Head Replacement, Kitchen Sink Faucet

Replace a Sink Sprayer and Hose The Family Handyman
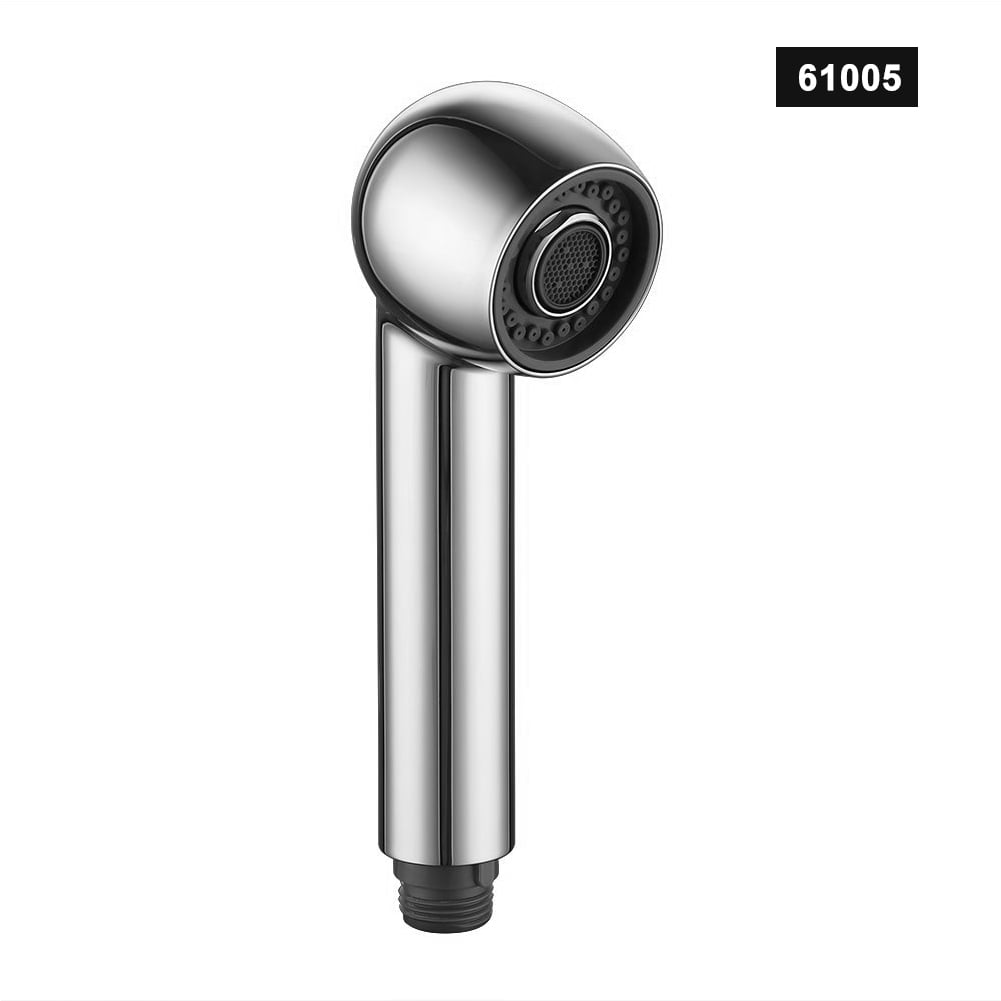
Spare Kitchen Faucet Sprayer Head Nozzle Kitchen Sink With 2 Spray Patterns From

Kitchen Sink Faucet Sprayer Head 2 Spray Settings G 1/2″ Standard Connection eBay
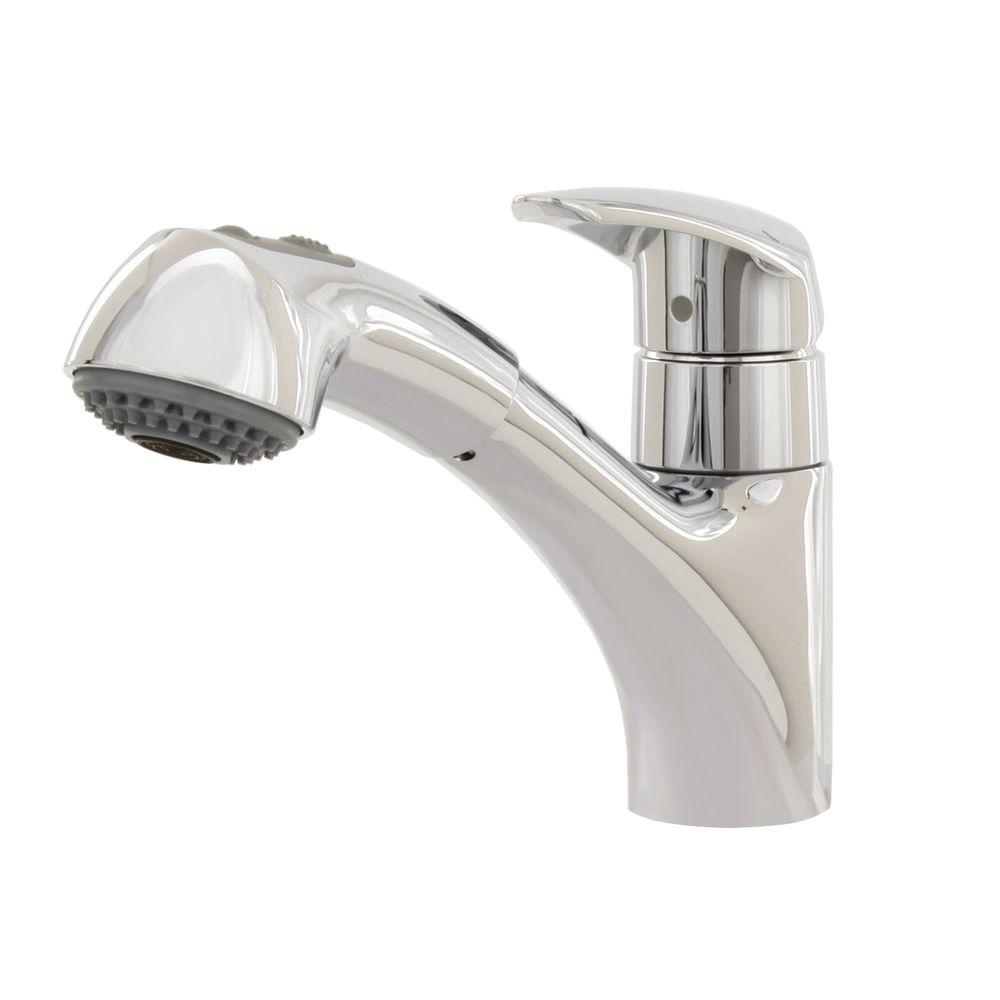
Delta Pull-Out Wand Assembly in Chrome-RP32542 – The Home Depot

High Pressure Sink Sprayer Head Groupon


Delta Replacement Head For Arabella Shield Spray Kitchen Faucet RP60934 New eBay
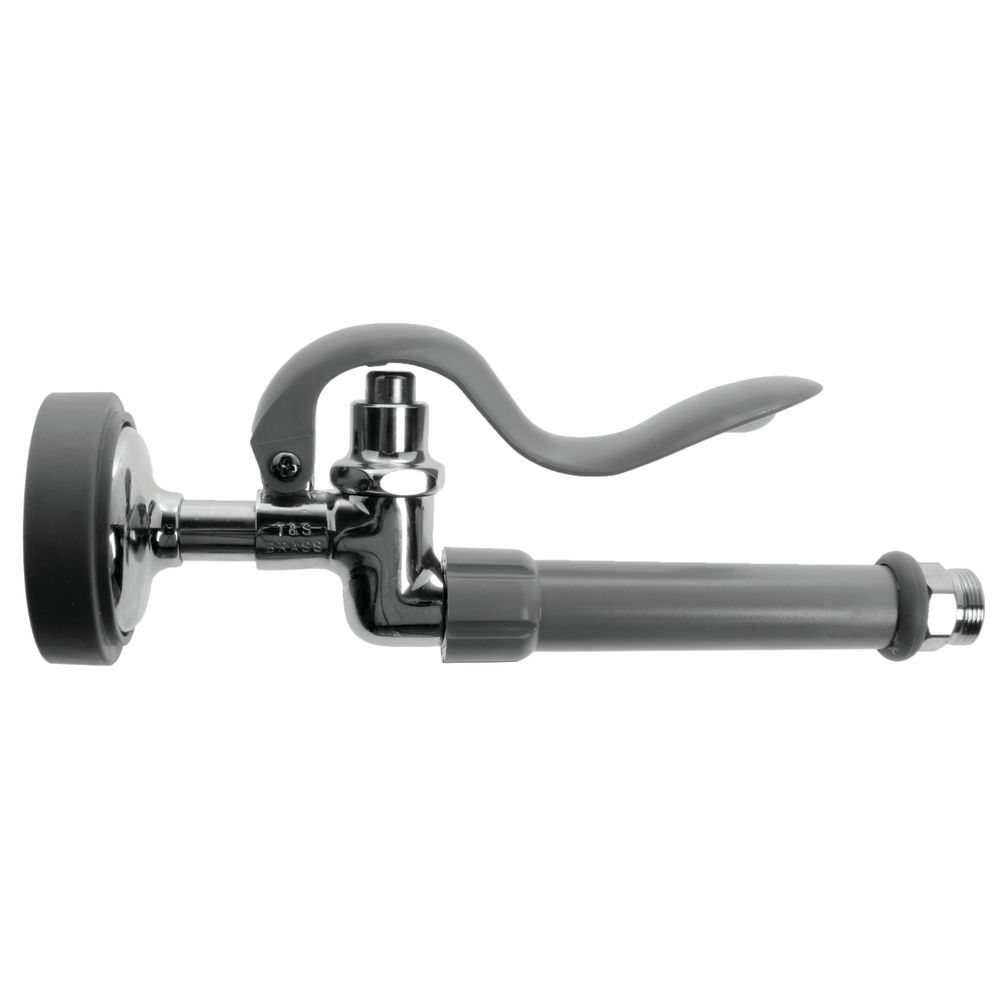
T&S Brass Pre-Rinse Sink Sprayer Head Only With Handle – 2 3/4″ Top Dia x 10 1/4″L
GROHE Eurodisc Single-Handle Pull-Out Sprayer Kitchen Faucet in Chrome-33 330 001 – The Home Depot
Related Posts:
- Stainless Steel Undermount Kitchen Sink Low Divide
- Brass Kitchen Sink Strainer
- Sewer Gas Smell Under Kitchen Sink
- Kitchen Sink Drain Odor
- Kitchen Sink Decor Ideas
- Farm Sink Kitchen Images
- Franke Stainless Kitchen Sinks
- Top Mount Apron Kitchen Sink
- Kitchen Sink Basket Strainer Assembly
- Kitchen Sink Waste Pipe Leaking