Plywood is a versatile and cost-effective material that can be used to create durable and attractive kitchen cabinets. Whether you are a seasoned DIY enthusiast or a beginner, building your kitchen cabinets from plywood can be a rewarding project that enhances the functionality and aesthetics of your kitchen. We will walk you through the entire process, from selecting the right plywood to the final finishing touches.
Selecting the Right Plywood
Types of Plywood
Plywood comes in various types and grades, each suitable for different applications. For kitchen cabinets, hardwood plywood is generally the best choice due to its strength, durability, and attractive finish. Common hardwood plywood types include oak, maple, birch, and cherry. These types offer a smooth, appealing grain and can be easily finished or painted to match your kitchen decor. Avoid using softwood plywood, as it is less durable and more prone to damage.
Plywood Grades
Plywood is graded based on the quality of the veneer surfaces and the number of defects. The grades range from A to D, with A-grade plywood having the fewest defects and the highest quality surface. For visible cabinet surfaces, A-grade or B-grade plywood is recommended because they have fewer knots and a smoother finish. C-grade and D-grade plywood can be used for internal structures where appearance is less critical. Additionally, look for plywood that is labeled as “cabinet grade” for the best quality.
Thickness Considerations
The thickness of the plywood is another important factor to consider. For kitchen cabinets, 3/4-inch thick plywood is typically used for cabinet boxes and shelves due to its strength and stability. Thinner plywood, such as 1/2-inch or 1/4-inch, can be used for the back panels and drawer bottoms. Using the appropriate thickness ensures that your cabinets will be sturdy and able to support the weight of kitchen items.
Moisture Resistance
Kitchens are areas where moisture is often present, so it is important to choose plywood that has some level of moisture resistance. Look for plywood that is labeled as “exterior grade” or “marine grade,” which indicates that it has been treated to resist moisture. Alternatively, you can seal the plywood with a water-resistant finish or use moisture-resistant plywood for areas that are likely to come into contact with water, such as under the sink.
Designing Your Cabinets
Measuring and Planning
Accurate measurements and careful planning are crucial when designing your kitchen cabinets. Start by measuring the dimensions of your kitchen space and deciding on the layout of the cabinets. Consider the placement of appliances, windows, and doors, and ensure that there is enough clearance for cabinet doors and drawers to open fully. Create a detailed plan that includes the height, width, and depth of each cabinet, as well as the number of shelves and drawers.
Creating a Cut List
Once you have a detailed plan, create a cut list that outlines all the pieces of plywood you will need for your cabinets. This list should include the dimensions and quantity of each piece, including cabinet sides, tops, bottoms, shelves, and back panels. A precise cut list helps to minimize waste and ensures that you have all the materials needed before you begin cutting. Double-check your measurements and plan before purchasing and cutting the plywood.
Choosing Cabinet Styles
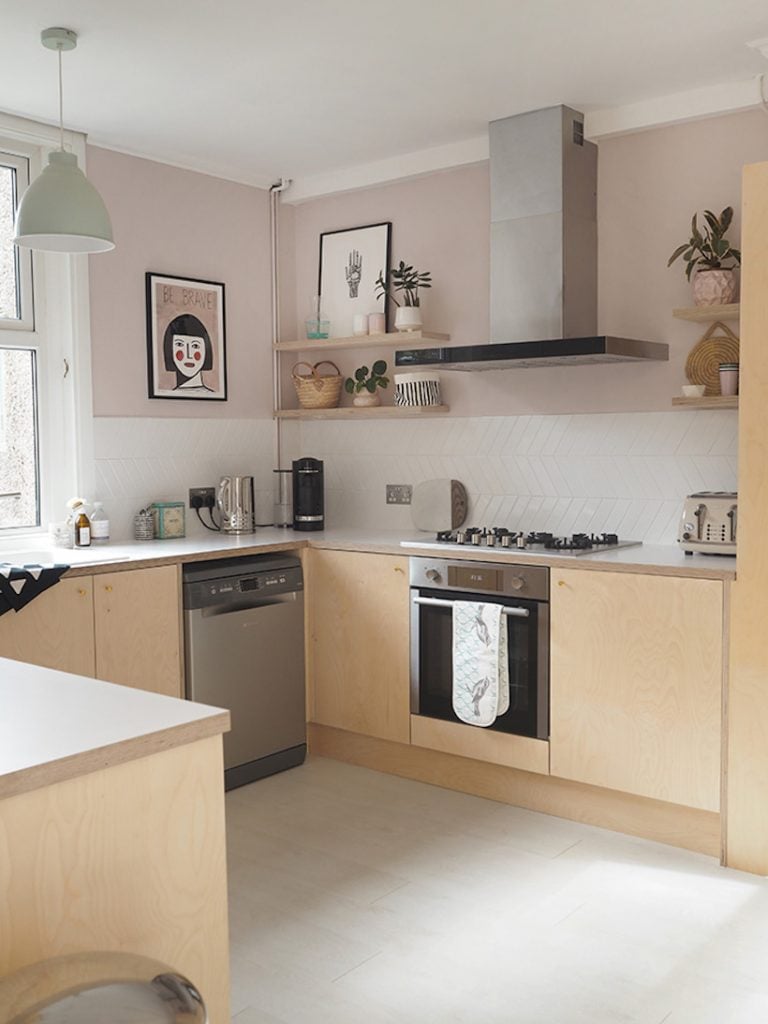
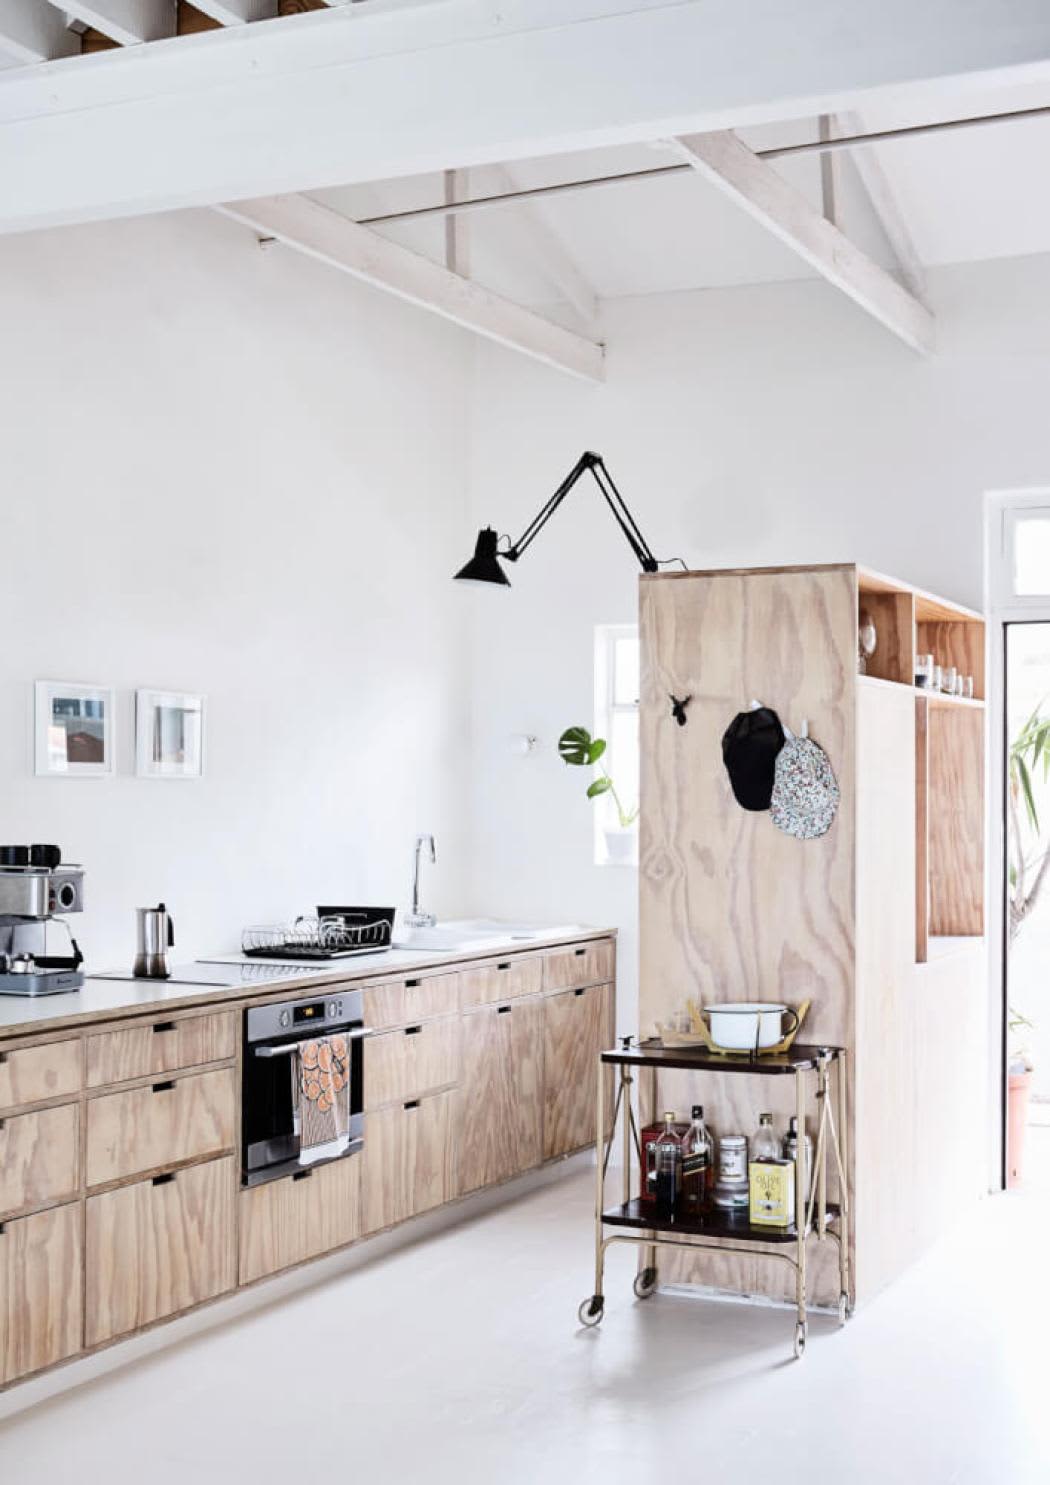
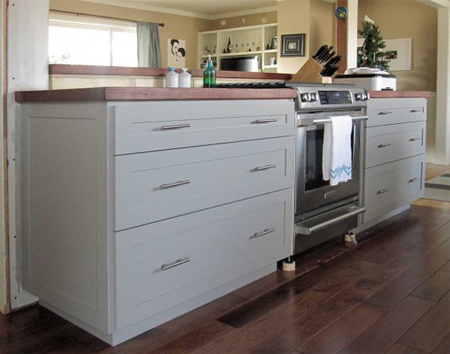
There are various styles of kitchen cabinets to choose from, each offering a different aesthetic and level of complexity. Popular styles include Shaker, slab, and raised panel. Shaker cabinets have a simple, clean design with a recessed panel door, making them a versatile choice for many kitchens. Slab cabinets have a flat, minimalist door, suitable for modern kitchens. Raised panel cabinets feature a more traditional look with a raised center panel on the doors. Consider the overall style of your kitchen when choosing the cabinet design.
Planning for Hardware
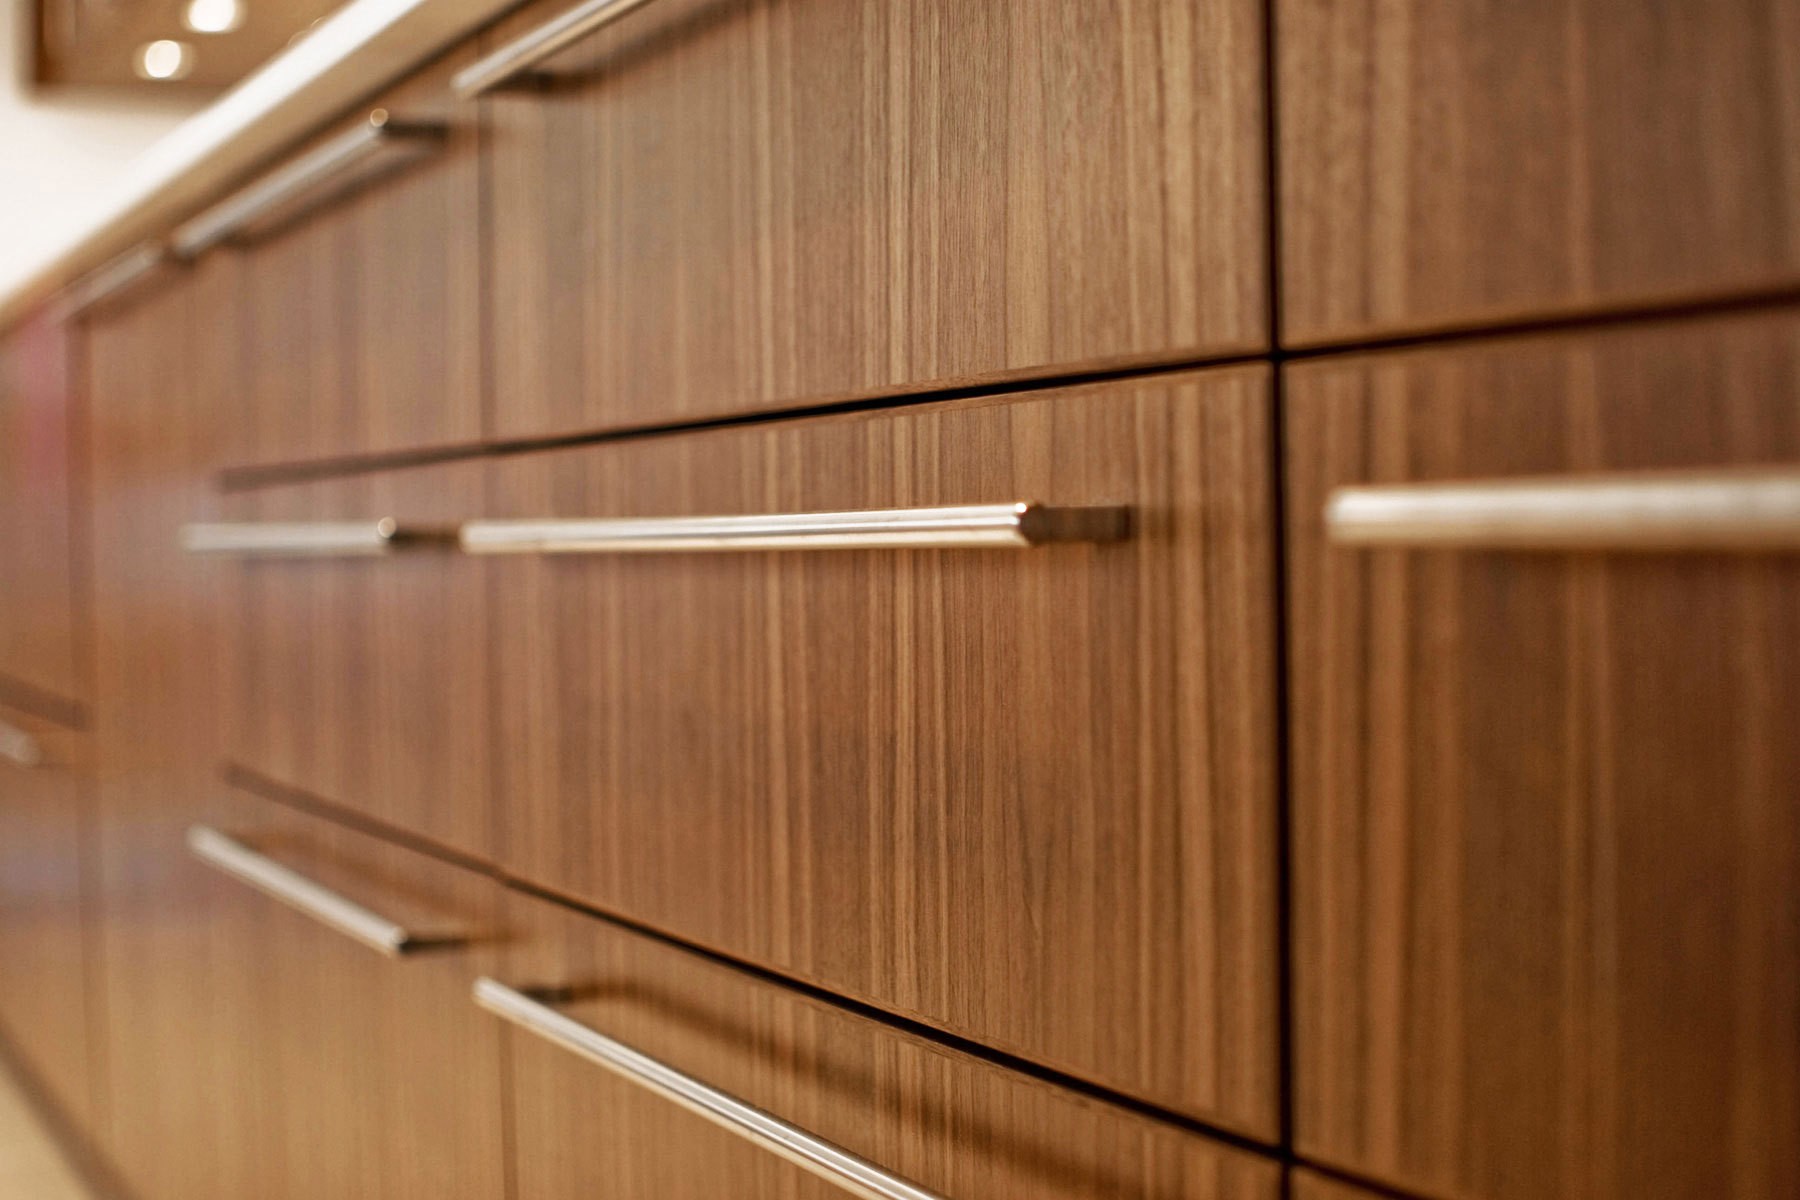
Cabinet hardware, such as hinges, handles, and drawer slides, plays an important role in both the functionality and appearance of your cabinets. Decide on the type of hardware you want to use and ensure that your cabinet design accommodates it. For example, full-overlay doors require different hinges than inset doors. Soft-close drawer slides are a popular choice for their smooth operation and noise reduction. Plan for the placement of hardware and ensure that the cabinet frames and doors are designed to support it.
Building the Cabinet Boxes
Cutting the Plywood
With your cut list in hand, start by cutting the plywood to the required dimensions. Use a table saw or circular saw with a fine-toothed blade to make clean, precise cuts. It is helpful to use a straightedge guide to ensure that your cuts are straight. Label each piece as you cut it to keep track of the various components. Safety is paramount when cutting plywood, so wear appropriate safety gear, including goggles and ear protection, and follow all safety guidelines for your tools.
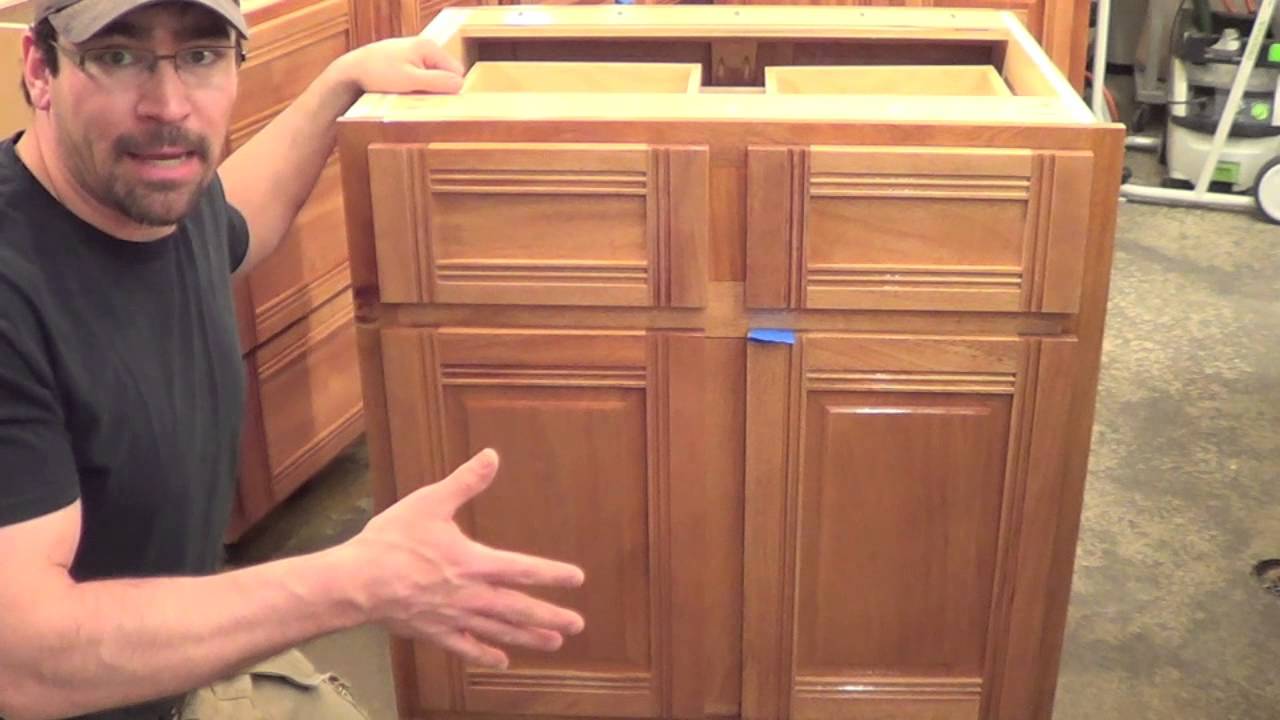
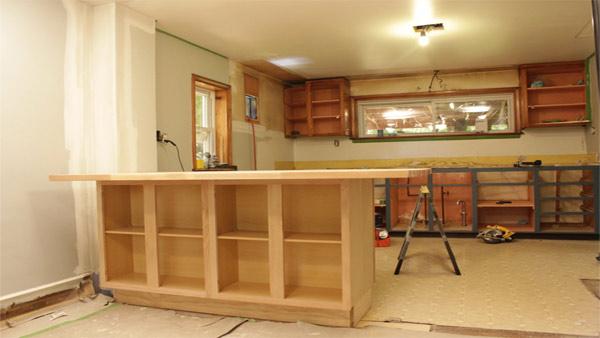
Assembling the Cabinet Boxes
Once all the pieces are cut, you can begin assembling the cabinet boxes. Start by attaching the sides to the bottom panel using wood glue and screws or nails. Ensure that the corners are square and that the joints are tight. Next, attach the top panel and back panel. It is useful to use clamps to hold the pieces in place while the glue dries. Reinforce the joints with screws or nails to ensure that the cabinet box is sturdy.
Installing Shelves and Dividers
If your cabinet design includes shelves or dividers, install them next. Shelves can be fixed or adjustable. For adjustable shelves, use shelf pins or brackets that allow you to change the height of the shelves as needed. If you are installing fixed shelves, attach them to the sides of the cabinet using wood glue and screws. Dividers can be used to create separate compartments within a cabinet, useful for organizing kitchen items.
Finishing the Edges
Plywood edges can be rough and unattractive, so it is important to finish them for a professional look. Edge banding is a popular method for covering the edges of plywood. Edge banding is a thin strip of wood veneer that is glued to the edge of the plywood and trimmed to fit. It is available in various wood species to match your plywood. Apply the edge banding using an iron or edge banding machine, then trim the excess with a utility knife or edge trimmer.
Installing the Cabinets
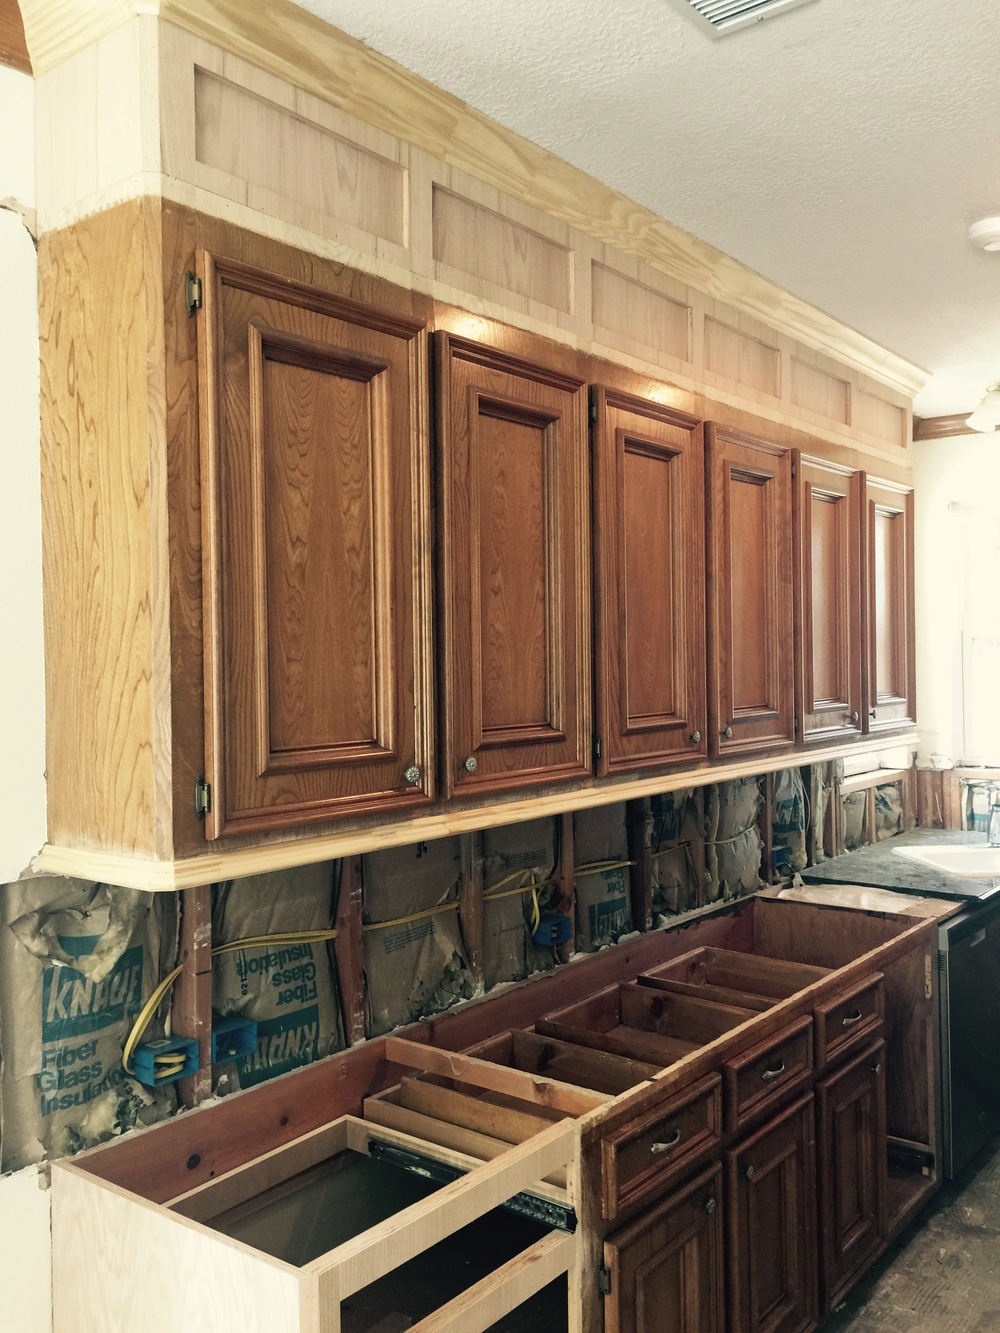
Preparing the Installation Area
Before installing your new cabinets, prepare the installation area by removing any existing cabinets and ensuring that the walls and floors are clean and level. If necessary, repair any damage to the walls and floor to create a solid foundation for the new cabinets. It may be helpful to mark the locations of studs in the wall, as you will need to attach the cabinets to them for stability.
Positioning and Securing the Cabinets
Begin by positioning the base cabinets in their designated locations. Use a level to ensure that each cabinet is perfectly level and adjust as necessary using shims. Once the base cabinets are in place, secure them to the wall studs using screws. It is important to use screws that are long enough to penetrate the studs and provide a secure attachment. Attach the cabinets using screws through the side panels to create a continuous row of cabinets.
Installing the Upper Cabinets
Installing upper cabinets can be more challenging due to their height and weight. It is helpful to use a cabinet lift or enlist the help of a partner to hold the cabinets in place while you secure them to the wall. Start by installing a ledger board along the wall to support the weight of the upper cabinets during installation. Position each cabinet on the ledger board, check for level, and secure it to the wall studs with screws. Remove the ledger board once all the upper cabinets are installed.
Adding Doors and Hardware
With the cabinet boxes securely installed, you can now attach the doors and hardware. Start by attaching the hinges to the doors and then to the cabinet frames. Adjust the hinges as needed to ensure that the doors are properly aligned and operate smoothly. Next, install the drawer slides and attach the drawer fronts to the drawers. Finally, install the handles or knobs on the doors and drawers, ensuring they are evenly spaced and securely attached.

Common Mistakes to Avoid
Inaccurate Measurements: Incorrect measurements can lead to poorly fitting cabinets and wasted materials. Double-check all measurements before cutting and assembling to ensure accuracy.
Using Low-Quality Plywood: Low-quality plywood can result in weak, unattractive cabinets. Invest in high-quality, cabinet-grade plywood for the best results.
Skipping Edge Banding: Leaving plywood edges unfinished can detract from the overall appearance of your cabinets. Always finish the edges with edge banding or another method for a professional look.
Improperly Securing Cabinets: Failing to properly secure cabinets to the wall studs can result in cabinets that are unstable and potentially dangerous. Ensure that all cabinets are securely attached to the studs for safety and stability.

What type of plywood is best for kitchen cabinets?
For kitchen cabinets, hardwood plywood such as oak, maple, birch, or cherry is the best choice due to its strength, durability, and attractive finish. Look for cabinet-grade plywood with an A or B grade for visible surfaces, as these have fewer defects and a smoother appearance.
How thick should plywood be for kitchen cabinets?
The recommended thickness for plywood used in kitchen cabinets is 3/4 inch for the cabinet boxes and shelves. This thickness provides sufficient strength and stability to support kitchen items. Thinner plywood, such as 1/2 inch or 1/4 inch, can be used for back panels and drawer bottoms.
Can I paint or stain plywood cabinets?
Yes, plywood cabinets can be painted or stained to achieve the desired look. For a painted finish, use a high-quality primer and paint suitable for wood surfaces. For a stained finish, sand the plywood smooth, apply a wood conditioner, and then apply the stain followed by a clear topcoat for protection.
How do I ensure my cabinets are level during installation?
To ensure your cabinets are level during installation, use a level tool to check for evenness. Adjust the cabinets as needed using shims to achieve a perfectly level position. Secure the cabinets to the wall studs once they are level to maintain their position.
What tools do I need to build plywood cabinets?
The essential tools for building plywood cabinets include a table saw or circular saw, drill, screwdriver, clamps, level, sander, tape measure, and safety gear such as goggles and ear protection. Additional tools like a straightedge guide, edge banding trimmer, and cabinet lift can also help achieve professional results.
Plywood Kitchen Cabinets Plans Diy projects kitchen cabinets, Kitchen cabinet plans, Plywood

Stainless Steel Post & Rail Bar Cabinet Handles DCH Online
How To Plywood Kitchen Cabinet / making kitchen cabinets from plywood Building kitchen
Premade Kitchen Cabinets Uk : Ready Assembled Kitchen Pantry Cabinets You Ll Love Wayfair Co Uk

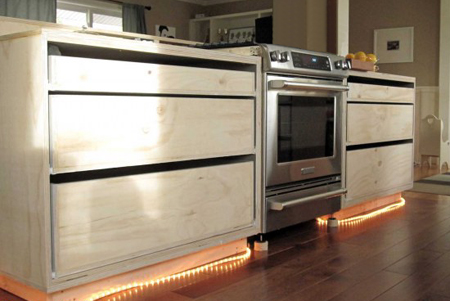
DIY Kitchen Island Knock It Off! The Live Well Network
Kristen F. Davis Designs: kitchen cabinets. Laminate cabinets, Diy furniture, Diy home improvement

How to Install A Granite Tile Kitchen Countertop how-tos DIY
What Plywoods For Kitchen Cabinets? – Carpentry – DIY Chatroom Home Improvement Forum

Related Posts: