Foil-wrapped kitchen cabinets offer a sleek and modern aesthetic, but over time, they may start to show signs of wear and tear. Painting foil-wrapped cabinets is a cost-effective way to refresh your kitchen and give it a new lease on life. Let’s discuss the process of painting foil-wrapped cabinets, including preparation, painting techniques, finishing touches, and maintenance tips.
Preparation is Key
Before diving into the painting process, proper preparation is essential to ensure a smooth and long-lasting finish. Start by thoroughly cleaning the cabinets with a mild detergent and warm water to remove any grease, dirt, or residue. Allow the cabinets to dry completely before proceeding to the next step.
Next, lightly sand the surface of the cabinets with fine-grit sandpaper to create a rough texture that will help the paint adhere better. Be sure to sand in the direction of the wood grain to avoid damaging the foil wrap. Once the cabinets are sanded, wipe them down with a tack cloth to remove any dust or debris.
To protect surrounding surfaces and minimize mess, use painter’s tape to mask off areas such as countertops, walls, and flooring. Additionally, remove any hardware, such as handles and hinges, from the cabinets before painting.

Choosing the Right Paint and Primer
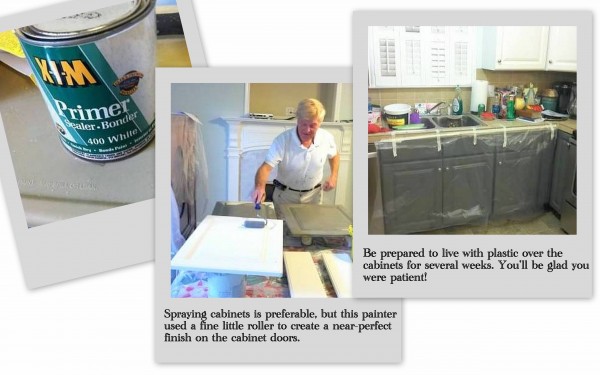
When painting foil-wrapped cabinets, it’s crucial to use the right type of paint and primer to ensure adhesion and durability. Opt for a high-quality bonding primer specifically designed for use on slick or glossy surfaces like foil. This will help the paint adhere to the cabinets and prevent peeling or chipping over time.
For the top coat, choose a durable enamel paint that is suitable for use in kitchens and can withstand daily wear and tear. Satin or semi-gloss finishes are ideal for cabinets, as they provide a smooth and easy-to-clean surface that resists moisture and stains.
Before applying the primer and paint, it’s a good idea to test a small area of the cabinets to ensure compatibility and adhesion. This will help you identify any potential issues before committing to painting the entire kitchen.

Applying the Paint
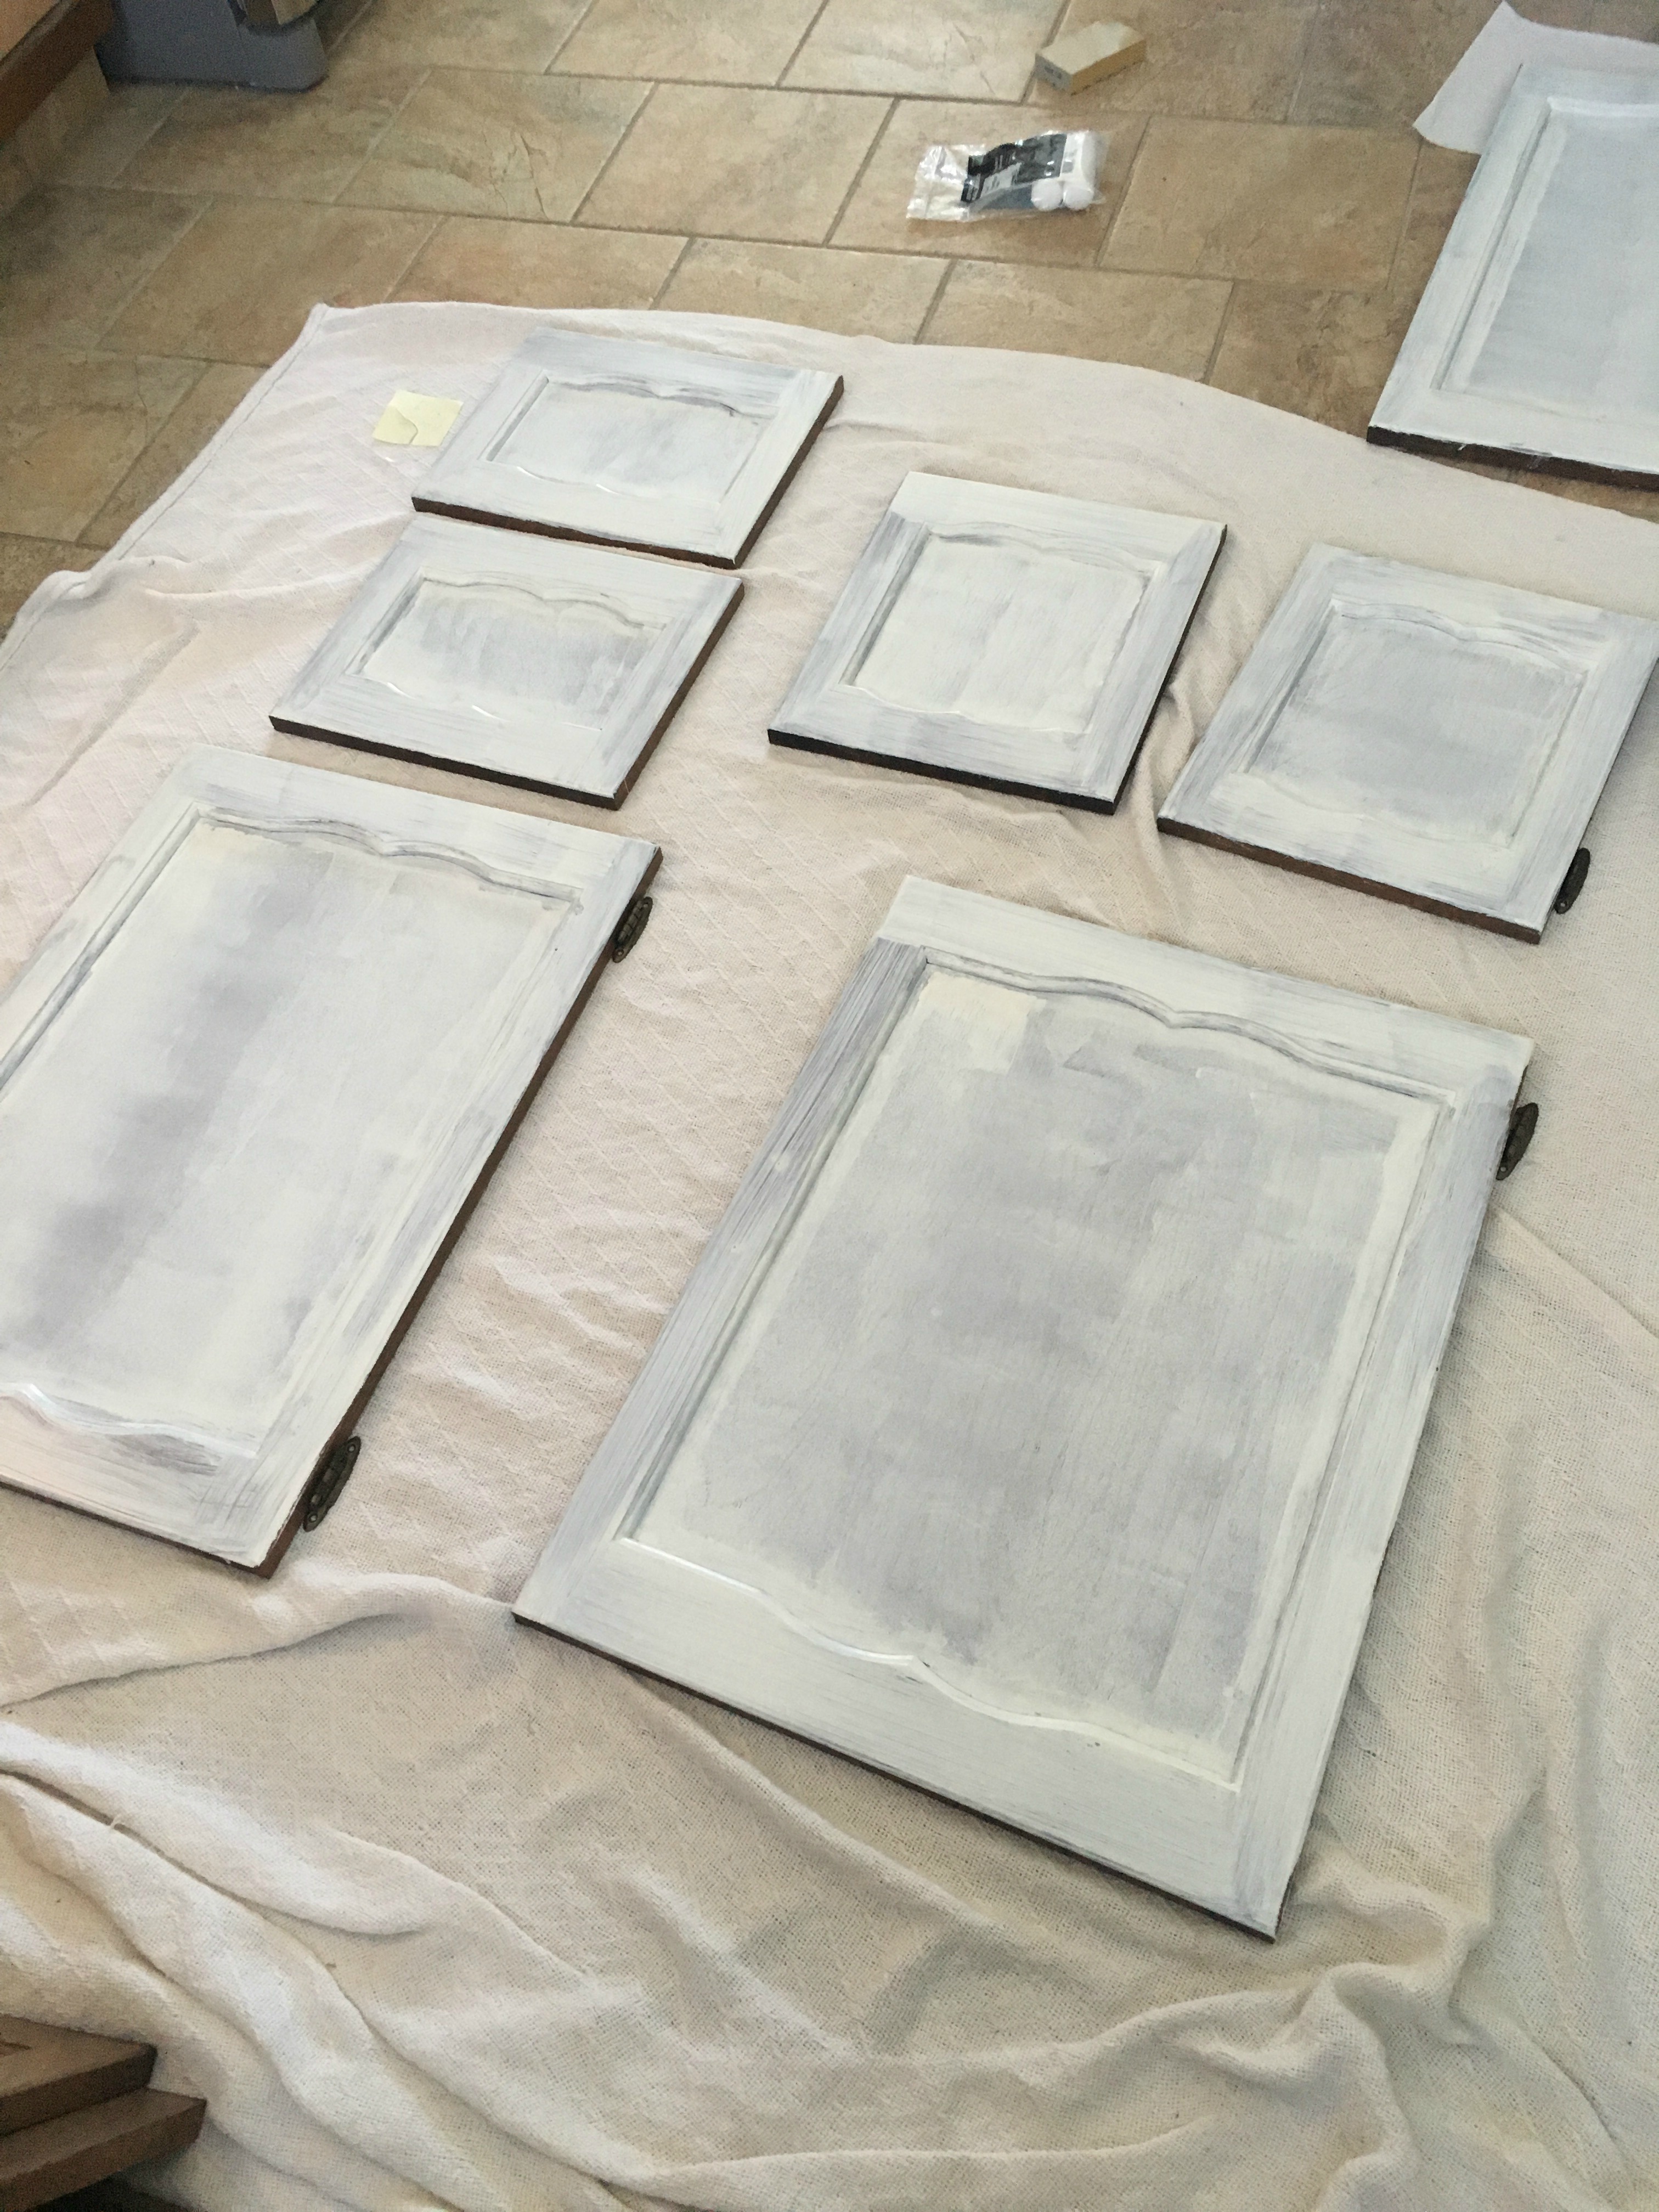
Once the cabinets are prepped and the primer is dry, it’s time to apply the paint. Start by using a high-quality brush or foam roller to apply an even coat of primer to the cabinets, working in long, smooth strokes. Be sure to cover the entire surface of the cabinets, including any recessed areas or grooves.
After the primer has dried completely, lightly sand the cabinets again with fine-grit sandpaper to smooth out any rough spots or brush marks. Wipe away any dust with a tack cloth before applying the topcoat.
When applying the topcoat, use the same technique as the primer, working in long, smooth strokes to achieve an even finish. Apply multiple thin coats of paint rather than one thick coat to prevent drips and ensure proper coverage. Allow each coat to dry completely before applying the next.

Finishing Touches and Maintenance
Once the final coat of paint is dry, carefully remove the painter’s tape and reinstall any hardware that was removed earlier. Inspect the cabinets for any touch-ups or areas that may need additional paint, and make any necessary corrections.
To protect the newly painted cabinets and prolong their lifespan, consider applying a clear topcoat or sealer. This will provide an extra layer of protection against scratches, stains, and moisture, ensuring your freshly painted cabinets stay looking beautiful for years to come.
To maintain the appearance of your painted foil-wrapped cabinets, regularly clean them with a mild detergent and warm water. Avoid using abrasive cleaners or scrubbing pads that can damage the paint finish. Additionally, be mindful of sharp or abrasive objects that could scratch or chip the paint.
Common Mistakes to Avoid:
- Skipping proper preparation, including cleaning, sanding, and priming, which can result in poor adhesion and a less durable finish.
- Using the wrong type of paint or primer, can lead to peeling, chipping, or discoloration over time.
- Applying paint too thickly or unevenly, resulting in drips, runs, or an uneven finish.
- Neglecting to protect surrounding surfaces with painter’s tape, leading to accidental paint splatters or drips on countertops, walls, or flooring.

Can foil-wrapped cabinets be painted?
Yes, foil-wrapped cabinets can be painted with proper preparation and the right type of paint and primer. However, it’s essential to follow the correct steps to ensure adhesion and durability.
How long does it take to paint foil-wrapped cabinets?
The time it takes to paint foil-wrapped cabinets depends on factors such as the size of the kitchen, the condition of the cabinets, and the drying time between coats. On average, the process can take several days to complete.
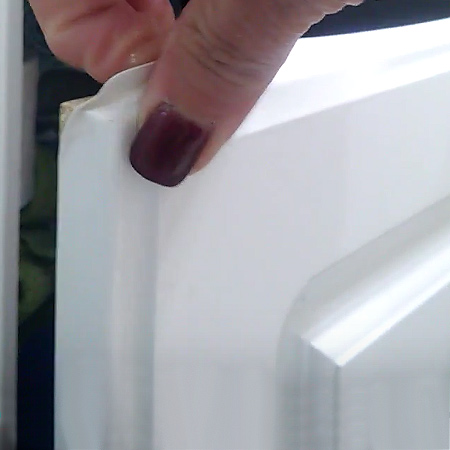
Do I need to remove the foil wrap before painting?
No, it’s not necessary to remove the foil wrap before painting. However, it’s essential to clean and sand the surface thoroughly to ensure proper adhesion of the primer and paint.
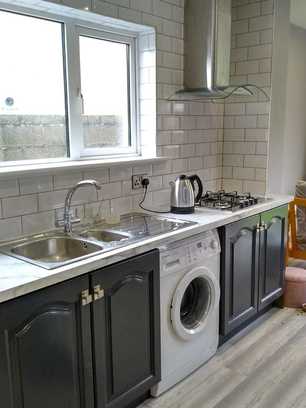
Can I change the color of my foil-wrapped cabinets?
Yes, painting foil-wrapped cabinets allow you to change the color and update the look of your kitchen without the expense of replacing the cabinets entirely.
How long do painted foil-wrapped cabinets last?
With proper preparation, priming, painting, and maintenance, painted foil-wrapped cabinets can last for many years. However, the lifespan may vary depending on factors such as usage, cleaning habits, and environmental conditions.
Painting Kitchen Cabinets – Seeking Lavender Lane
Painting Melamine Kitchen Cabinets – The Decorologist
Suburbs Mama: Painting our Kitchen Cabinets

OUR WORK AK Painting & Maintenance Kitchen Respray
Renov8or: Painting the Old Kitchen Cabinets to Match Kraftmaid Canvas Color

How To Paint Vinyl Wrapped Kitchen Cabinets – View Painting

Painting the Old Kitchen Cabinets to Match Kraftmaid Canvas Color

House by Holly: Tutorial on Painting Kitchen Cabinets Updating a Kitchen
Related Posts:
- How To Redo Kitchen Cabinets Cheap
- Galley Kitchen Cabinet Design
- How To Stain Your Kitchen Cabinets
- Kitchen Cabinet Design For Apartment
- Green Color Kitchen Cabinets
- Dark Kitchen Cabinets Decorating Ideas
- Farmhouse Kitchen Cabinet Colors
- Standard Height Of Top Kitchen Cabinets
- Faux Kitchen Cabinets
- Stainless Steel Wall Cabinets Kitchen