Tiling Kitchen Backsplash Corner
Tiling the kitchen backsplash corners can be a challenging task for many homeowners, as it requires precision and careful planning to achieve a seamless finish. In this comprehensive guide, we’ll discuss the steps involved in tiling kitchen backsplash corners, the materials and tools needed, as well as tips and tricks to ensure a professional-looking result.

Preparation and Planning
Before you begin tiling the corners of your kitchen backsplash, it’s essential to prepare the area properly. Start by removing any existing tiles or backsplash material, and clean the surface thoroughly to ensure proper adhesion of the new tiles.
Next, measure the dimensions of the corner area accurately, taking into account any obstructions such as outlets or switches. Use these measurements to determine the number of tiles needed and plan the layout accordingly.

Choosing the Right Tiles and Materials
When selecting tiles for your kitchen backsplash corners, consider both the aesthetic appeal and practicality of the materials. Ceramic and porcelain tiles are popular choices due to their durability and wide range of designs, while glass tiles can add a modern touch to the space.
Additionally, be sure to choose the appropriate adhesive and grout for your tiles. Opt for a waterproof adhesive to ensure longevity in a kitchen environment, and select grout that complements the color of your tiles for a cohesive look.
Cutting and Installing the Tiles
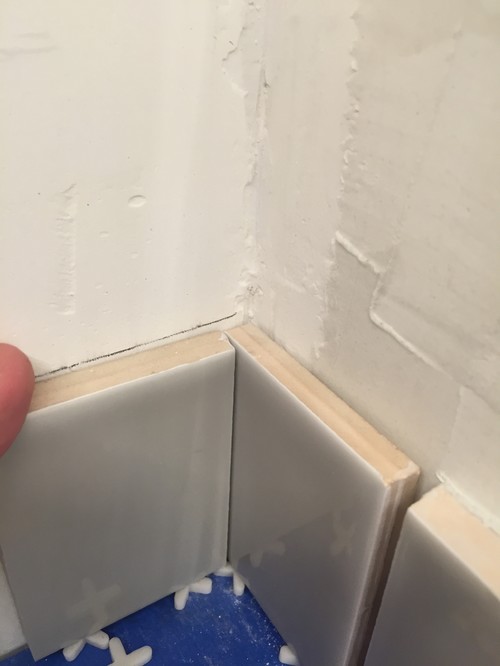
Once you have chosen your tiles and prepared the area, it’s time to start cutting and installing them in the corners of your kitchen backsplash. Use a tile cutter or wet saw to cut the tiles to size, taking precise measurements to ensure a snug fit.
Apply the adhesive to the backs of the tiles using a notched trowel, and press them firmly onto the wall in the desired pattern. Be sure to use tile spacers to maintain even spacing between the tiles and prevent them from shifting as the adhesive sets.

Grouting and Finishing Touches
After the adhesive has dried completely, usually after 24 hours, it’s time to grout the tiles to fill in the gaps between them. Mix the grout according to the manufacturer’s instructions, and apply it to the tiles using a grout float, working in small sections at a time.
Once the grout is applied, use a damp sponge to wipe away any excess and smooth the joints between the tiles. Allow the grout to dry for another 24 hours, then use a clean cloth to buff away any haze from the tiles and reveal their natural shine.
Common Mistakes to Avoid
Poor Planning: Failing to measure accurately or plan the layout of the tiles can result in uneven cuts and gaps in the corners. Take the time to plan the project thoroughly before starting to ensure a professional-looking finish.
Using Incorrect Materials: Using the wrong adhesive or grout for your tiles can lead to adhesion issues and premature deterioration. Always use materials that are specifically designed for the type of tiles you are installing.
Skipping Surface Preparation: Neglecting to clean and prepare the surface before tiling can cause adhesion problems and uneven surfaces. Take the time to clean the area thoroughly and remove any debris or grease before beginning the installation process.
Rushing the Grouting Process: Grouting too quickly or failing to remove excess grout from the tiles can result in a sloppy finish and unsightly haze. Take your time when grouting and be sure to remove any excess before it dries.

How do I choose the right tiles for my kitchen backsplash corners?
Choosing the right tiles involves considering both the aesthetic and practical aspects. Ceramic and porcelain tiles are durable options, while glass tiles add a modern touch. Consider the color and style of your kitchen when making your selection.
Can I install tiles over existing backsplash material?
In some cases, you can install tiles over existing backsplash material, but it’s essential to ensure that the surface is clean, flat, and free of any loose or damaged tiles. Consider removing the existing material if it’s in poor condition or if you want to update the look of your kitchen completely.
How do I prevent tiles from cracking during installation?
Proper surface preparation, using the correct adhesive, and ensuring even pressure when pressing the tiles onto the wall can help prevent cracking. Additionally, using tile spacers and allowing the adhesive to dry completely before grouting can help ensure a stable installation.
Can I tile around outlets and switches in the corners of my kitchen backsplash?
Yes, you can tile around outlets and switches, but it requires careful planning and precise cutting to ensure a neat finish. Consider using outlet extenders to bring the outlets forward and make tiling around them easier, or consult a professional for assistance.
How do I maintain and clean tiled kitchen backsplash corners?
To maintain tiled kitchen backsplash corners, regularly clean them with a mild detergent and water solution and a soft cloth or sponge. Avoid using abrasive cleaners or scrubbing tools that could scratch the tiles, and be sure to wipe away any spills or splatters promptly to prevent staining. Additionally, consider sealing the grout periodically to protect it from moisture and staining.

Pin on Kitchen

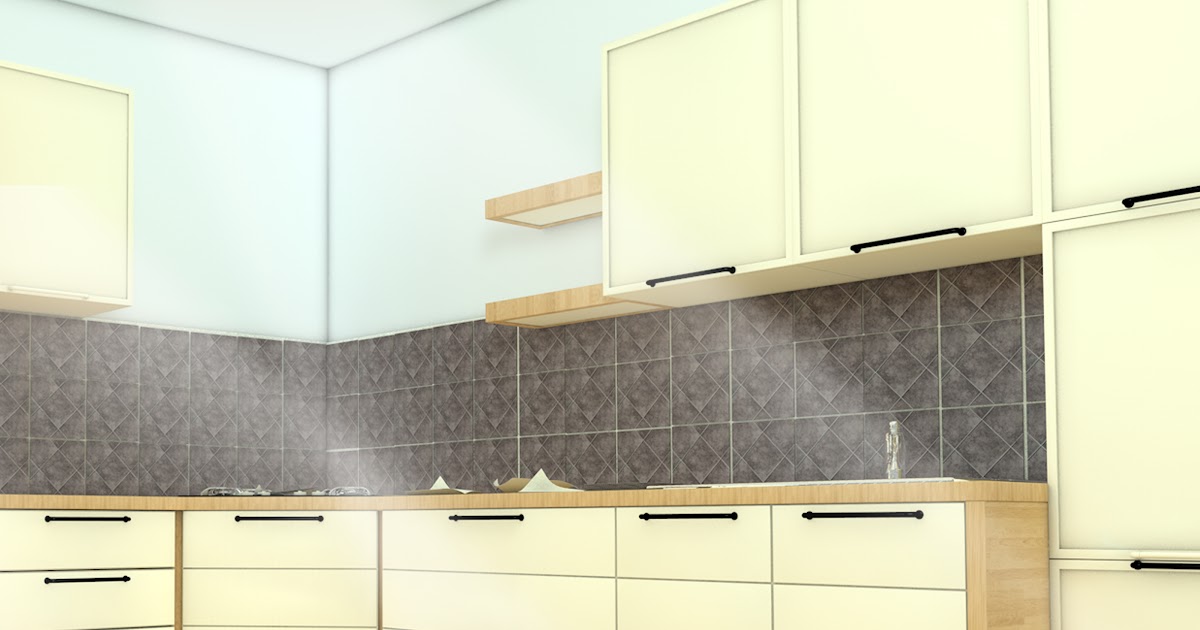
How To Tile Around A Corner Wall
Kitchen Tile Backsplash Around Window Open Shelves 59 Ideas Beveled subway tile kitchen

Placement kitchen backsplash tile/ where should it end?
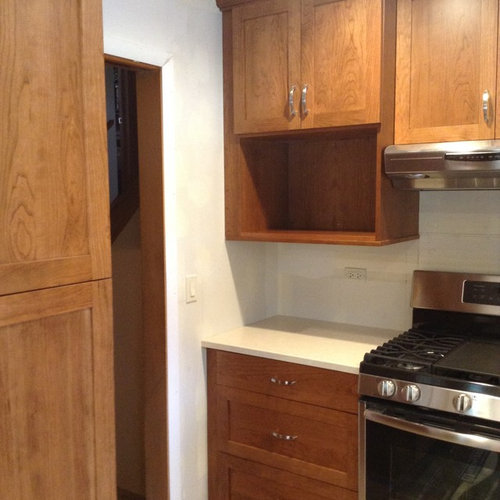
Can a tile backsplash be added to this kitchen?
Tiling Around a Window Centsational Style

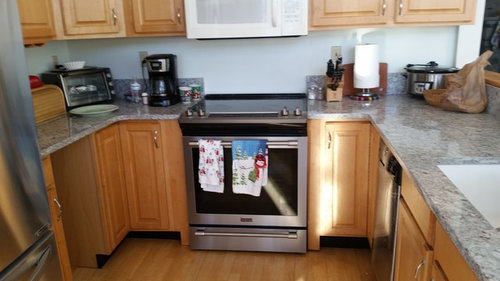
Kitchen Tile Backsplash Tips – Working Around Obstacles
:max_bytes(150000):strip_icc()/BacksplashNexttoFridge-f9d804df52ad4998b91bbc69ec20802d.jpg)
Related Posts:
- Cheap DIY Kitchen Backsplash
- Vinyl Kitchen Tiles Backsplash
- Small Kitchen Backsplash Ideas
- Modern Farmhouse Kitchen Backsplash
- Green Kitchen Backsplash Ideas
- Mexican Tile Backsplash Kitchen Ideas
- Rustic Stone Kitchen Backsplash
- Kitchen Backsplash Tile Ideas
- Decorative Kitchen Backsplash Ideas
- Kitchen Backsplash Tile Designs