Dealing with Uneven Ceiling Kitchen Cabinets
Understanding the Issue
One of the common challenges homeowners face when installing kitchen cabinets is dealing with uneven ceilings. Uneven ceilings can occur due to various reasons such as settling of the house, structural issues, or simply inconsistencies in the construction. When installing cabinets against an uneven ceiling, it’s crucial to address this issue properly to ensure a seamless and professional-looking finish.
The first step in dealing with uneven ceiling kitchen cabinets is to assess the extent of the unevenness. Use a level and measuring tape to determine the difference in height between the highest and lowest points of the ceiling. This will help you understand the degree of adjustment needed to make the cabinets fit properly.

Adjusting Cabinet Height
Once you’ve assessed the unevenness of the ceiling, the next step is to adjust the height of the cabinets accordingly. Start by measuring the height of the tallest point on the ceiling and mark this measurement on the wall where the cabinets will be installed. Then, using a saw or appropriate cutting tool, trim the top of the cabinets to match the marked height.
When trimming the cabinets, it’s essential to maintain a straight and even line to ensure a professional finish. Take your time with this step and double-check your measurements before making any cuts. Additionally, consider using shims or spacers to fine-tune the height adjustment and ensure the cabinets are level and secure against the uneven ceiling.

Filling Gaps and Gaps
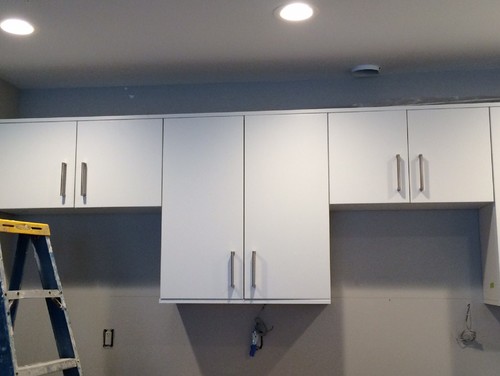
In some cases, even after adjusting the height of the cabinets, there may still be gaps between the top of the cabinets and the uneven ceiling. To fill these gaps and create a seamless transition, consider using molding or trim. Choose molding that complements the style of your cabinets and kitchen decor, and install it along the top edge of the cabinets to cover any gaps and add a decorative touch.
When installing molding, use a miter saw to cut the pieces at the appropriate angles for a precise fit. Secure the molding in place using finishing nails or adhesive, ensuring it is flush against both the cabinets and the ceiling. Once the molding is installed, caulk any gaps or seams to create a smooth and seamless finish.
Finishing Touches
After adjusting the height of the cabinets and filling any gaps, the final step is to add finishing touches to complete the look. This may include painting or staining the cabinets and molding to match the rest of the kitchen decor, as well as installing hardware such as handles and knobs. Take your time with these finishing touches to ensure a polished and cohesive look that enhances the overall appearance of your kitchen.

Common Mistakes to Avoid
Ignoring Unevenness: One common mistake is ignoring the unevenness of the ceiling and proceeding with cabinet installation without making proper adjustments. This can result in cabinets that are crooked or don’t fit properly, detracting from the overall appearance of the kitchen.
Not Double-Checking Measurements: Failing to double-check measurements before cutting cabinets or molding can lead to costly mistakes and uneven finishes. Always measure twice and cut once to ensure accuracy and precision.
Choosing the Wrong Materials: Using the wrong materials for filling gaps or adjusting cabinet height can result in an unsightly finish that detracts from the overall aesthetic of the kitchen. Make sure to choose materials that are suitable for the task at hand and complement the style of your cabinets and kitchen decor.
Rushing the Installation Process: Rushing through the installation process without taking the time to properly adjust cabinet height, fill gaps, and add finishing touches can result in a sloppy and unprofessional-looking finish. Take your time and pay attention to detail to achieve the best results.

Can I install kitchen cabinets on an uneven ceiling myself, or should I hire a professional?
While it is possible to install kitchen cabinets on an uneven ceiling yourself, hiring a professional may ensure a smoother and more precise finish, especially if you’re not experienced with carpentry or home improvement projects.
How do I know if my ceiling is uneven?
You can use a level and measuring tape to assess the unevenness of your ceiling. Measure the height at various points along the ceiling and compare the measurements to identify any discrepancies.
What tools do I need to adjust cabinet height and fill gaps?
You may need a saw or cutting tool to adjust cabinet height, as well as molding, trim, finishing nails, adhesive, and caulk to fill gaps and add finishing touches.
How long does it take to adjust cabinet height and fill gaps on an uneven ceiling?
The time it takes to adjust cabinet height and fill gaps will vary depending on the extent of the unevenness and the complexity of the task. It may take anywhere from a few hours to a full day to complete the process.
Are there any alternative solutions for dealing with uneven ceiling kitchen cabinets?
In some cases, you may be able to disguise unevenness with creative design solutions such as suspended or floating cabinets, or by incorporating architectural features like soffits or bulkheads into your kitchen design.

Advice needed about extending kitchen cabinets beyond drop ceiling lin
kitchen cabinets to the ceiling Kitchen Pinterest

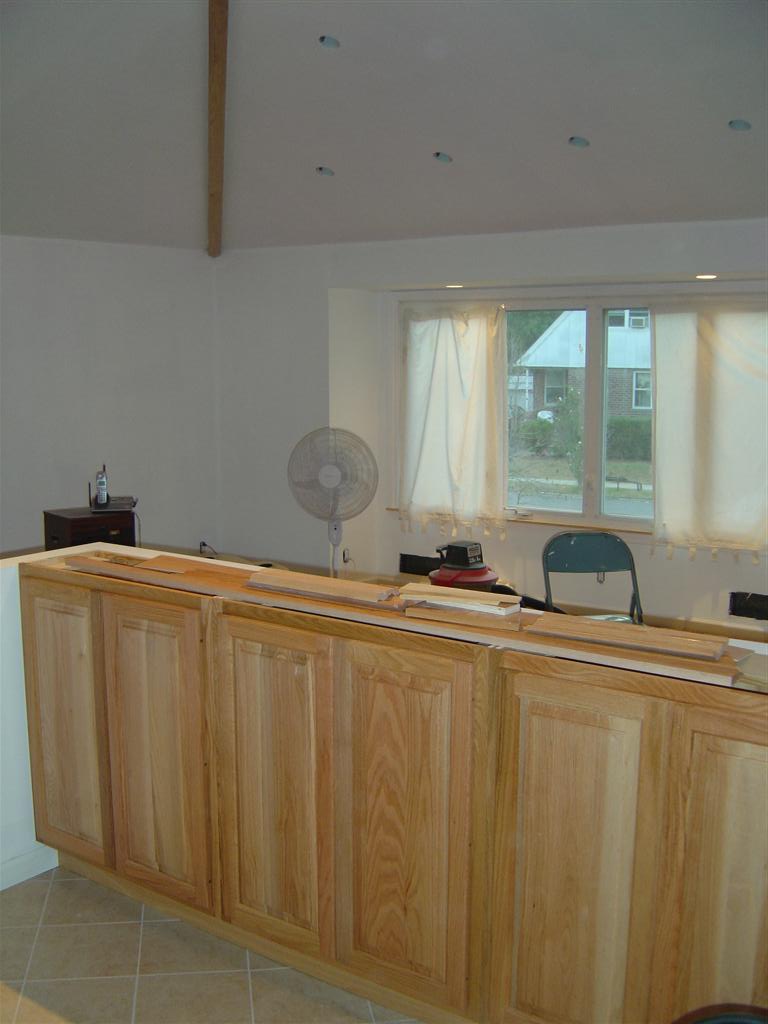
Extending Kitchen Cabinets To The Ceiling

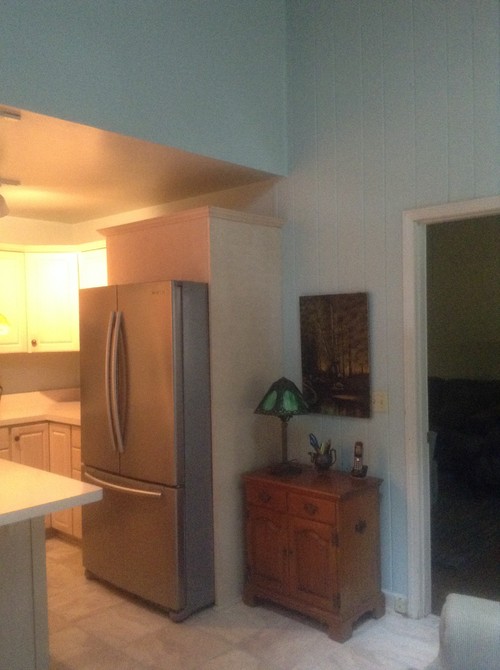
Kitchen Cabinets Installed, primer on the ceiling/walls Original JU Off Topic Archive Joe’s
Discover 10 New Ways to Decorate Above Your Kitchen Cabinets Decorating above kitchen cabinets

Kitchen cabinets to ceiling or not?
9′ ceilings, cabinets to ceiling – cabinet height?

Related Posts:
- How To Redo Kitchen Cabinets Cheap
- Galley Kitchen Cabinet Design
- How To Stain Your Kitchen Cabinets
- Kitchen Cabinet Design For Apartment
- Green Color Kitchen Cabinets
- Dark Kitchen Cabinets Decorating Ideas
- Farmhouse Kitchen Cabinet Colors
- Standard Height Of Top Kitchen Cabinets
- Faux Kitchen Cabinets
- Stainless Steel Wall Cabinets Kitchen