Vinyl kitchen tiles for backsplashes have become an increasingly popular choice among homeowners. They offer a versatile, affordable, and stylish way to update your kitchen without the hassle and expense of traditional materials. We will discuss everything you need to know about vinyl kitchen tile backsplashes, from the benefits and design options to installation tips and maintenance.
The Benefits of Vinyl Kitchen Tile Backsplashes
Affordability and Cost-Effectiveness
One of the most significant advantages of vinyl kitchen tile backsplashes is their affordability. Compared to materials like ceramic, glass, or natural stone, vinyl tiles are much more budget-friendly. This makes them an excellent choice for homeowners looking to update their kitchen without breaking the bank. Additionally, vinyl tiles often come in self-adhesive options, which can save on installation costs.

Easy Installation
Vinyl kitchen tiles are known for their ease of installation. Many vinyl tiles are designed with a peel-and-stick backing, eliminating the need for messy adhesives or grout. This user-friendly feature makes it possible for DIY enthusiasts to install their backsplash without professional help. Even those with minimal home improvement experience can achieve a professional-looking result.
Versatility in Design
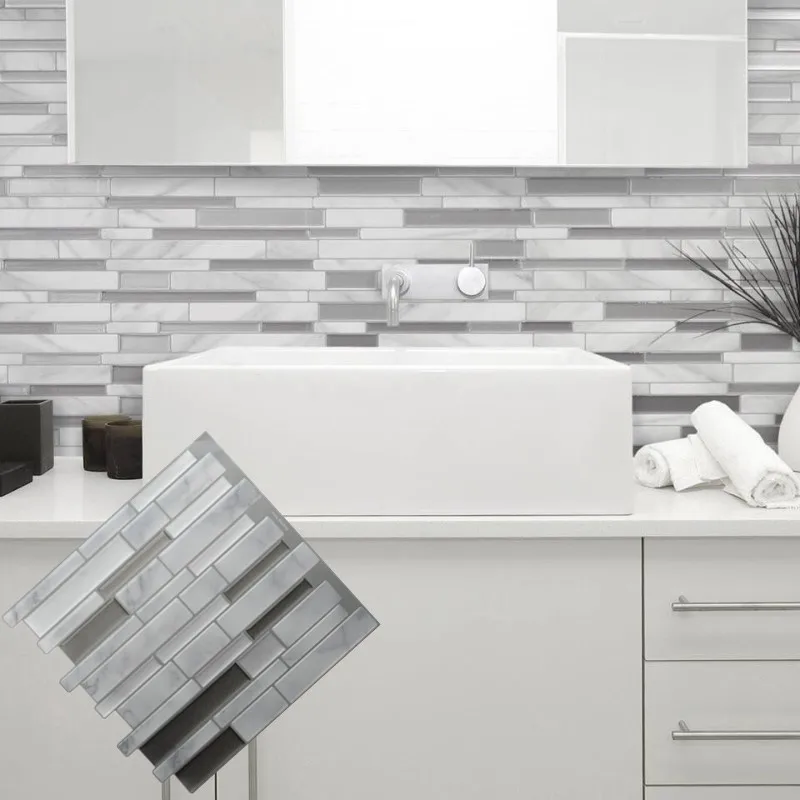
Vinyl tiles offer a wide range of design options, from classic to contemporary styles. They can mimic the appearance of more expensive materials, such as marble, subway tiles, or intricate mosaics, allowing homeowners to achieve the look they desire without the associated costs. The variety of colors, patterns, and textures available ensures that there is a vinyl tile to suit every kitchen decor.

Durability and Maintenance
Vinyl tiles are durable and resistant to moisture, making them an ideal choice for kitchen backsplashes. They can withstand the everyday wear and tear of cooking and cleaning without showing signs of damage. Additionally, vinyl tiles are easy to clean with a simple wipe down using a damp cloth, making maintenance a breeze. Unlike grout in traditional tile installations, vinyl tiles do not require sealing and are less prone to staining.
Flexibility and Customization
The flexibility of vinyl tiles allows them to be easily cut and shaped to fit any kitchen layout. This makes it possible to create custom designs and patterns, adding a personal touch to your kitchen decor. Whether you want a full-wall backsplash or a smaller accent area, vinyl tiles can be tailored to your specific needs.
Eco-Friendly Options
Many vinyl tile manufacturers are now producing eco-friendly options made from recycled materials. These sustainable choices allow homeowners to make environmentally conscious decisions without compromising on style or quality. Choosing eco-friendly vinyl tiles can reduce your carbon footprint while still achieving a beautiful kitchen backsplash.
Design Ideas and Trends
Classic Subway Tiles
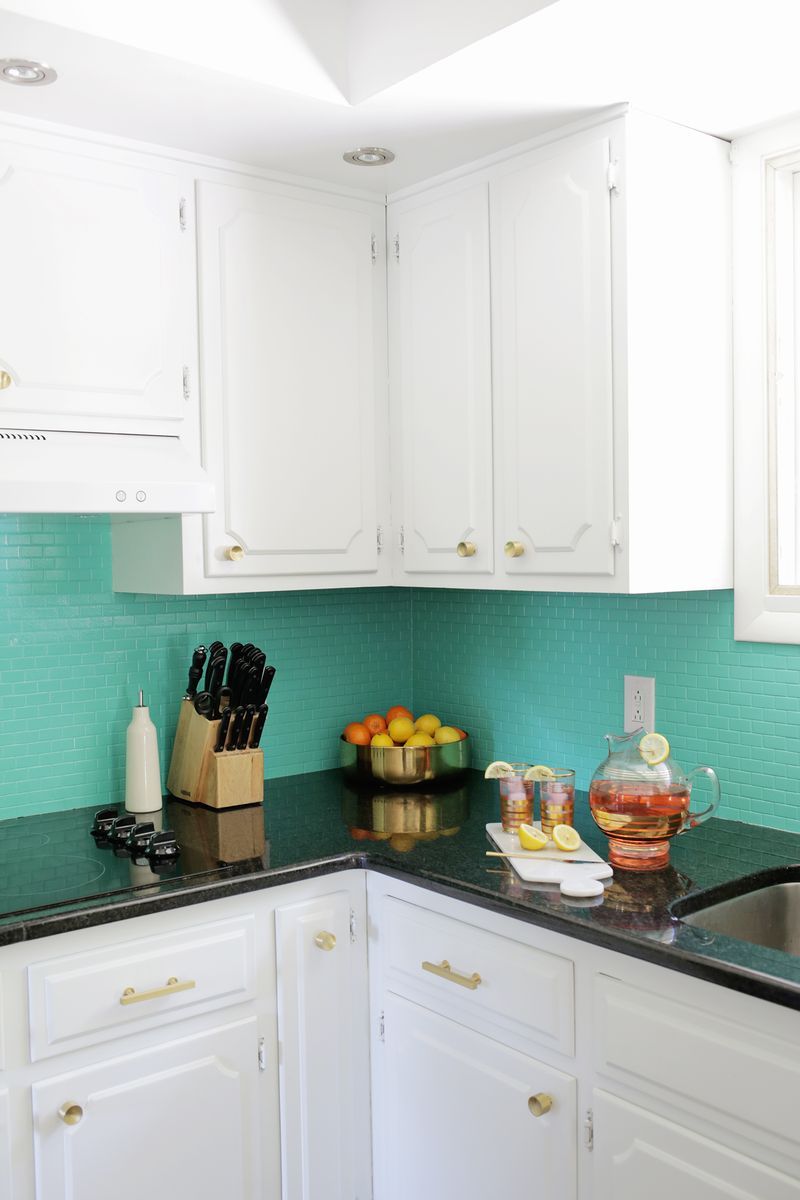
Subway tiles have long been a popular choice for kitchen backsplashes, and vinyl tiles can replicate this timeless look. Available in a range of colors, vinyl subway tiles can add a clean and classic aesthetic to your kitchen. White or light-colored subway tiles can brighten up the space, while darker shades can create a dramatic and sophisticated effect.
Bold Patterns and Colors
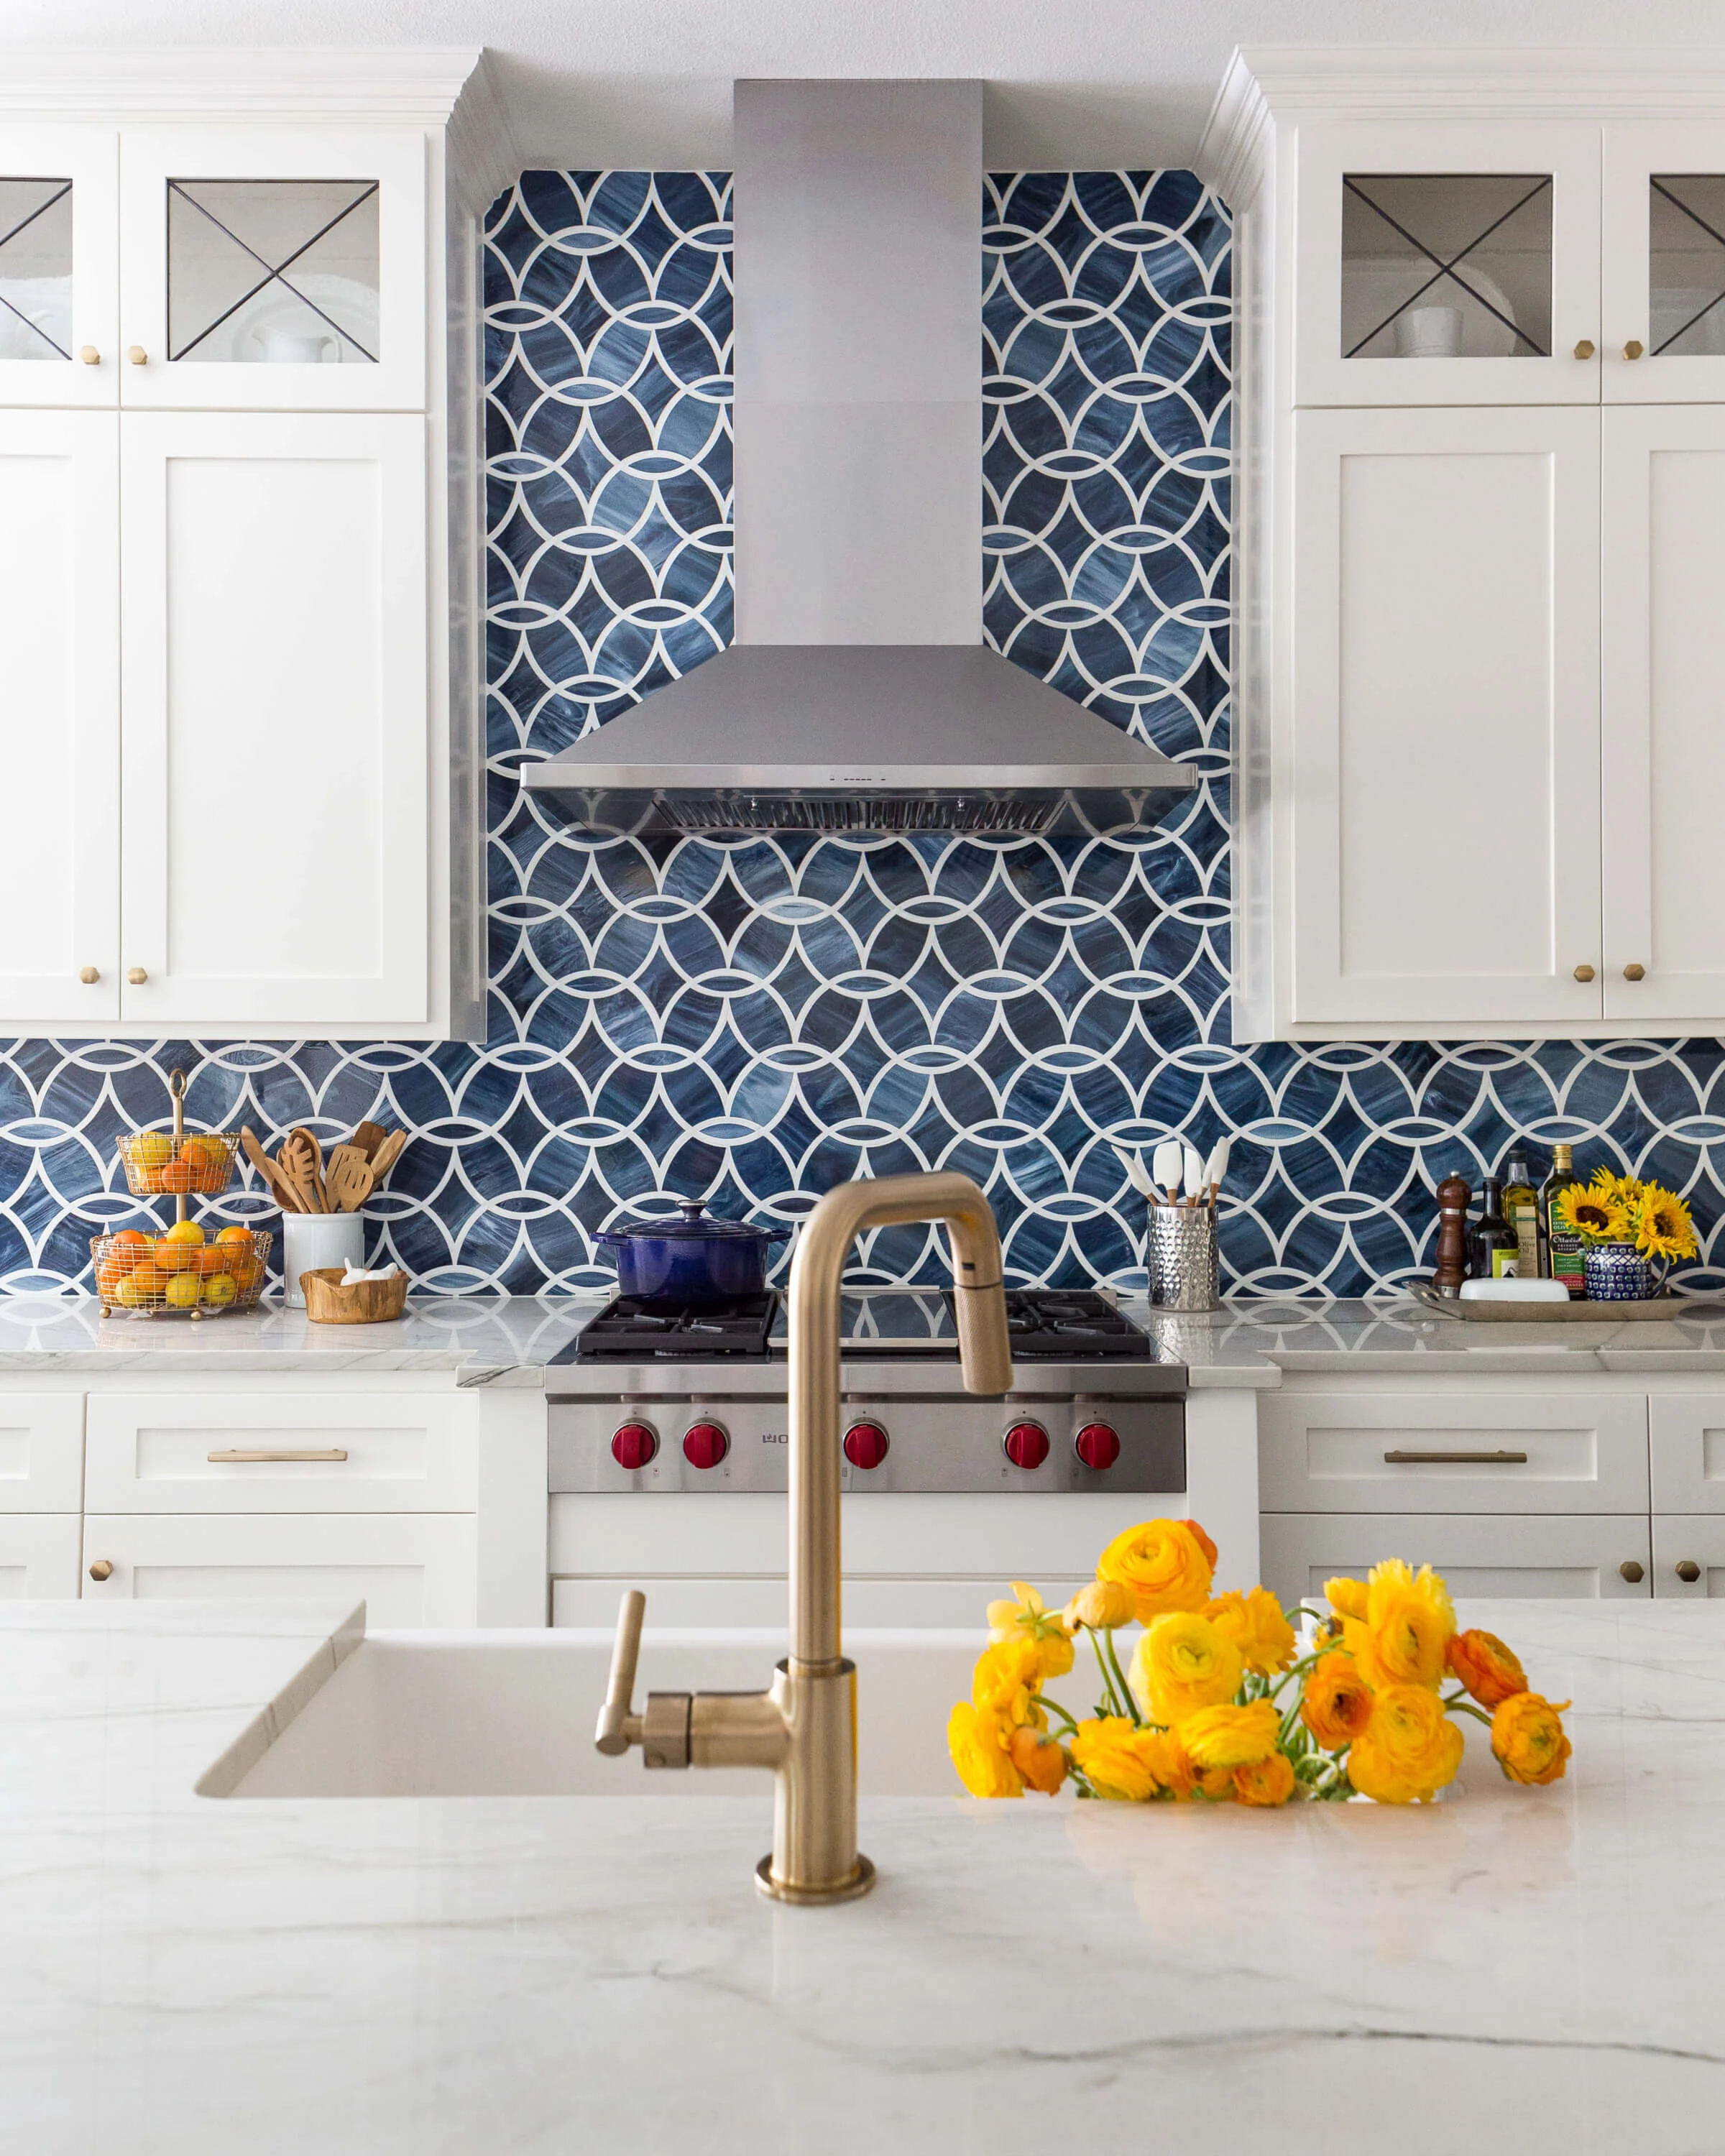
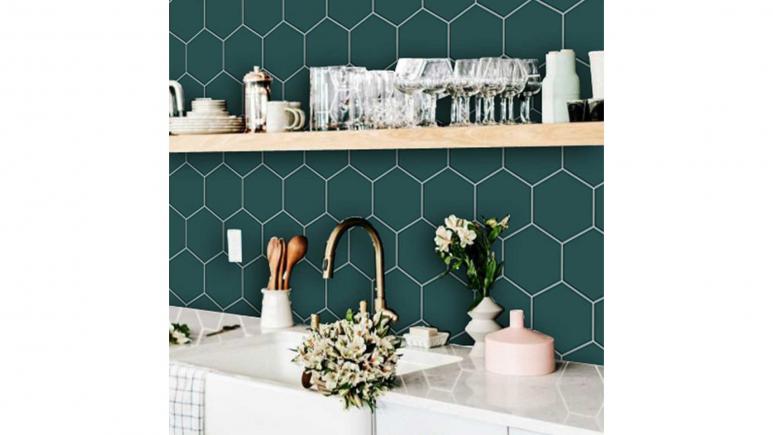
For those looking to make a statement, vinyl tiles offer an array of bold patterns and colors. From geometric designs to vibrant hues, these tiles can transform a plain kitchen into a visually stunning space. Consider using a bold backsplash as a focal point behind the stove or sink to draw attention and add character to the room.
Faux Natural Materials
Vinyl tiles can mimic the appearance of natural materials such as marble, granite, and wood. This allows homeowners to achieve a luxurious look without the high cost and maintenance of real stone or wood. Faux marble tiles, for example, can create an elegant and upscale feel, while faux wood tiles can add warmth and texture to the kitchen.
Metallic Finishes
Metallic vinyl tiles are a trendy option for modern and industrial-style kitchens. These tiles can add a sleek and contemporary look, with finishes that range from brushed nickel to shiny chrome. Metallic tiles can be used to create a striking contrast with other materials in the kitchen, such as wood or stone countertops.
Mosaic Patterns
Mosaic patterns are another popular design choice for vinyl tile backsplashes. These intricate designs can add a touch of artistry and complexity to the kitchen. Vinyl mosaic tiles come in various styles, from traditional Mediterranean patterns to modern abstract designs, allowing for creative expression in your kitchen decor.
Textured Tiles
Textured vinyl tiles can add depth and dimension to your backsplash. These tiles come in a variety of textures, such as raised patterns, embossed designs, and 3D effects. Textured tiles can create a tactile and visually interesting surface, enhancing the overall look and feel of your kitchen.

Step-by-Step Installation Guide
Preparing the Surface
Before installing vinyl tiles, it’s essential to prepare the surface properly. Ensure that the wall is clean, dry, and free of any grease or debris. If the surface is uneven, use a patching compound to fill in any holes or cracks. Sand the area smooth and wipe it down with a damp cloth to remove any dust.
Measuring and Planning
Measure the area where you plan to install the backsplash to determine how many tiles you will need. It’s a good idea to purchase a few extra tiles to account for any mistakes or cuts. Lay out the tiles on a flat surface to plan the arrangement and ensure that you are happy with the design before starting the installation.
Cutting the Tiles
Vinyl tiles can be easily cut to fit around outlets, corners, and edges using a utility knife or scissors. Measure and mark the tiles where they need to be cut, then carefully cut along the lines. It’s important to make precise cuts to ensure a professional-looking finish.
Installing the Tiles
Start at the bottom center of the wall and work your way outwards. Peel off the backing of the first tile and press it firmly onto the wall, starting at the bottom and working your way up. Use a level to ensure that the tile is straight. Continue installing the tiles, pressing each one firmly into place and using spacers if necessary to maintain even gaps.
Dealing with Outlets and Obstacles
When you reach an outlet or other obstacle, measure and cut the tiles to fit around it. Use a template if necessary to ensure precise cuts. Once the tiles are in place, install the outlet covers to give the backsplash a finished look. Be sure to turn off the power to the outlets before working around them.
Finishing Touches
Once all the tiles are installed, press down on them firmly to ensure they are securely attached. Wipe down the tiles with a damp cloth to remove any adhesive residue. If necessary, use a caulk or sealant around the edges of the backsplash to prevent moisture from getting behind the tiles.

Maintaining Your Vinyl Backsplash
Regular Cleaning
To keep your vinyl backsplash looking its best, clean it regularly with a damp cloth and mild detergent. Avoid using abrasive cleaners or scrubbers that could damage the surface. For tougher stains, use a mixture of vinegar and water or a non-abrasive kitchen cleaner.
Dealing with Stains
If you encounter stubborn stains, apply a small amount of baking soda mixed with water to the area and let it sit for a few minutes before wiping it off. For grease stains, a degreasing cleaner can be effective. Always test any cleaner on a small, inconspicuous area first to ensure it doesn’t damage the vinyl.
Preventing Damage
To prevent damage to your vinyl backsplash, avoid placing hot pots and pans directly against the tiles. Use a trivet or heat-resistant mat to protect the backsplash from heat. Additionally, be careful when using sharp objects near the tiles to prevent cuts or scratches.
Replacing Damaged Tiles
If a vinyl tile becomes damaged, it can be easily replaced. Simply heat the tile with a hairdryer to soften the adhesive, then carefully peel it off. Clean the area and install a new tile in its place, pressing it firmly to ensure a good bond.
Maintaining the Seal
If you used caulk or sealant around the edges of your backsplash, inspect it periodically to ensure it remains intact. Over time, the sealant may wear away or become damaged, allowing moisture to seep behind the tiles. Reapply caulk as needed to maintain a watertight seal.
Addressing Loose Tiles
If a tile becomes loose, it can usually be reattached with a bit of adhesive. Apply a small amount of vinyl tile adhesive to the back of the tile and press it firmly back into place. Allow the adhesive to dry completely before cleaning the area.
Common Mistakes to Avoid
Skipping Surface Preparation
One of the most common mistakes is failing to properly prepare the surface before installing vinyl tiles. Skipping this step can result in poor adhesion and tiles that do not stick properly. Always clean, dry, and smooth the surface before starting your project.
Incorrect Measurements
Accurate measurements are crucial for a successful installation. Misjudging the amount of material needed or failing to measure the area precisely can lead to wasted tiles and a poor fit. Double-check your measurements and plan your layout carefully.
Using the Wrong Tools
Using inappropriate tools can make the installation process more difficult and lead to subpar results. Ensure you have the right tools, such as a utility knife, level, and measuring tape, to achieve a professional finish. Improvising with unsuitable tools can damage the tiles and compromise the installation.
Not Allowing for Expansion
Vinyl tiles can expand and contract with temperature changes. Failing to leave a small gap between the tiles and the countertop or walls can cause buckling or warping. Leave a slight gap and use caulk to fill it, allowing for natural movement.
Overlapping Tiles Incorrectly
Improperly overlapping tiles can create an uneven surface and affect the overall appearance of the backsplash. Pay attention to the manufacturer’s instructions on how to properly overlap the tiles to achieve a seamless look. Misaligned tiles can be visually distracting and diminish the aesthetic appeal.
Neglecting Regular Maintenance
Neglecting to clean and maintain your vinyl backsplash can lead to a buildup of dirt, grease, and stains. Regular cleaning and prompt attention to any damage will keep your backsplash looking fresh and new. Ignoring maintenance can reduce the lifespan of your tiles and affect their appearance.
How do I choose the best vinyl tiles for my kitchen backsplash?
When choosing vinyl tiles for your kitchen backsplash, consider factors such as design, color, and texture. Think about the overall style of your kitchen and select tiles that complement your decor. Additionally, look for tiles that are durable, easy to clean, and have good adhesive properties.
Can I install vinyl tiles over existing tiles?
Yes, you can install vinyl tiles over existing tiles as long as the surface is smooth, clean, and free of any loose or damaged tiles. Ensure that the existing tiles are securely attached to the wall and that any grout lines are filled and even. This can save time and effort compared to removing the old tiles.
How long does it take to install a vinyl tile backsplash?
The time it takes to install a vinyl tile backsplash depends on the size of the area and your level of experience. For a small to medium-sized backsplash, the installation can typically be completed in a few hours. However, it’s important to take your time to ensure precise measurements and proper alignment for the best results.
Are vinyl backsplashes heat-resistant?
While vinyl tiles are resistant to moisture and stains, they are not as heat-resistant as some other materials. It’s important to avoid placing hot pots and pans directly against the tiles to prevent damage. Using heat-resistant mats or trivets can help protect your backsplash from heat exposure.
Can I remove vinyl tiles without damaging the wall?
Yes, vinyl tiles can be removed without causing significant damage to the wall. To remove a tile, heat it with a hairdryer to soften the adhesive, then carefully peel it off. If any adhesive residue remains, it can be cleaned off with a mild solvent. This makes vinyl tiles a good option for renters or those who may want to change their backsplash in the future.
How do I ensure my vinyl tiles stay in place?
To ensure that your vinyl tiles stay in place, make sure the surface is properly prepared and clean before installation. Press each tile firmly onto the wall, and use a level to ensure they are straight. Additionally, avoid exposing the tiles to excessive heat or moisture, and perform regular maintenance to keep them in good condition. If a tile does become loose, reapply adhesive to secure it.

Kitchen backsplash tiles?

Related Posts:
- Brick Kitchen Backsplash Ideas
- Low Maintenance Kitchen Backsplash
- Moroccan Kitchen Backsplash
- Home Depot Kitchen Backsplash Installation
- Kitchen Backsplash Tiles Philippines
- Decorative Kitchen Backsplash Ideas
- Split Face Travertine Kitchen Backsplash
- Kitchen Granite With Backsplash
- Colorful Tiles Kitchen Backsplash
- Kitchen Backsplash For Renters
