Cement countertops have gained popularity in recent years due to their durability, versatility, and modern aesthetic. Crafting your own cement kitchen countertops can be a rewarding DIY project that adds a unique touch to your home. In this comprehensive guide, we will walk you through the process of creating your cement countertops from start to finish, including materials needed, step-by-step instructions, and helpful tips along the way.
Materials and Preparation
Before diving into the DIY process, it’s essential to gather all the necessary materials and prepare your workspace accordingly. Here’s a list of materials you’ll need:
- Cement mix: Choose a high-quality cement mix suitable for countertops. Opt for a mix specifically designed for countertops to ensure durability and strength.
- Reinforcement material: Depending on the size and design of your countertops, you may need reinforcement material such as fiberglass mesh or rebar to add strength and prevent cracking.
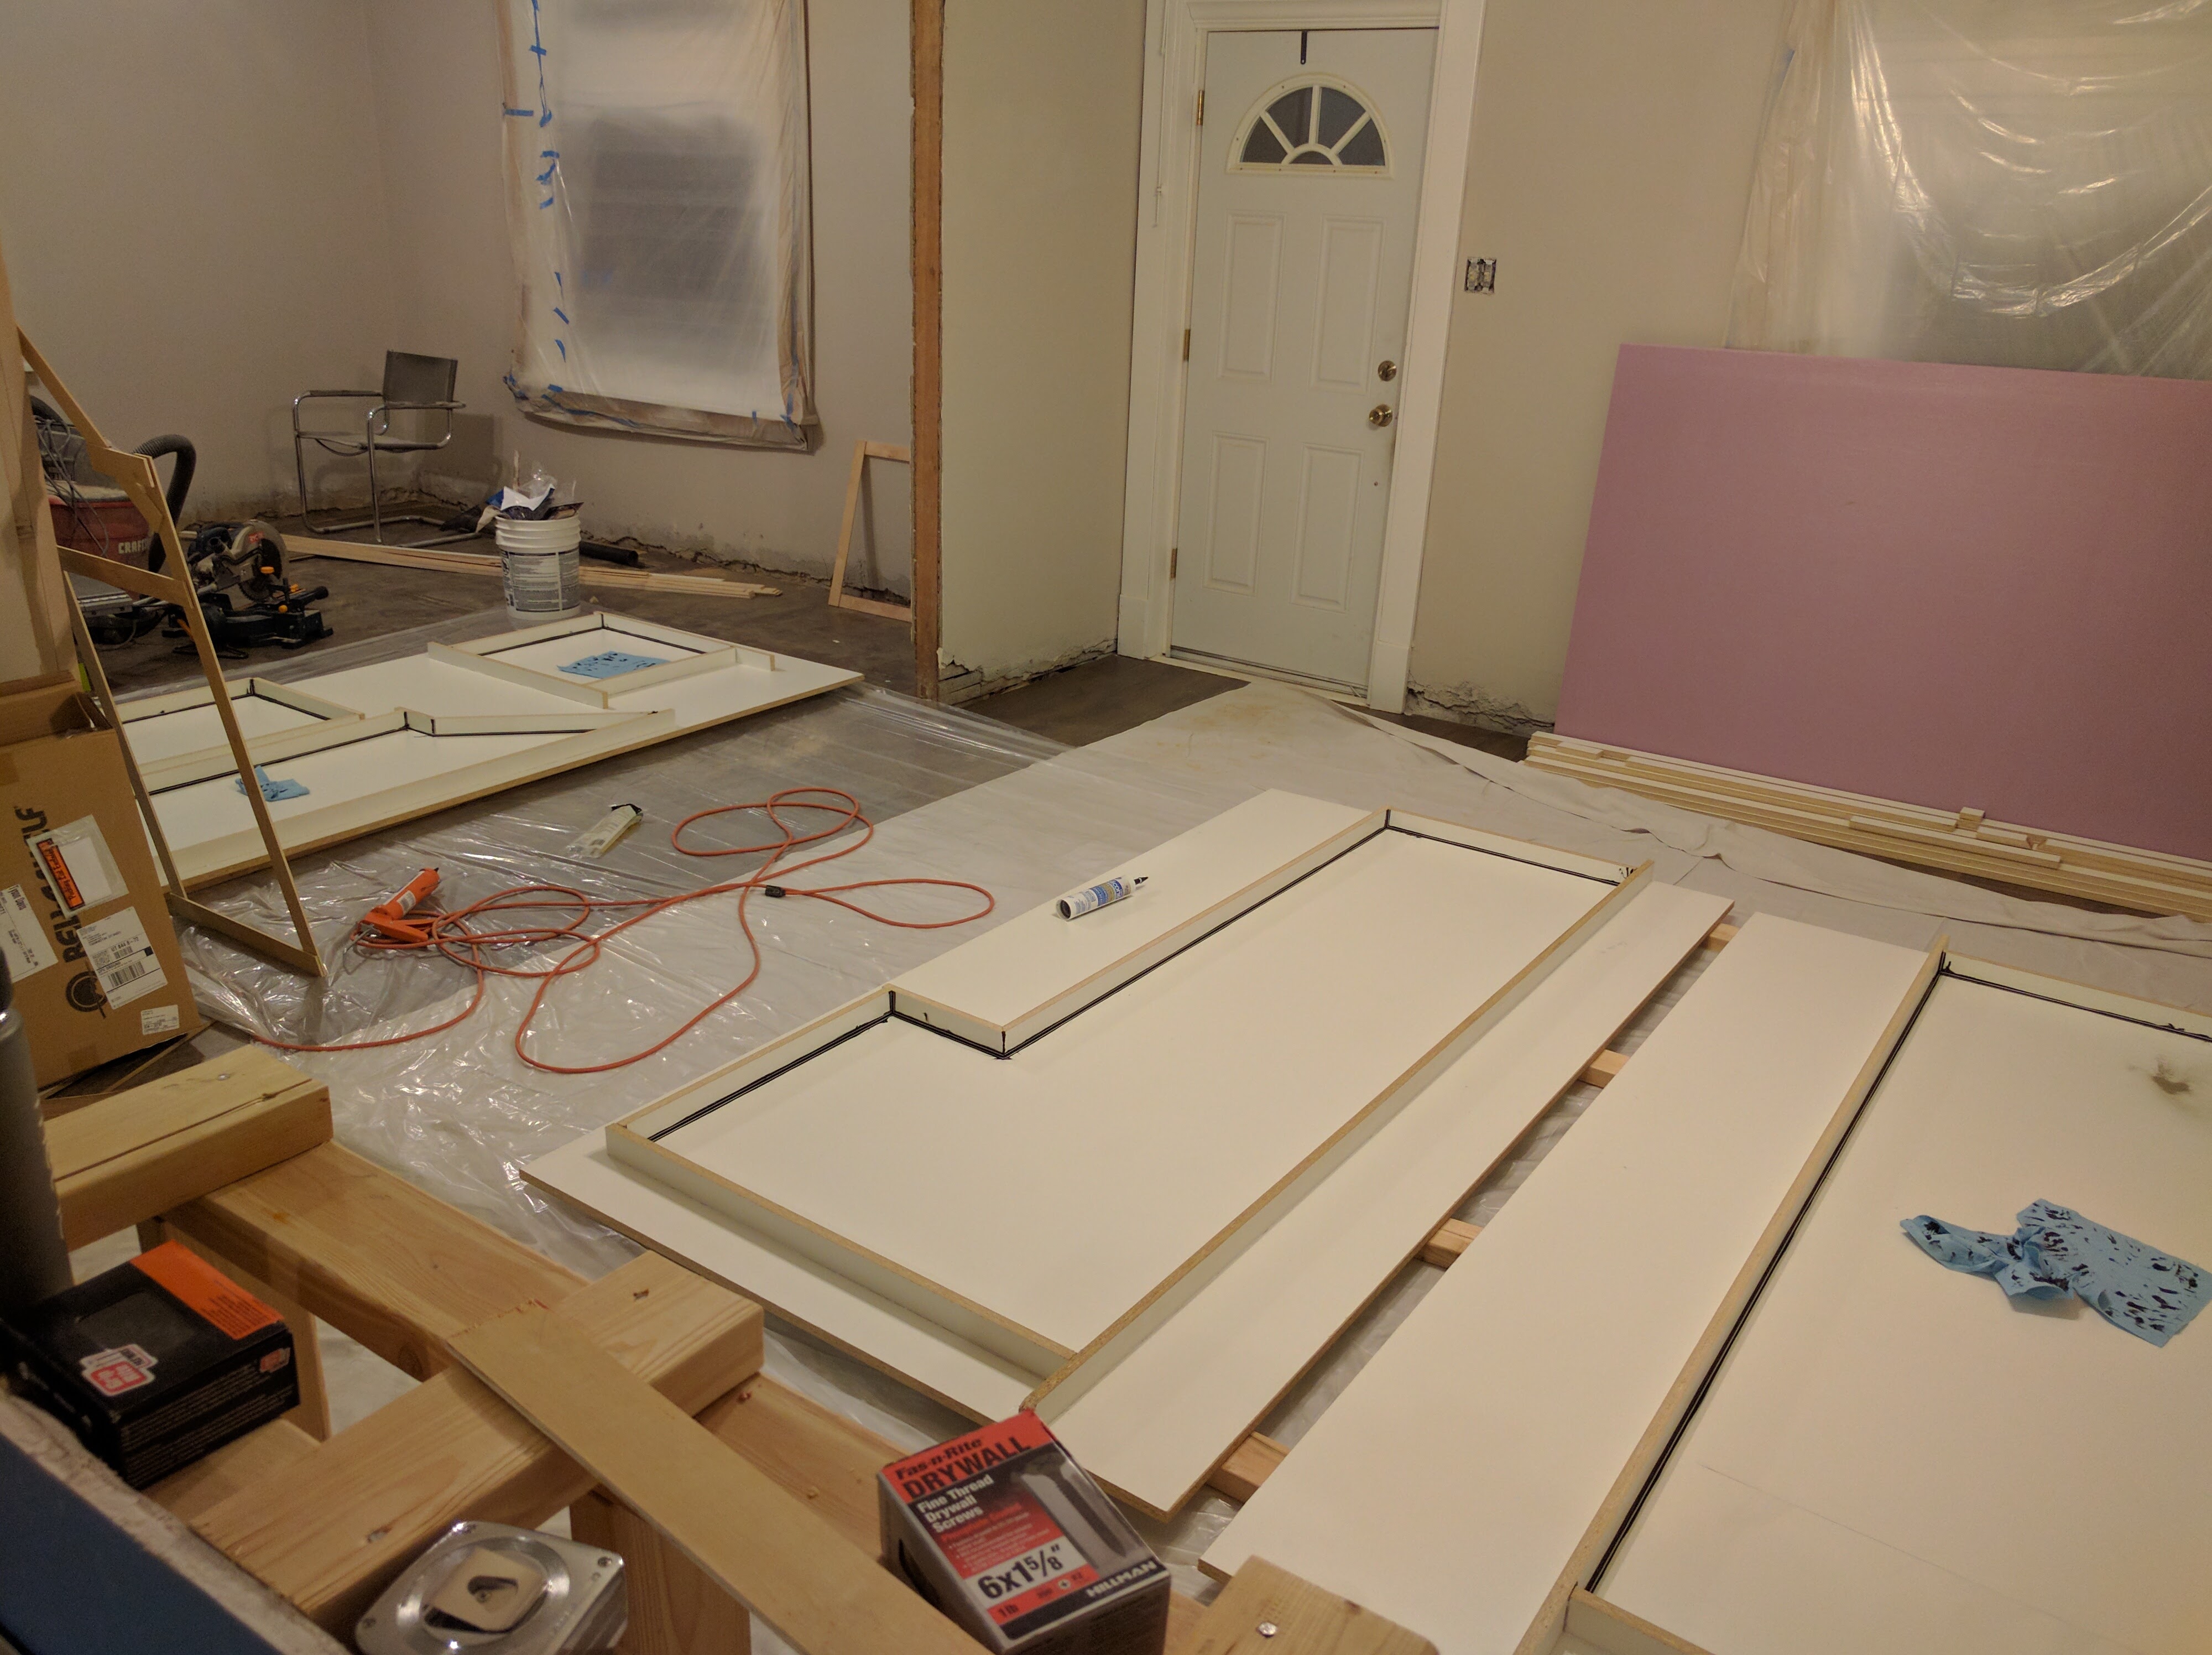
- Mold material: You’ll need a mold material to shape the countertops. Common options include melamine, plywood, or even recycled materials like old countertops or cardboard.
- Release agent: To ensure easy removal of the countertops from the mold, use a release agent such as cooking spray or specialized mold release.
- Tools: Gather basic tools such as a mixing drill, trowels, sandpaper, and a sander to smooth the surface.
Once you’ve gathered all the materials, prepare your workspace by ensuring it’s clean, well-ventilated, and free from any debris. Set up your mold according to the desired dimensions and design of your countertops, making sure it’s sturdy and level.
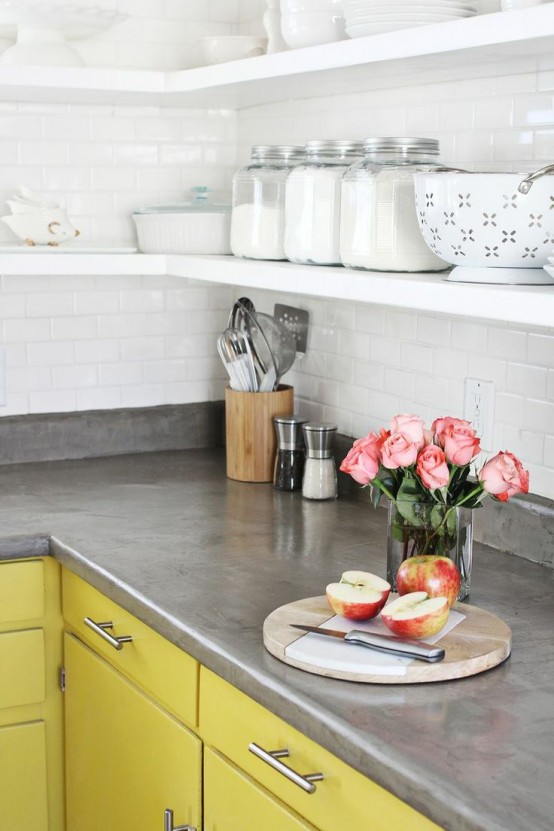
Mixing and Pouring
With your materials and workspace ready, it’s time to mix the cement and pour it into the mold. Follow these steps:
- Measure the appropriate amount of cement mix according to the size of your countertops and the manufacturer’s instructions.
- Mix the cement thoroughly with water in a clean bucket or mixing tray using a mixing drill until you achieve a smooth, lump-free consistency.
- Add any desired additives or colorants to customize the look of your countertops, mixing them thoroughly into the cement mixture.
- Pour the cement mixture into the prepared mold, ensuring it’s distributed evenly and reaches all corners and edges.
- Use a trowel to smooth the surface of the cement, leveling it as much as possible. Tap the sides of the mold gently to release any air bubbles trapped in the mixture.

Curing and Finishing
After pouring the cement mixture, it’s crucial to allow it to cure properly to achieve optimal strength and durability. Follow these steps for curing and finishing your countertops:
- Cover the mold with plastic sheeting to retain moisture and prevent the cement from drying out too quickly. Let the countertops cure for at least 48 to 72 hours.
- After the initial curing period, carefully remove the countertops from the mold. Use caution to avoid damaging the edges or surface.
- Once removed from the mold, allow the countertops to continue curing in a dry, well-ventilated area for an additional week to achieve maximum strength.
- After the curing process is complete, use sandpaper or a sander to smooth the surface of the countertops, removing any imperfections or rough spots.
- Seal the countertops with a food-safe sealer to protect them from stains, water damage, and daily wear and tear. Follow the manufacturer’s instructions for application and drying times.

Maintenance and Care
Proper maintenance and care are essential for preserving the beauty and functionality of your DIY cement kitchen countertops. Follow these tips to keep them looking their best:
- Clean spills and stains promptly using a mild soap and water solution or a pH-neutral cleaner specifically designed for concrete countertops.
- Avoid using abrasive cleaners or scrubbing pads that could scratch or damage the surface of the countertops.
- Periodically reseal the countertops to maintain their protective barrier against moisture and stains. Follow the manufacturer’s recommendations for reapplication frequency.
- Use cutting boards and trivets to protect the surface from heat and scratches caused by sharp objects.
- Regularly inspect the countertops for any signs of damage or wear, such as cracks or chips, and address them promptly to prevent further deterioration.

Common Mistakes to Avoid
While crafting your cement kitchen countertops can be a rewarding DIY project, there are some common mistakes to avoid to ensure successful results:
Inadequate reinforcement: Failure to properly reinforce the countertops can lead to cracking and structural issues over time. Make sure to use the appropriate reinforcement material and follow best practices for placement and installation.
Improper mixing: Incorrectly mixing the cement can result in weak spots or uneven curing, compromising the durability of the countertops. Follow the manufacturer’s instructions carefully and mix the cement thoroughly to achieve a smooth, consistent consistency.
Insufficient curing time: Rushing the curing process or not allowing the countertops to cure for the recommended duration can result in weak, brittle countertops prone to damage. Be patient and allow the countertops to cure fully before removing them from the mold and using them.
Neglecting maintenance: Failing to properly maintain and care for your cement countertops can lead to premature wear and deterioration. Follow the recommended maintenance tips and address any issues promptly to prolong the lifespan of your countertops.

Can I customize the color and design of my cement countertops?
Yes, you can customize the color and design of your cement countertops by adding colorants or decorative aggregates to the cement mixture before pouring it into the mold.
How long do cement countertops last?
With proper care and maintenance, cement countertops can last for many years, providing a durable and stylish surface for your kitchen.
Are cement countertops heat-resistant?
Cement countertops are generally heat-resistant but can be susceptible to damage from extreme heat. It’s best to use trivets or hot pads to protect the surface from direct contact with hot pots and pans.
Can I repair chips or cracks in my cement countertops?
Yes, minor chips or cracks in cement countertops can be repaired using specialized repair kits or DIY methods such as filling them with epoxy or cement paste.
Are cement countertops suitable for outdoor use?
While cement countertops can be used outdoors, they may require additional sealing and maintenance to withstand exposure to the elements and UV radiation.
DIY cement kitchen countertops offer a cost-effective and customizable alternative to traditional countertop materials. By following the steps outlined in this guide and avoiding common mistakes, you can create beautiful and durable countertops that will enhance the aesthetic appeal and functionality of your kitchen for years to come.

Remodelaholic Concrete Countertops Tutorial; Kitchen Renovation Idea

Long-lasting DIY Concrete Countertops ⋆ DIY Crafts
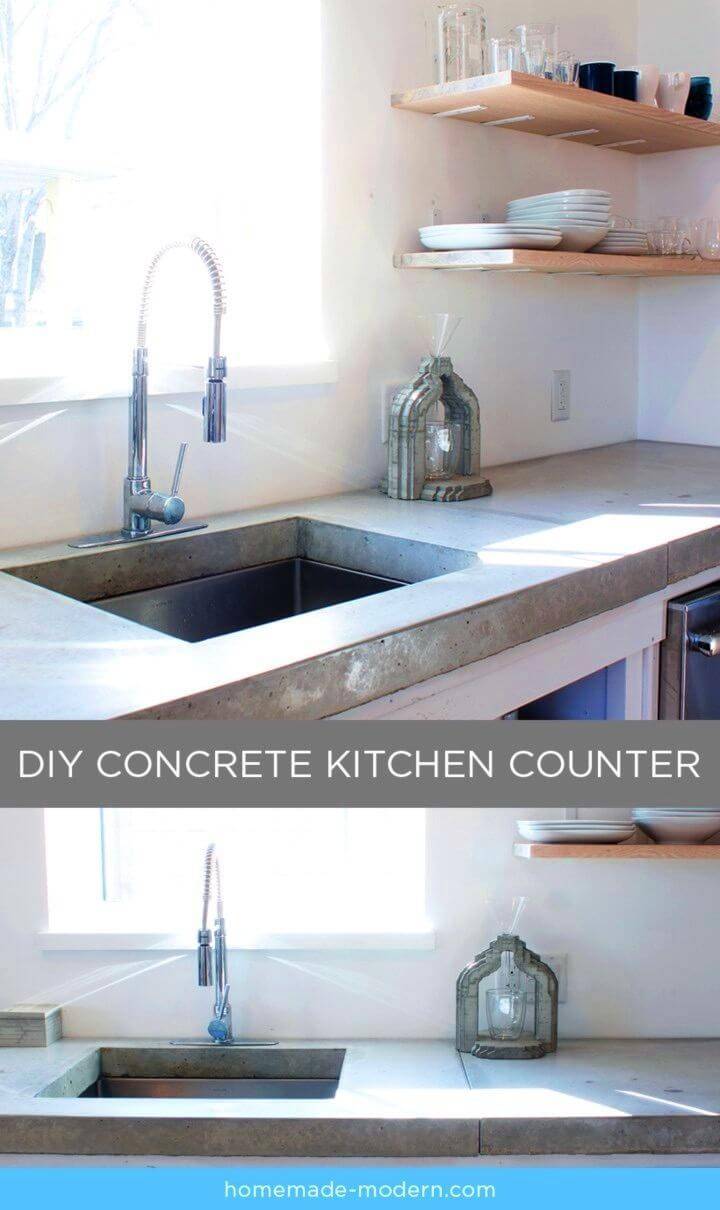
kitchen with cement countertops – Google Search Concrete countertops kitchen, Concrete kitchen

Different Ways to Make Your Own Concrete Kitchen Countertops
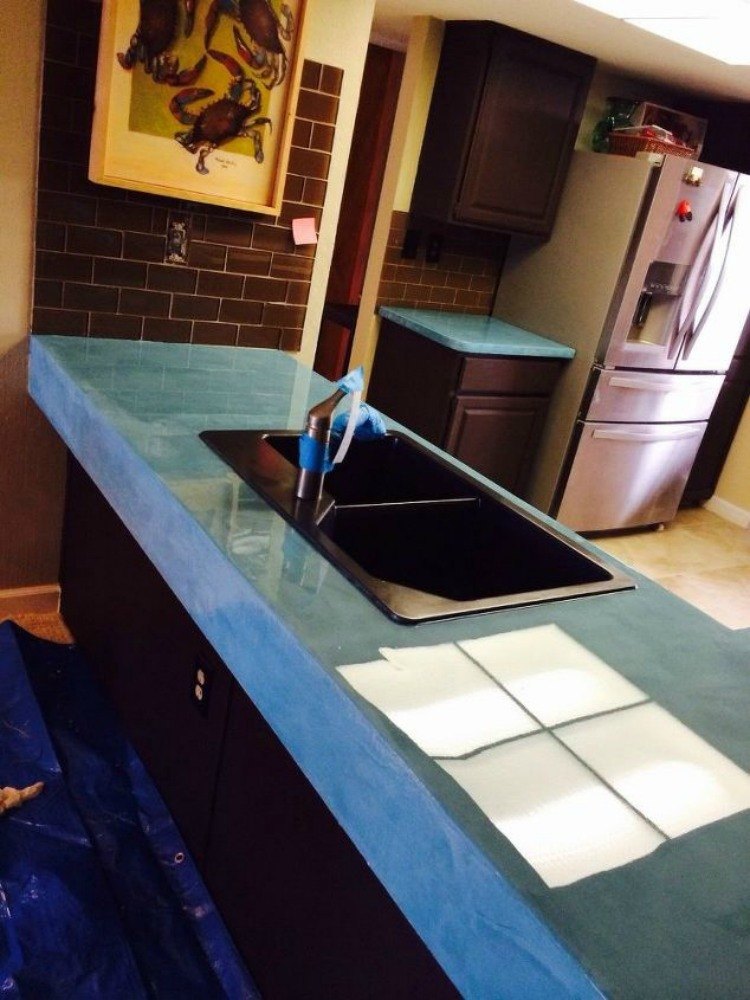
Major DIY’s in the Kitchen: PART 1 – Countertop Resurfacing Resurface countertops

Colored and Stained Concrete Countertop – Rustic – Houston – by SureCrete Design Products
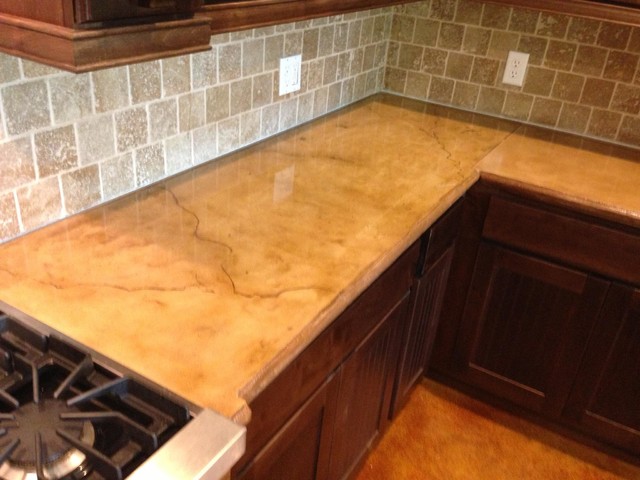
DIY Concrete Kitchen Countertops: A Step-by-Step Tutorial

DIY Concrete Countertops: Forms Double Diamond Hill Ranch
Related Posts:
- Terrazzo Kitchen Countertops
- Quartz Kitchen Countertop Ideas
- Timeless Kitchen Countertops
- Kitchen Countertop Options Prices
- Replace Undermount Kitchen Sink Tile Countertop
- Different Countertops In One Kitchen
- Kitchen Countertop No Backsplash
- Black Laminate Kitchen Countertops
- Poured Concrete Kitchen Countertops
- Faux Wood Kitchen Countertops