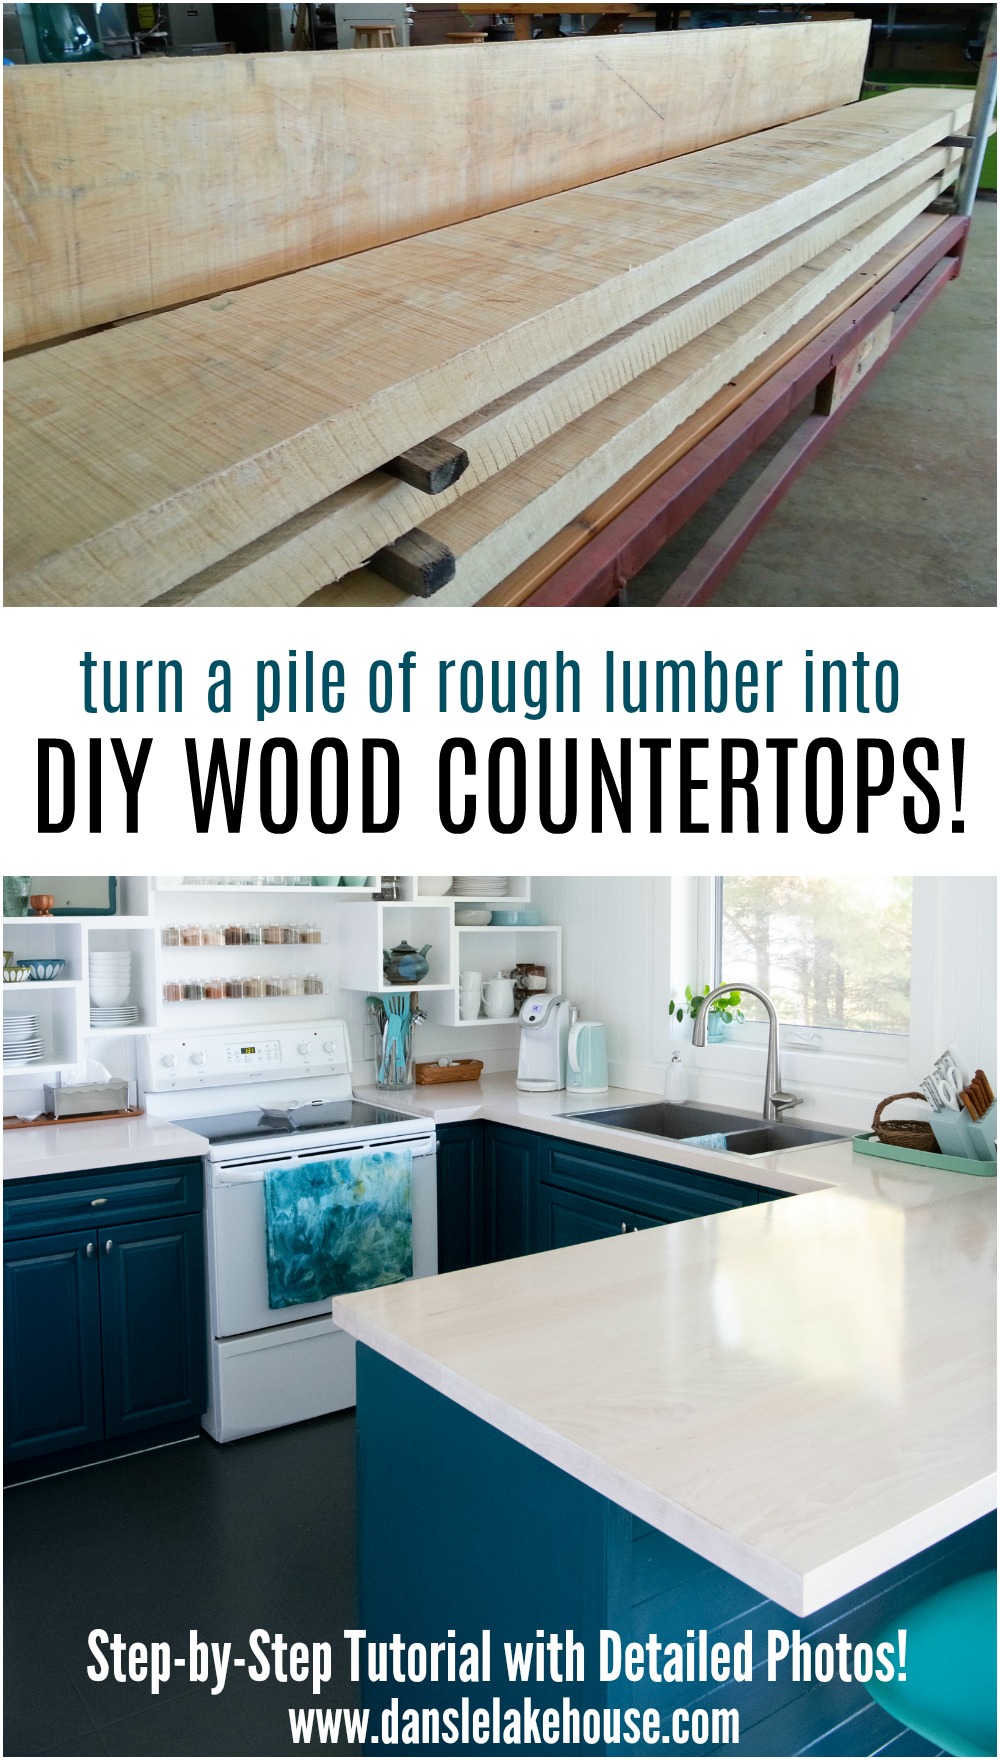
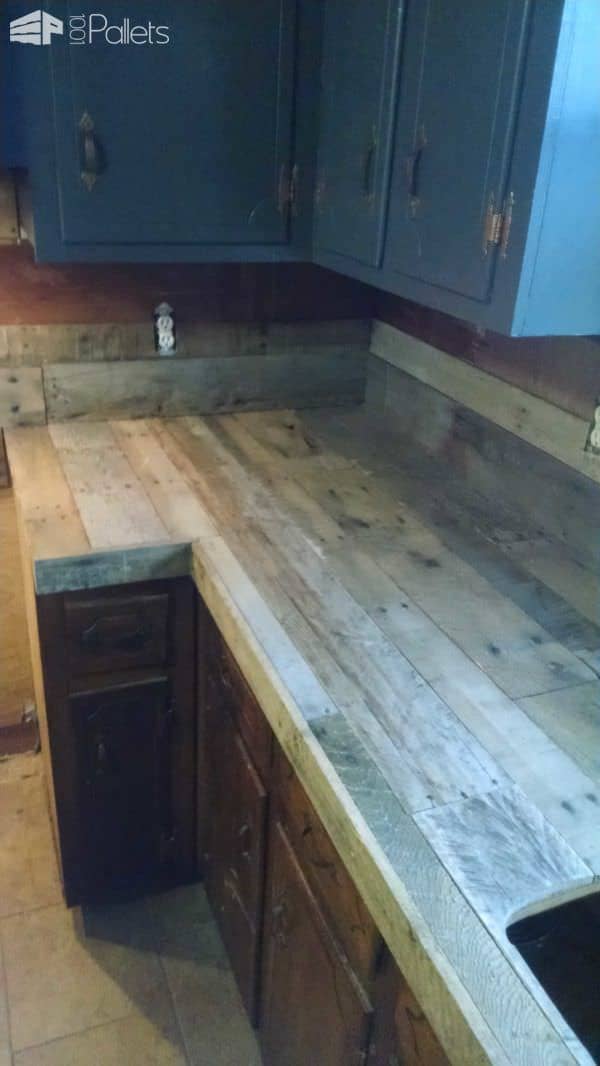
DIY plywood kitchen countertops have become a popular trend among homeowners looking for a budget-friendly yet stylish alternative to traditional countertop materials. Plywood is a versatile, affordable, and durable option that allows for customization and creativity, making it an appealing choice for those who enjoy hands-on home improvement projects. While plywood might not be the first material that comes to mind for kitchen countertops, with the right preparation, finishing, and care, it can create a rustic, modern, or industrial look that suits a variety of design aesthetics. This guide will provide a detailed look at the process of creating DIY plywood kitchen countertops, the benefits and challenges of using plywood, and how to ensure your countertops are both functional and long-lasting.
When considering plywood for kitchen countertops, it’s important to understand the material itself. Plywood is made by layering thin sheets of wood veneer, which are glued together with the grain of each layer running perpendicular to the previous one. This cross-grain structure gives plywood its strength and resistance to warping, which is essential for a kitchen environment where moisture and heat can be an issue. For countertops, it’s crucial to use high-quality plywood, such as hardwood plywood or furniture-grade plywood, as these types offer better durability and a smoother finish compared to standard construction-grade plywood.

One of the main advantages of using plywood for kitchen countertops is its affordability. Plywood is significantly less expensive than materials like granite, quartz, or solid wood, making it an ideal option for budget-conscious homeowners or those looking to create a unique countertop design without breaking the bank. In addition to its cost-effectiveness, plywood is also easy to work with, especially for DIY enthusiasts. It can be cut, shaped, and customized to fit any kitchen layout, allowing for flexibility in design and installation.
When creating a DIY plywood kitchen countertop, the first step is to measure and cut the plywood to fit your countertop dimensions. Precision is key here, as any errors in cutting can result in gaps or uneven edges. A table saw or circular saw is typically used to achieve clean, straight cuts. Once the plywood is cut to size, it’s important to sand the surface and edges to ensure a smooth finish, especially if the plywood will be left exposed. Sanding not only improves the appearance but also helps to prevent splinters and makes it easier to apply finishes or sealants later in the process.

After cutting and sanding, the next step is to laminate or reinforce the plywood if needed. Depending on the thickness of the plywood you’re using, you may want to glue multiple layers of plywood together to create a thicker, more substantial countertop. This is especially important if you plan to use plywood as the primary countertop material without adding a protective surface layer, like laminate or epoxy. Gluing and clamping the layers together will help ensure the countertop is strong and stable enough to handle the wear and tear of daily kitchen use.
One of the biggest considerations when working with plywood countertops is sealing and protecting the surface. Plywood, like any wood product, is susceptible to moisture damage if not properly sealed. In a kitchen environment, where water, spills, and steam are common, it’s crucial to apply a high-quality sealant to protect the plywood from swelling, warping, or rotting. A clear polyurethane or epoxy coating is often used to seal plywood countertops, creating a waterproof barrier that enhances durability and gives the wood a glossy, finished look. Multiple coats are typically required for full protection, with sanding in between each coat to ensure a smooth finish.

In addition to sealing the surface, edging the plywood is another important step in creating a professional-looking countertop. The exposed edges of plywood can show the layers of veneer, which some people may find aesthetically unappealing. To address this, edge banding or wood trim can be applied to cover the layers and create a cleaner, more polished appearance. Edge banding is a thin strip of wood or veneer that is glued or ironed onto the plywood edge, while wood trim involves attaching a solid wood piece to the edge of the countertop for a more substantial look.
Once the plywood countertop is sealed and edged, it’s time to install it in the kitchen. Plywood countertops can be installed directly onto the base cabinets, but it’s important to ensure they are properly supported. Plywood is strong, but it can still sag under heavy weight if not adequately braced. Installing plywood with strong support brackets or additional reinforcing boards underneath will help prevent any bowing or warping over time. Properly securing the countertop to the cabinets with screws or adhesive is also crucial to prevent shifting or movement during use.
Another key consideration when creating DIY plywood kitchen countertops is how to finish the surface for long-term use. Plywood can be left with its natural wood grain exposed, stained, or painted, depending on your design preferences. If you choose to stain the plywood, it’s important to use a wood conditioner beforehand to ensure even absorption and avoid blotchiness. Painting the plywood is another option, allowing you to customize the countertop color to match your kitchen décor. For a more durable, professional look, consider applying an epoxy resin finish, which creates a hard, glossy surface that is both waterproof and heat-resistant.
The versatility of plywood also allows for creative design options. For example, you can use different types of wood veneer for a more interesting grain pattern or mix and match plywood with other materials, such as concrete or tile, for a unique countertop design. Plywood can also be used in combination with a laminate overlay, where a thin layer of laminate is applied to the plywood for added protection and a smooth, easy-to-clean surface. This option combines the affordability of plywood with the durability and low-maintenance benefits of laminate.

While plywood countertops offer many advantages, there are some challenges to consider. One of the primary concerns is the material’s susceptibility to damage from knives, heat, and moisture. Without proper sealing and care, plywood countertops can be easily scratched, burned, or stained. It’s essential to always use cutting boards and trivets to protect the surface from these common kitchen hazards. Regular maintenance, including resealing the countertop as needed, is also important to keep the plywood looking its best over time.
Another potential challenge with plywood countertops is their appearance. While some people appreciate the rustic, natural look of plywood, others may find the visible layers and grain patterns too casual for a more formal kitchen design. However, with proper finishing techniques like staining, painting, or using a high-gloss sealant, plywood can be made to look more polished and refined, allowing it to fit into a variety of kitchen styles.
DIY plywood kitchen countertops also offer an opportunity for personalization. Unlike pre-fabricated countertop materials, plywood allows you to customize the design, size, and finish to match your specific needs and preferences. Whether you want a modern, minimalist look or a more rustic, farmhouse-style kitchen, plywood can be adapted to suit your vision. With the right tools, materials, and attention to detail, you can create a beautiful, functional, and durable countertop that reflects your style.
Finally, plywood countertops are a great option for those who enjoy DIY projects and want to take a hands-on approach to their kitchen renovation. Building your countertops can be a rewarding and cost-effective way to update your kitchen while adding a personal touch to the space. With the right planning, materials, and execution, DIY plywood countertops can be a stylish and practical solution for any kitchen.

Common Mistakes to Avoid
Using Low-Quality Plywood: Opt for high-quality or furniture-grade plywood to ensure durability and a smoother finish. Lower-quality plywood is prone to warping and may not hold up well over time.
Skipping Sealing: Failing to properly seal the plywood can result in water damage, warping, and swelling. Always apply multiple coats of sealant to protect the surface from moisture.
Inadequate Support: Not reinforcing the countertop with proper bracing or support can lead to sagging, especially if heavy items are placed on the surface.
Neglecting Edge Finishing: Leaving the edges of plywood exposed without edge banding or trim can result in a less polished appearance. Take the time to finish the edges for a professional look.
Not Using Cutting Boards or Trivets: Plywood is susceptible to scratches, burns, and moisture damage. Always use cutting boards and trivets to protect the surface.
Rushing the Sanding Process: Skipping or rushing through sanding can leave the surface rough and uneven, making it harder to achieve a smooth, finished look.

Is plywood durable enough for kitchen countertops?
Yes, with proper sealing and care, plywood can be a durable option for kitchen countertops. Plywood is strong and resistant to warping when high-quality materials are used. However, it’s important to seal the surface to protect it from moisture and use cutting boards and trivets to prevent scratches and burns.
How do I seal plywood countertops?
Sealing plywood countertops is essential to protect the surface from moisture, stains, and heat. A clear polyurethane or epoxy finish is commonly used to create a waterproof barrier. Apply multiple coats, sanding between each layer for a smooth, even finish. Make sure to seal both the top and edges to prevent water damage.
Can I install plywood countertops by myself?
Yes, plywood countertops are a great DIY project. With the right tools, such as a table saw for cutting and clamps for gluing layers, most homeowners can install plywood countertops on their own. It’s important to measure carefully, sand thoroughly, and take time with finishing techniques like sealing and edge banding.

How do I maintain plywood countertops?
Maintaining plywood countertops involves regular cleaning with a damp cloth and mild soap. Avoid abrasive cleaners or scrubbing pads that could scratch the surface. You should also periodically reseal the countertop to maintain its protective coating. Use cutting boards and trivets to prevent scratches and heat damage.
Can plywood countertops be painted or stained?
Yes, plywood can be both painted and stained to achieve different looks. If you choose to stain, use a wood conditioner first to ensure even absorption. For a painted finish, use high-quality paint and consider applying a protective topcoat for added durability. Both options allow you to customize the appearance of your countertops.
Are plywood countertops a budget-friendly option?
Absolutely. Plywood is one of the most affordable materials for countertops, especially when compared to granite, quartz, or solid wood. It allows homeowners to create a custom look on a budget, and with proper finishing, it can be both durable and stylish.

White oak kitchen, Oak kitchen, Ikea kitchen

DIY butcherblock style countertop – cracks filled with wood filler

Plywood countertop ideas on Pinterest Laundry room countertop, Laundry room counter

Pin on kitchen

Plywood furniture design countertops

Related Posts:
- Kitchen Countertop Ideas Tile
- Best Kitchen Countertops For Rentals
- Do It Yourself Kitchen Cabinets And Countertops
- Natural Wood Kitchen Countertops
- Kitchen Remodel Granite Countertops
- Kitchen Countertop Edges Options
- Resurface Formica Kitchen Countertops
- Sparkle Kitchen Countertops
- How To Install New Kitchen Countertops
- Discount Kitchen Cabinets And Countertops