Changing your kitchen faucet can be a relatively straightforward DIY project that can instantly update the look and functionality of your kitchen. Before you begin, it’s essential to gather the necessary tools and materials, including a new faucet, adjustable wrench, basin wrench, plumber’s tape, and towels or rags to catch any water.
Start by turning off the water supply to the kitchen faucet. Locate the shut-off valves under the sink and turn them clockwise to shut off the water flow. Once the water is turned off, turn on the faucet to release any remaining water in the lines and relieve pressure.
Next, disconnect the supply lines that connect the faucet to the hot and cold water supply. Use an adjustable wrench to loosen the nuts securing the supply lines to the shut-off valves. Be sure to place a towel or rag under the connections to catch any water that may drip out.
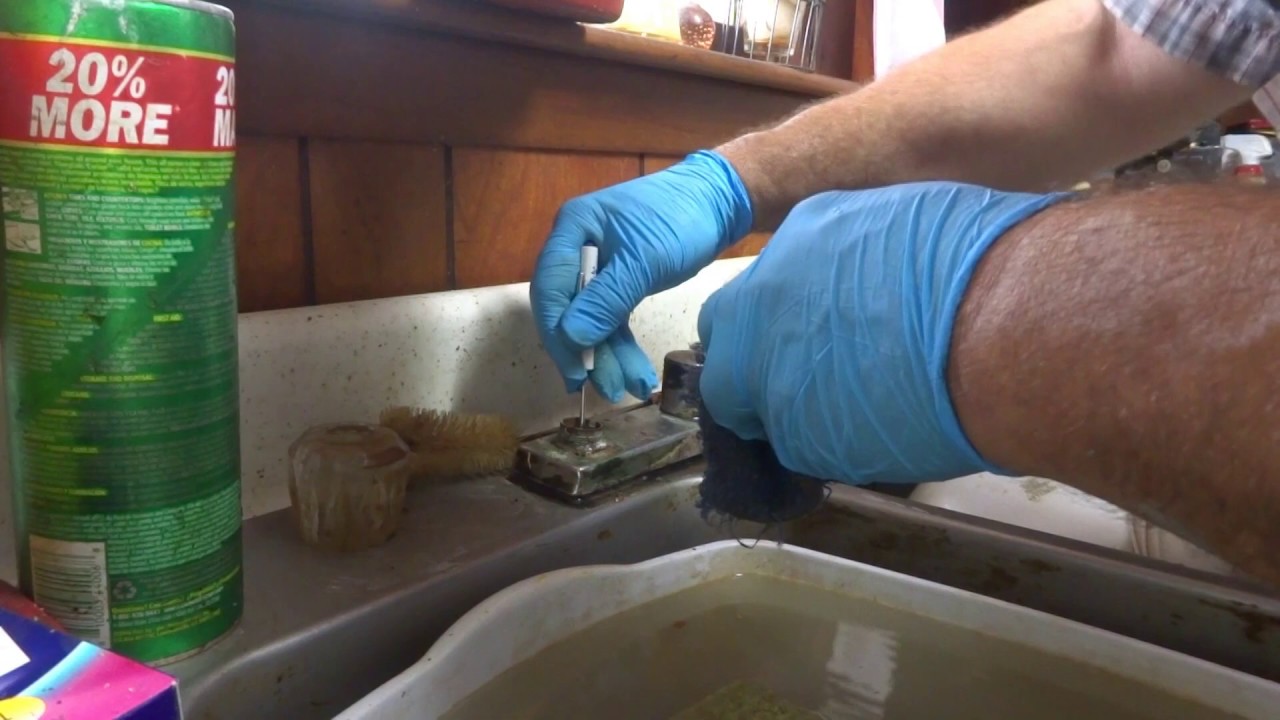
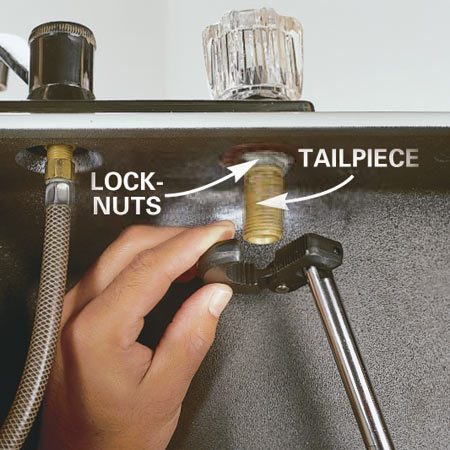
Once the supply lines are disconnected, remove the old faucet by loosening the nuts and securing it to the sink or countertop. Use a basin wrench to reach tight spaces if necessary. Once the nuts are loosened, lift the old faucet out of the sink and set it aside.
Before installing the new faucet, clean the area around the sink to remove any debris or buildup. Place a bead of the plumber’s putty or silicone sealant around the base of the new faucet to create a watertight seal when it is installed.
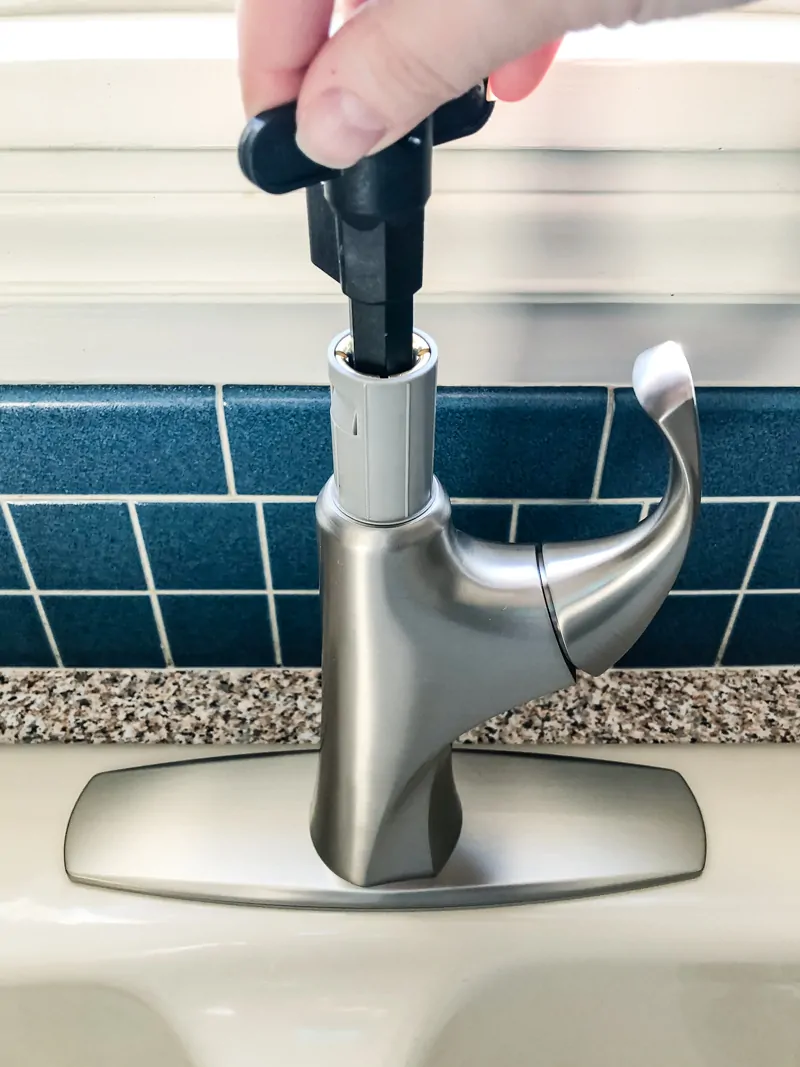
Position the new faucet in place on the sink or countertop, making sure it is aligned properly and sits flush. Secure the faucet in place by tightening the nuts underneath with an adjustable wrench. Be careful not to over-tighten the nuts, as this could damage the faucet or sink.

Once the faucet is securely in place, reconnect the supply lines to the corresponding shut-off valves. Use an adjustable wrench to tighten the nuts, ensuring a snug fit. Double-check all connections to make sure there are no leaks.
Before turning the water supply back on, wrap the threads of the supply line connections with the plumber’s tape to create a tight seal and prevent leaks. Once the tape is applied, reconnect the supply lines to the shut-off valves and tighten the nuts with an adjustable wrench.
With the supply lines reconnected and the faucet securely in place, turn the water supply back on by turning the shut-off valves counterclockwise. Slowly turn on the faucet to check for any leaks around the connections. If you notice any leaks, tighten the connections further until they are secure.
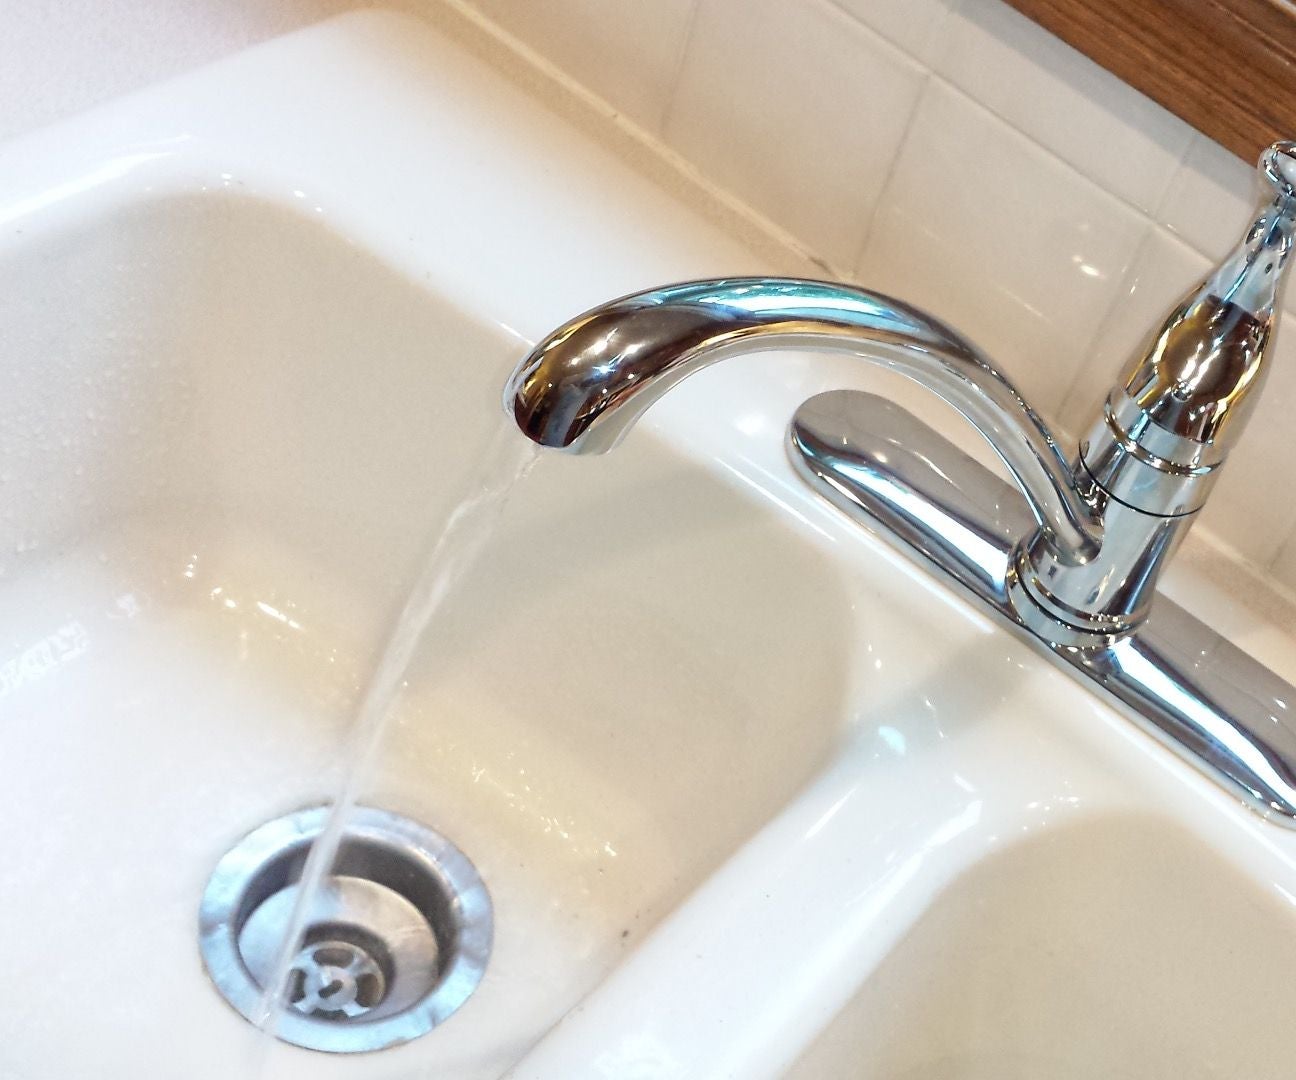
Once you’ve confirmed that there are no leaks, test the functionality of the new faucet by turning it on and off and adjusting the temperature of the water. Make any necessary adjustments to the handle or sprayer to ensure smooth operation.
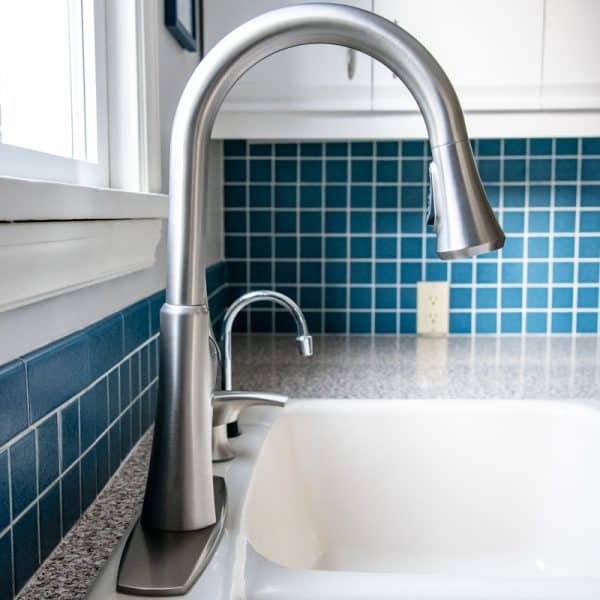
Finally, clean up any remaining debris or water around the sink area and dispose of the old faucet properly. Enjoy your newly installed kitchen faucet, and marvel at how such a simple upgrade can make a big difference in the look and functionality of your kitchen.
How to Change a Kitchen Faucet : 27 Steps (with Pictures) – Instructables
kitchen faucet needs replacing
How to Choose a Kitchen Faucet – YouTube

how to replace a kitchen faucet – Our Fifth House

Easy Ways to Add Color to Your Kitchen Kitchen Ideas & Design with Cabinets, Islands

maxresdefault.jpg

Moen 1225 Replacement
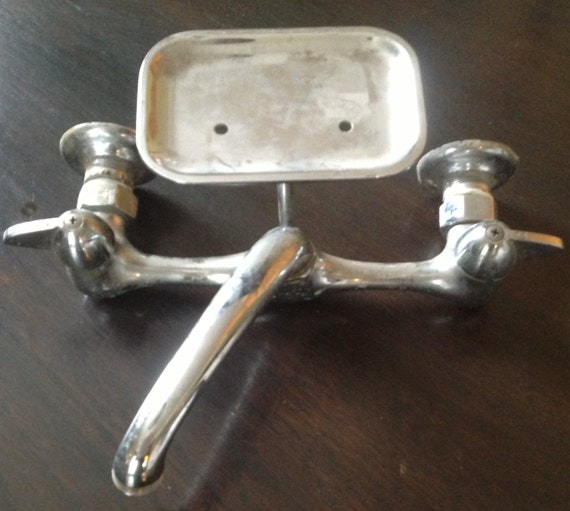
Vintage wall mount kitchen sink faucet 1940s
How to Replace a Kitchen Faucet The Family Handyman
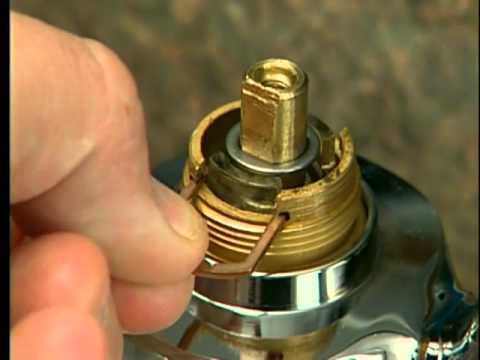
Replace a Moen Shower Cartridge – Fix Leaky Tub Faucet

Related Posts:
- Chrome Kitchen Sink Faucet
- Change Kitchen Faucet Hose
- Grohe Kitchen Sink Faucet
- My Kitchen Faucet Is Leaking
- Farm Style Kitchen Faucets
- Moen Matte Black Kitchen Faucet
- Kitchen Faucets Antique Brass Finish
- How To Repair A Leaking Kitchen Faucet
- How Much To Install New Kitchen Faucet
- Grohe Classic Kitchen Faucet