Let’s dive into the realm of DIY plumbing as we explore the process of removing a cartridge from a kitchen faucet. The cartridge is a crucial component in the faucet, responsible for controlling the flow and temperature of the water. Over time, it may become necessary to replace a worn-out or malfunctioning cartridge, and understanding the removal process is key.
Before you embark on this endeavor, it’s essential to turn off the water supply to the faucet. Locate the shut-off valves beneath the sink and turn them clockwise to cut off the water. This step is crucial to prevent any water leakage or accidents during the cartridge removal process.
Once the water is turned off, you’ll need to ascertain the type of faucet you have. Cartridge faucets come in different designs, and the removal method may vary. Some cartridges are secured with a retaining nut, while others may have a retaining clip or a threaded collar. Consult the manufacturer’s instructions or documentation for your specific faucet model.
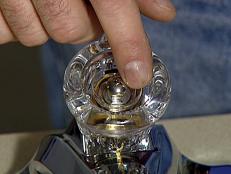
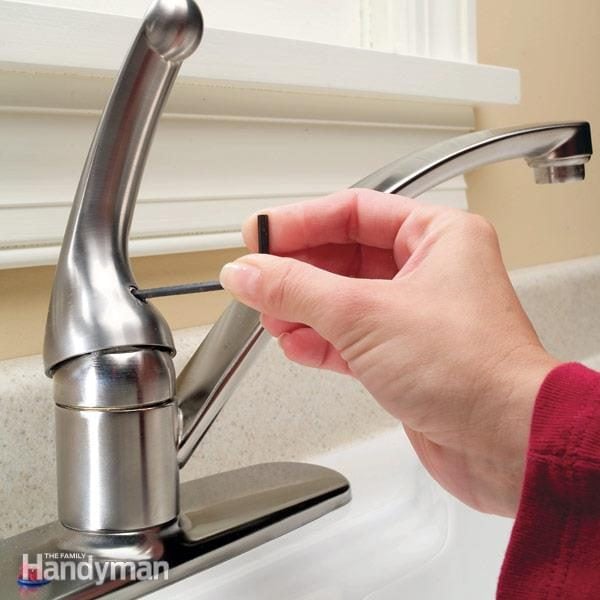
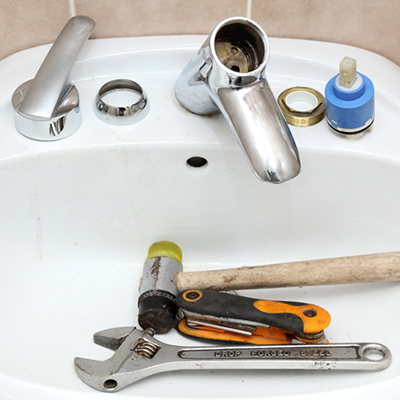
To access the cartridge, you often need to remove the faucet handle. This typically involves locating a set screw on the handle and using an Allen wrench or screwdriver to loosen and remove it. Once the handle is off, you may find a decorative cap or additional screws that need to be removed to expose the cartridge.
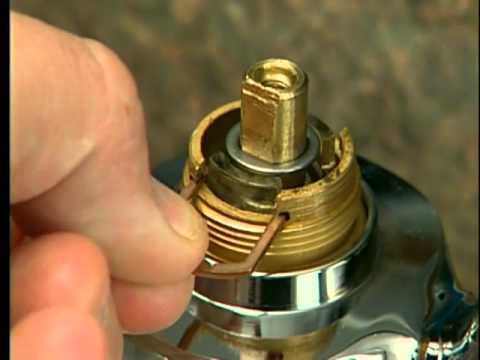
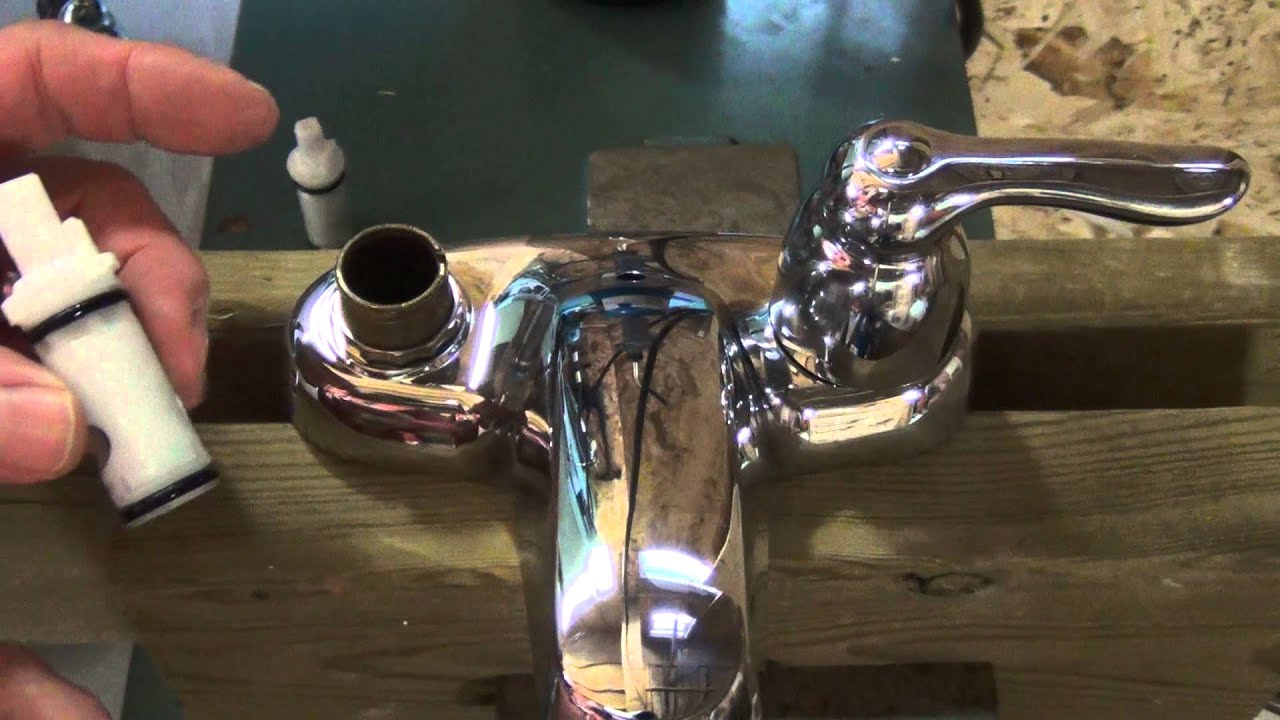
Now comes the core of the process – removing the cartridge itself. If your faucet has a retaining nut, use an adjustable wrench to loosen and remove it. For faucets with a threaded collar, twist it counterclockwise to release the cartridge. In the case of a retaining clip, use pliers to carefully disengage it from the faucet body.
As you remove the cartridge, pay attention to its orientation. Some cartridges have a specific alignment, and improper reinstallation may lead to issues with water flow and temperature control. Take note of how the cartridge sits in the faucet body before fully extracting it.
In situations where the cartridge seems stuck or resistant to removal, applying a penetrating oil or a commercially available faucet lubricant can be beneficial. Allow the lubricant to penetrate for a sufficient amount of time before attempting to remove the cartridge again. Patience is key to avoid damaging the faucet components.
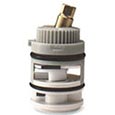
Inspect the removed cartridge for any signs of wear, damage, or debris. Sediment or mineral buildup can affect the performance of the faucet, and cleaning the cartridge thoroughly or replacing it may be necessary. If you’re replacing the cartridge, ensure that the new one is compatible with your faucet model.
Before installing the new cartridge, clean the inside of the faucet body to remove any debris or residue. This ensures a smooth and secure fit for the replacement cartridge. It’s also a good practice to apply a silicone-based plumber’s grease to the O-rings of the new cartridge to facilitate easy installation and prevent leaks.
Carefully insert the new cartridge into the faucet body, aligning it in the same orientation as the one you removed. If your faucet has a retaining nut, tighten it with an adjustable wrench. For threaded collars, twist them clockwise until snug. If there’s a retaining clip, secure it back into place using pliers.
Reassemble the faucet by putting back the decorative cap, screws, and handle. Ensure everything is tightened securely, but be cautious not to overtighten, as this can lead to damage. Once the components are back in place, turn on the water supply beneath the sink and check for any leaks.
Test the functionality of the faucet by turning it on and adjusting both the hot and cold handles. Check for smooth operation and proper water flow. If everything seems in order, you’ve successfully removed and replaced the cartridge in your kitchen faucet, restoring it to optimal performance.
Removing a cartridge from a kitchen faucet is a task that, with the right tools and precautions, can be tackled by the average DIY enthusiast. Understanding the specific design of your faucet, turning off the water supply, and taking the time to carefully follow the steps will contribute to a successful cartridge removal and replacement process. Regular maintenance and prompt replacement of worn-out cartridges ensure the longevity and efficiency of your kitchen faucet.
How To Replace Delta Style Stems and Seats – Cartridge Faucet Repair – YouTube
How To Replace A Leaky Moen Faucet – YouTube

How to repair a set of leaky 2 handle Moen washerless faucets. Easiest faucet repair! Plumbing
How to change a Faucet Cartridge – YouTube

Kitchen Remodeling Products
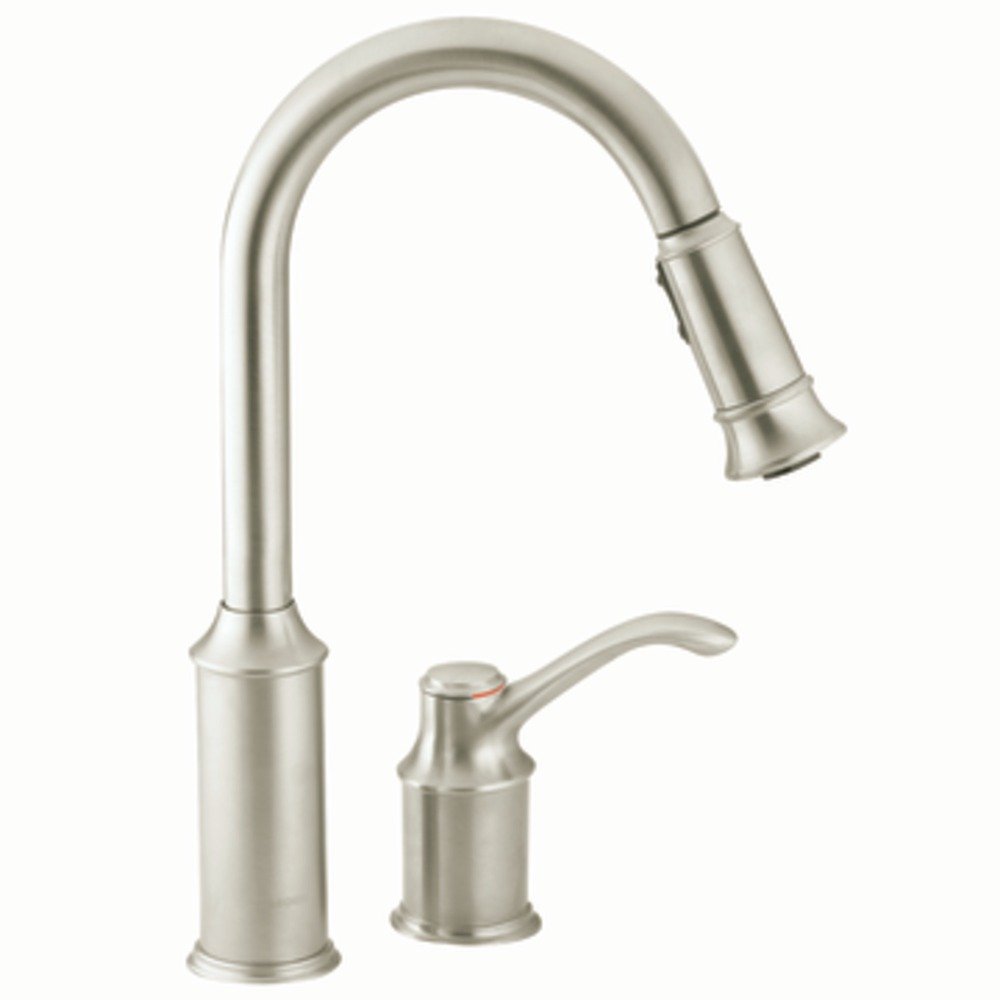
Moen 7590CSL Aberdeen One-Handle High-Arc Pulldown Kitchen Faucet Featuring Reflex, Classic
Can’t Remove This Faucet Cartridge – Plumbing – DIY Home Improvement DIYChatroom
How to Replace a Faucet Cartridge – YouTube

Replace a Moen Shower Cartridge – Fix Leaky Tub Faucet – YouTube

How To Replace A Single Handle Kitchen Faucet Cartridge
Related Posts:
- Highest GPM Kitchen Faucet
- Kitchen Faucet With Filter And Sprayer
- High Arc Kitchen Faucet With Spray
- Old Style Kitchen Sink Faucets
- Moen Kitchen Faucet Installation Guide
- Brizo Kitchen Faucet Parts
- Pegasus Kitchen Faucet Repair
- Stainless Steel Kitchen Faucet With Soap Dispenser
- Splashless Kitchen Faucets
- How To Repair A Moen Single Handle Kitchen Faucet