Comprehensive Guide to Installing Your Kitchen Faucet
Installing a new kitchen faucet can elevate the functionality and aesthetics of your kitchen space, and Moen faucets are renowned for their quality, durability, and innovative design. Whether you’re upgrading an existing faucet or embarking on a kitchen renovation project, this comprehensive guide will walk you through the step-by-step process of installing a Moen kitchen faucet with ease and confidence.
Pre-Installation Preparation
Before you begin the installation process, it’s essential to gather the necessary tools and materials and prepare your workspace accordingly. Start by turning off the water supply to the kitchen faucet to prevent any leaks or water damage during installation. Next, clear out the area under the sink to provide ample space for maneuvering and working comfortably.
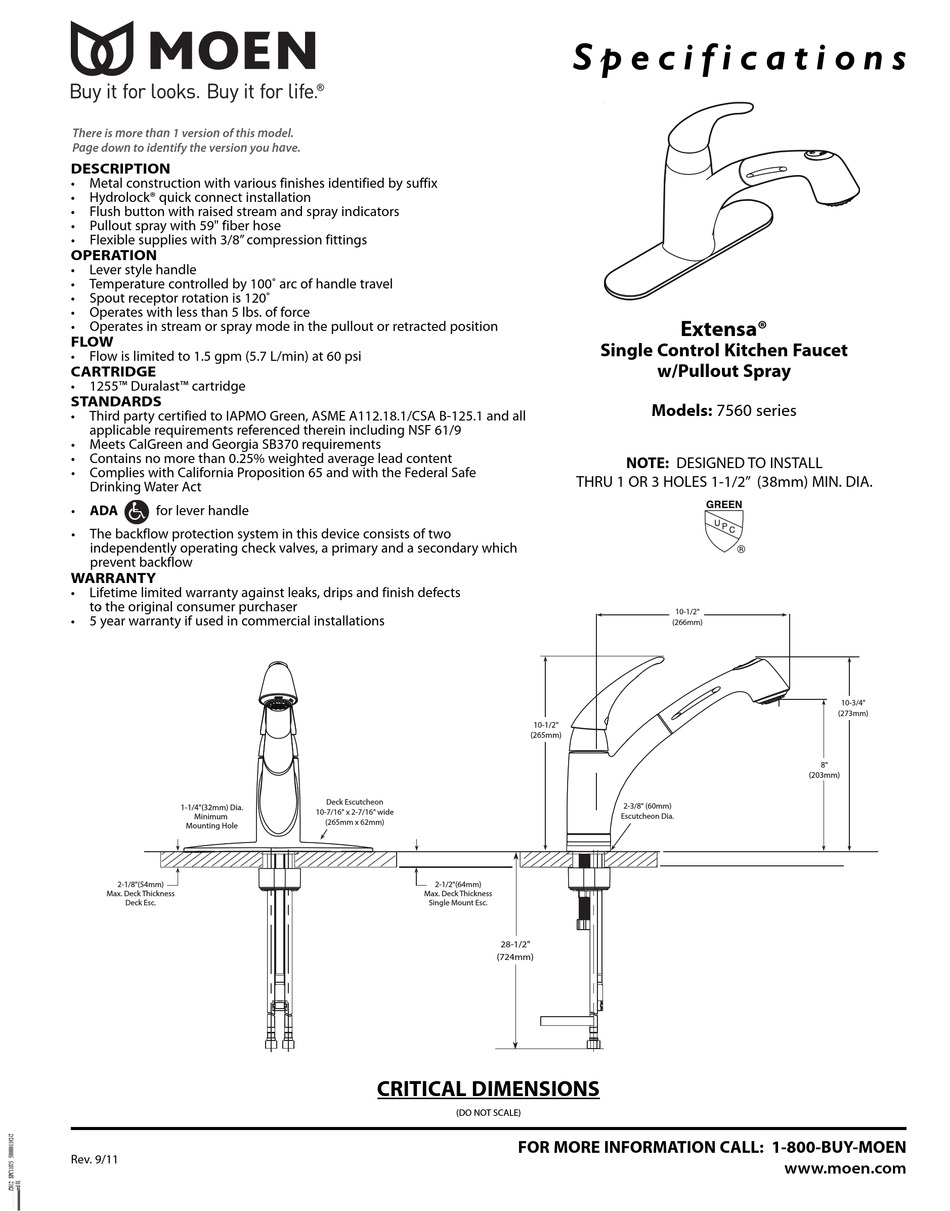
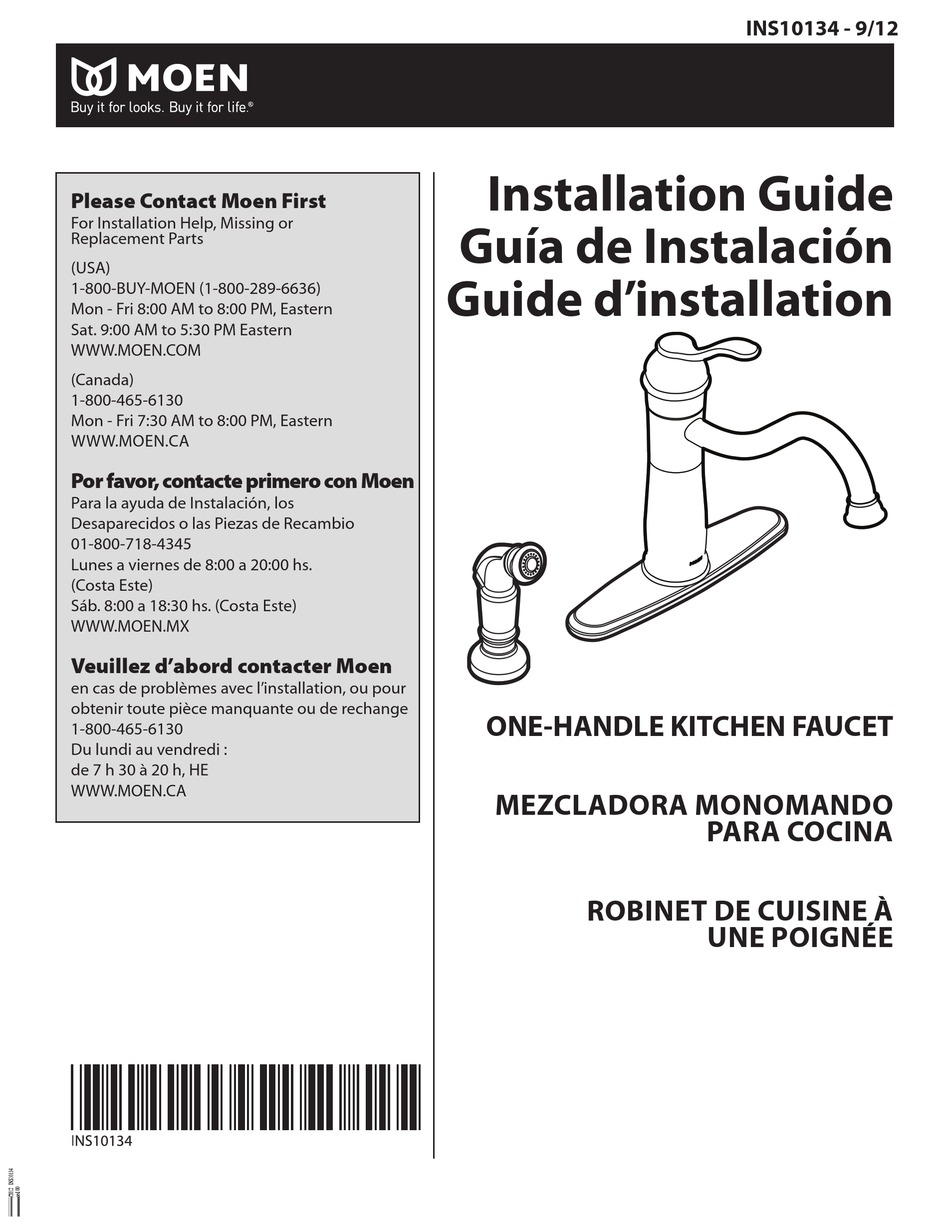
Review the manufacturer’s instructions provided with your Moen faucet to familiarize yourself with the specific requirements and recommended installation steps. Take note of any additional components or accessories that may be included with the faucet, such as mounting hardware, supply lines, and escutcheon plates.
Inspect the existing plumbing connections and ensure they are in good condition and compatible with your new Moen faucet. If necessary, make any adjustments or repairs before proceeding with the installation to avoid potential issues later on.
Removing the Old Faucet
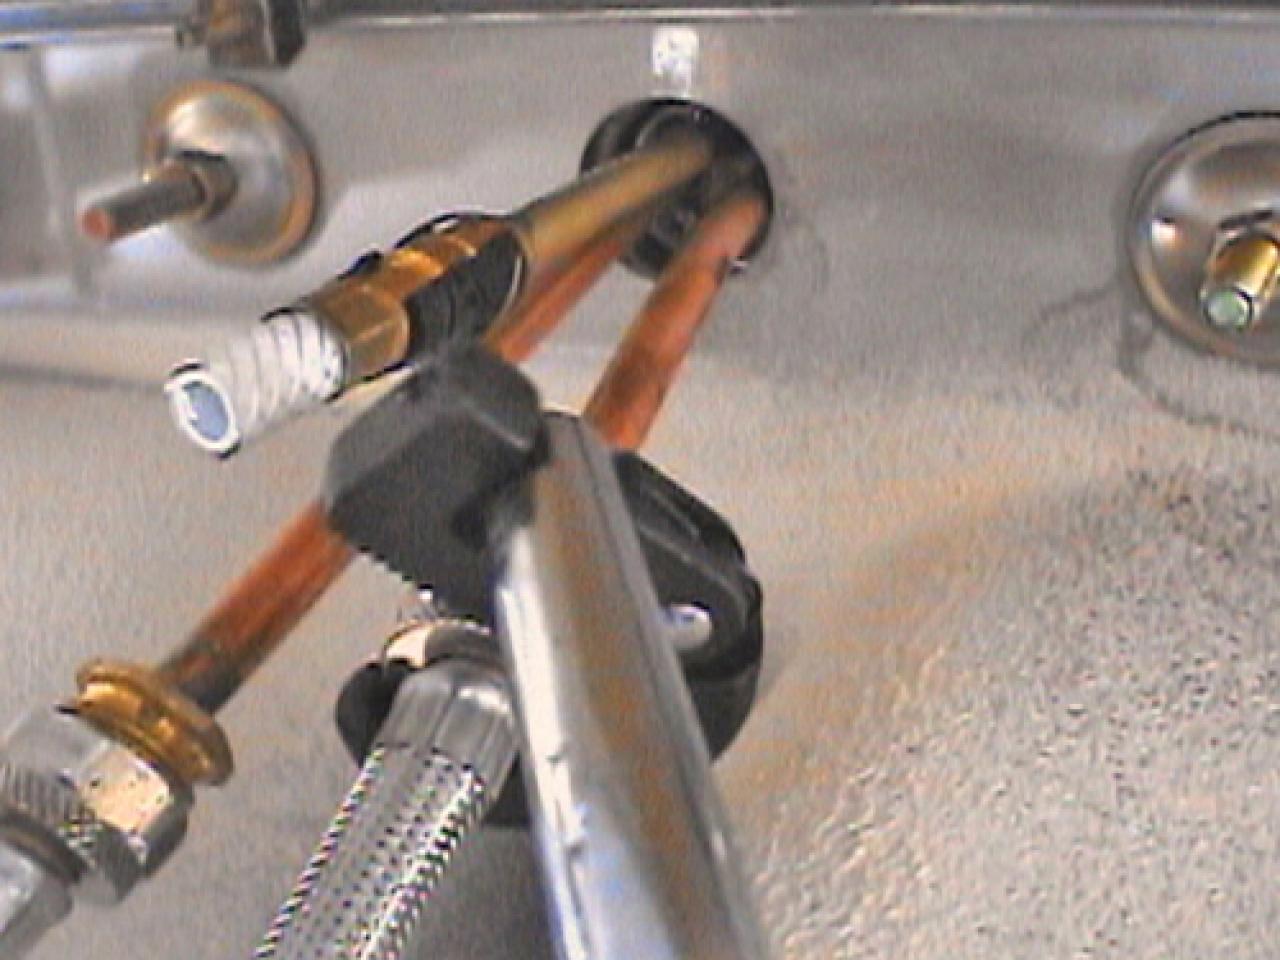
If you’re replacing an existing faucet, start by disconnecting the supply lines and removing the mounting hardware securing the faucet to the sink or countertop. Use a wrench or pliers to loosen and remove any nuts or bolts holding the faucet in place, then lift the old faucet out of the sink.
Clean the area around the sink thoroughly to remove any debris, grime, or residue left behind by the old faucet. This will ensure a clean and smooth surface for installing your new Moen faucet and help prevent leaks or damage to the mounting surface.
Inspect the mounting hole and ensure it is clean, dry, and free of any obstructions or damage. Measure the diameter of the hole to ensure it matches the specifications of your new Moen faucet, and make any necessary adjustments or modifications as needed.

Installing the New Moen Faucet
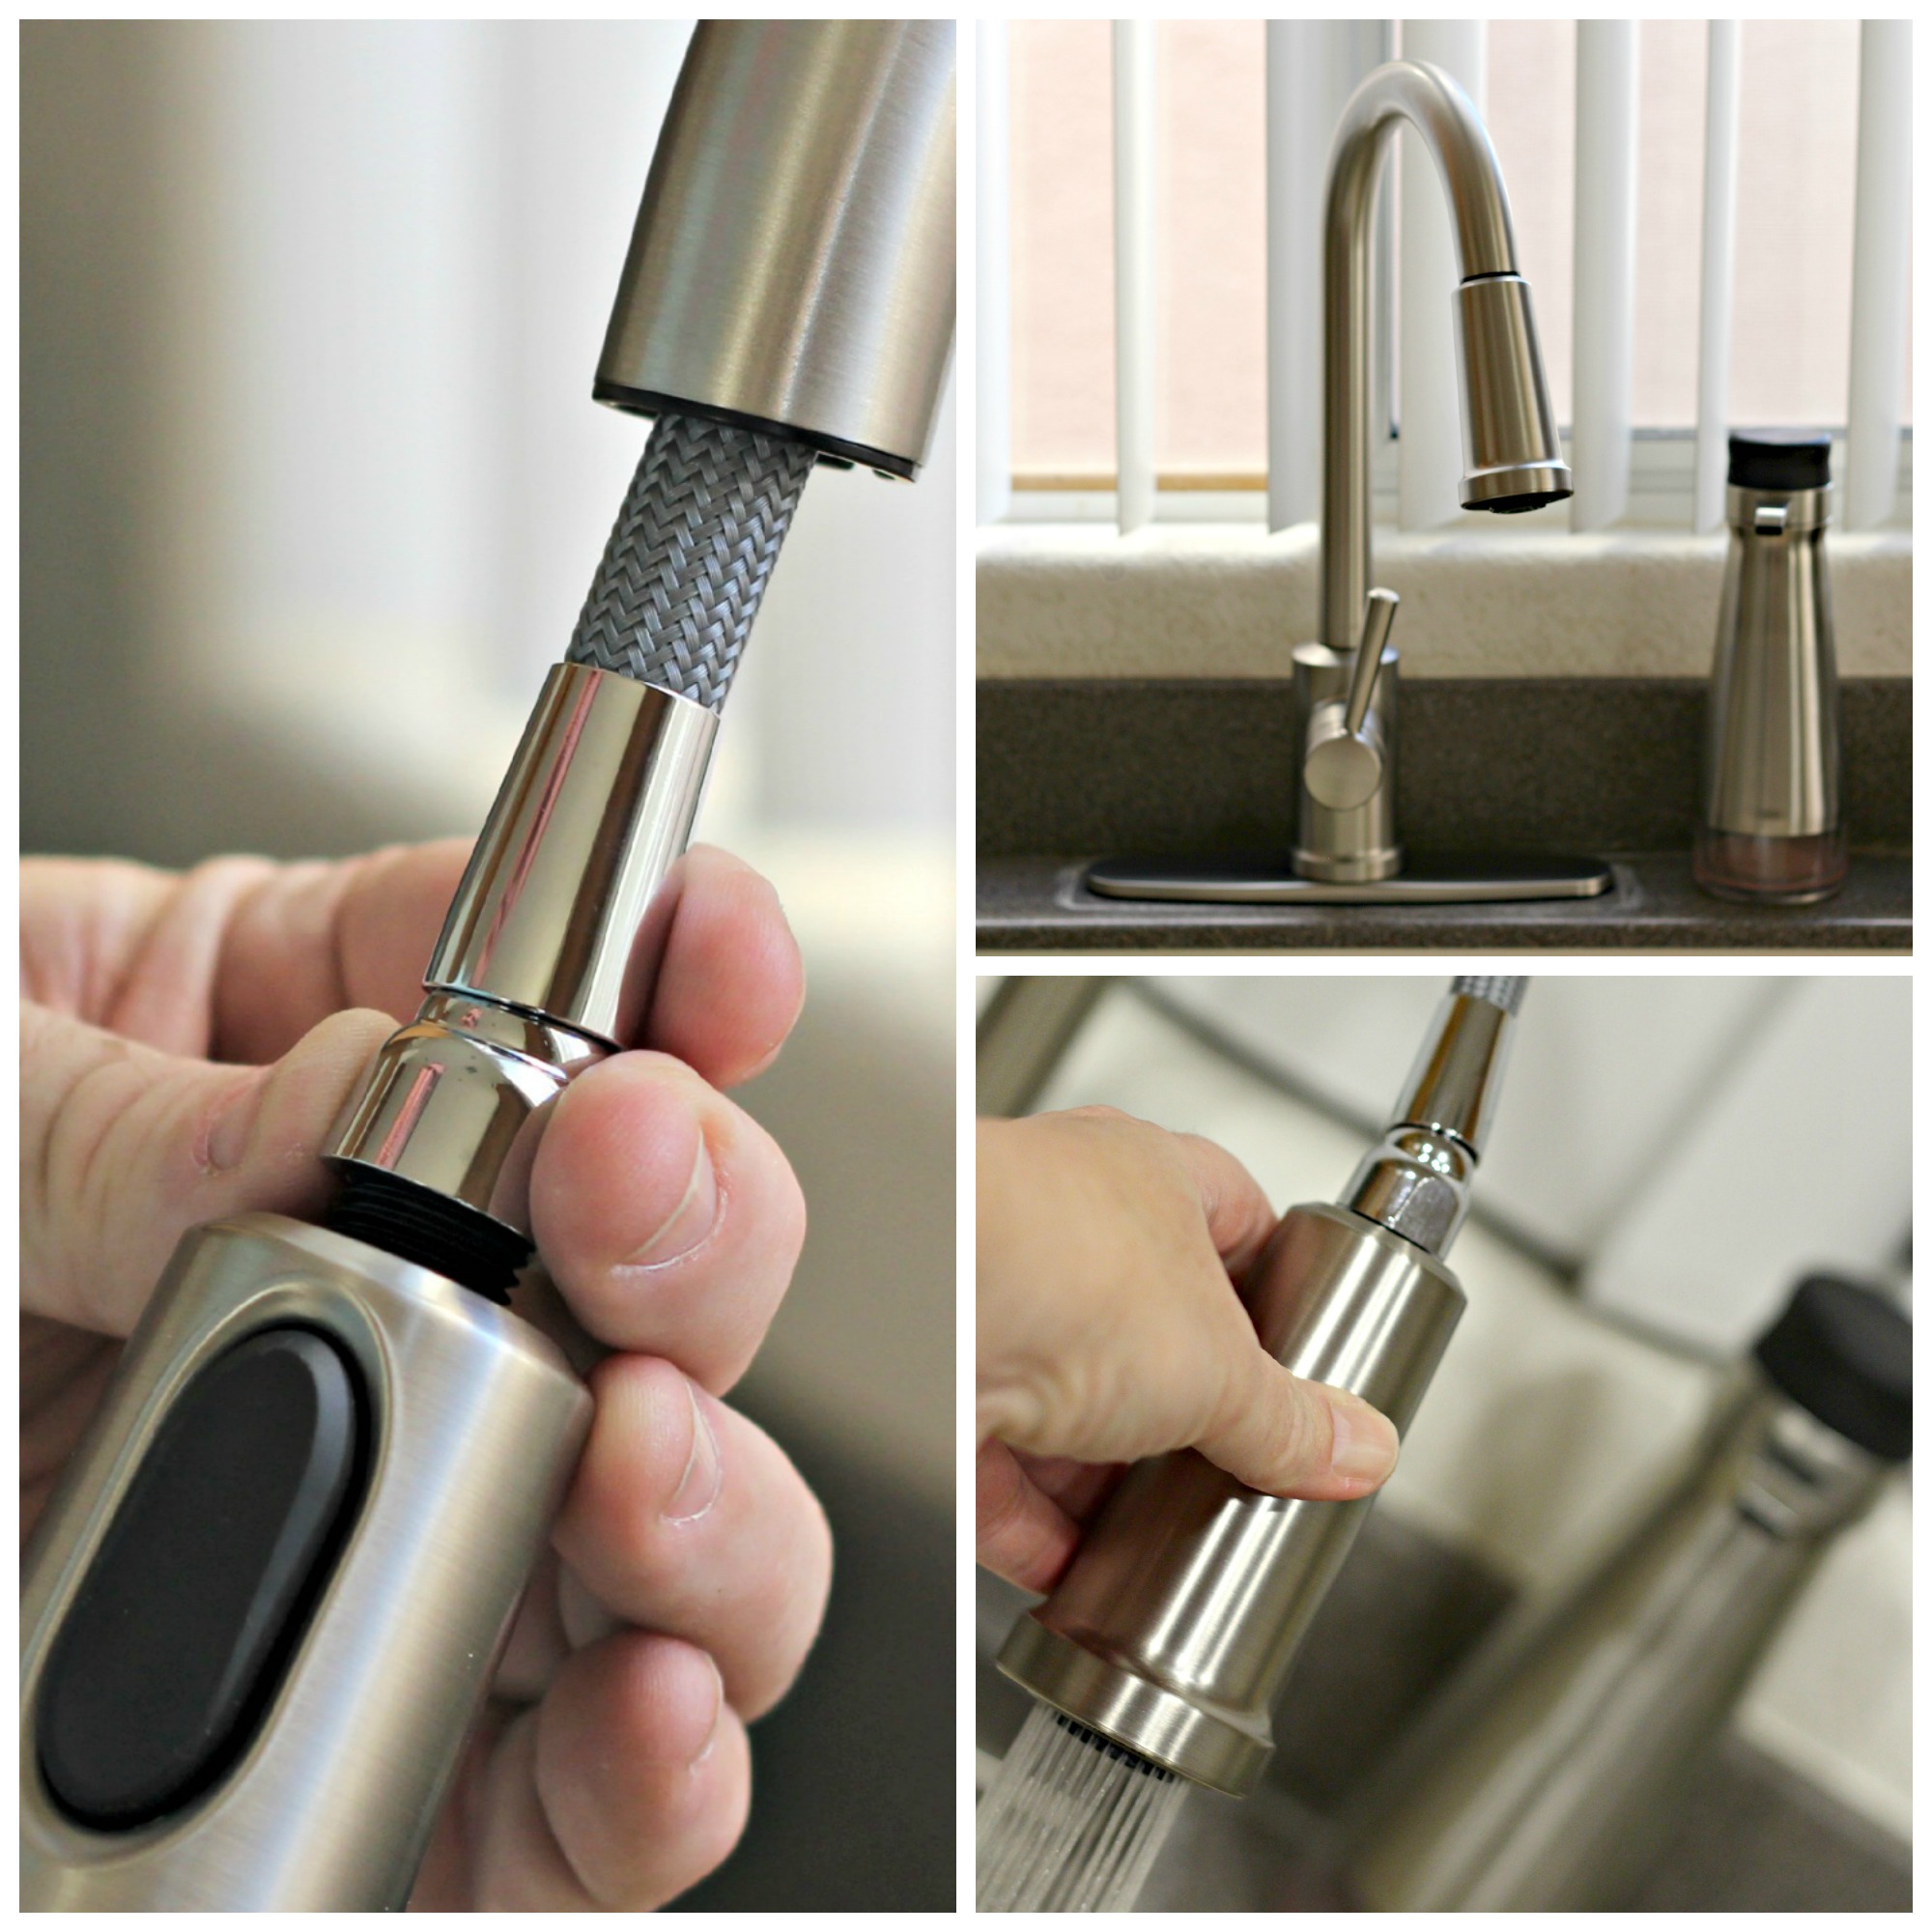
Begin by assembling the components of your Moen faucet according to the manufacturer’s instructions. This typically involves attaching the handles, spout, and any additional accessories such as side sprayers or soap dispensers.
Position the faucet assembly into the mounting hole on the sink or countertop, ensuring that it is aligned properly and seated securely. Use the provided mounting hardware to secure the faucet in place, tightening the nuts or bolts until the faucet is stable and level.
Connect the supply lines to the corresponding hot and cold water valves under the sink, ensuring that the connections are tight and secure to prevent leaks. Use adjustable wrenches or pliers to tighten the connections, taking care not to overtighten and damage the fittings.
Once the faucet is securely installed, turn on the water supply and check for any leaks or drips. Run both hot and cold water through the faucet to flush out any debris or air bubbles and ensure smooth, consistent flow.

Testing and Troubleshooting
After completing the installation, thoroughly test the functionality of your new Moen faucet to ensure it operates smoothly and efficiently. Check for leaks or drips at the connections and around the base of the faucet, tightening any fittings as needed to address any issues.
Operate the handles and sprayer (if applicable) to verify that they function properly and that water flows consistently and evenly. Adjust any settings or controls as necessary to achieve the desired water temperature and flow rate.
If you encounter any problems or issues during the installation process, refer to the manufacturer’s instructions or contact Moen’s customer support for assistance. They can provide guidance and troubleshooting tips to help resolve any issues and ensure a successful installation.
Common Mistakes to Avoid
Skipping Pre-Installation Preparation: Failing to gather the necessary tools and materials or neglecting to turn off the water supply before installation can lead to delays, accidents, or damage to your plumbing system.
Ignoring Manufacturer Instructions: Disregarding the installation instructions provided by Moen can result in improper installation, leaks, or damage to the faucet and surrounding components. Always follow the manufacturer’s guidelines for best results.
Overlooking Plumbing Compatibility: Installing a Moen faucet without ensuring compatibility with your existing plumbing connections can lead to leaks, improper fit, or the need for additional modifications or repairs.
Overtightening Connections: Tightening supply line connections or mounting hardware too much can damage the fittings or cause leaks. Use adjustable wrenches or pliers to tighten connections securely without applying excessive force.
Do I need any special tools or skills to install a Moen kitchen faucet?
Basic plumbing tools such as wrenches, pliers, and screwdrivers are typically required for faucet installation. While some DIY experience is helpful, Moen faucets are designed for easy installation and come with detailed instructions to guide you through the process.
Can I install a Moen faucet on any type of sink or countertop?
Moen faucets are compatible with most standard sinks and countertops, including stainless steel, granite, and porcelain. However, it’s important to verify compatibility with your specific sink and ensure that the mounting hole dimensions match the faucet specifications.
How long does it take to install a Moen kitchen faucet?
The installation time for a Moen faucet can vary depending on factors such as your level of experience, the complexity of the installation, and any unforeseen challenges encountered along the way. On average, installation can typically be completed within one to two hours.
What should I do if I encounter leaks or other problems after installing my Moen faucet?
If you experience leaks, drips, or other issues after installing your Moen faucet, carefully check the connections and fittings for any signs of looseness or damage. Refer to the manufacturer’s instructions for troubleshooting tips, or contact Moen’s customer support for assistance.
Does Moen offer warranties or support for their products?
Yes, Moen provides limited lifetime warranties on most of their faucets, covering defects in materials and workmanship under normal use and service. Additionally, Moen’s customer support team is available to assist with installation questions, troubleshooting, and warranty claims.

Moen 7068ORB Parts List and Diagram : eReplacementParts.com
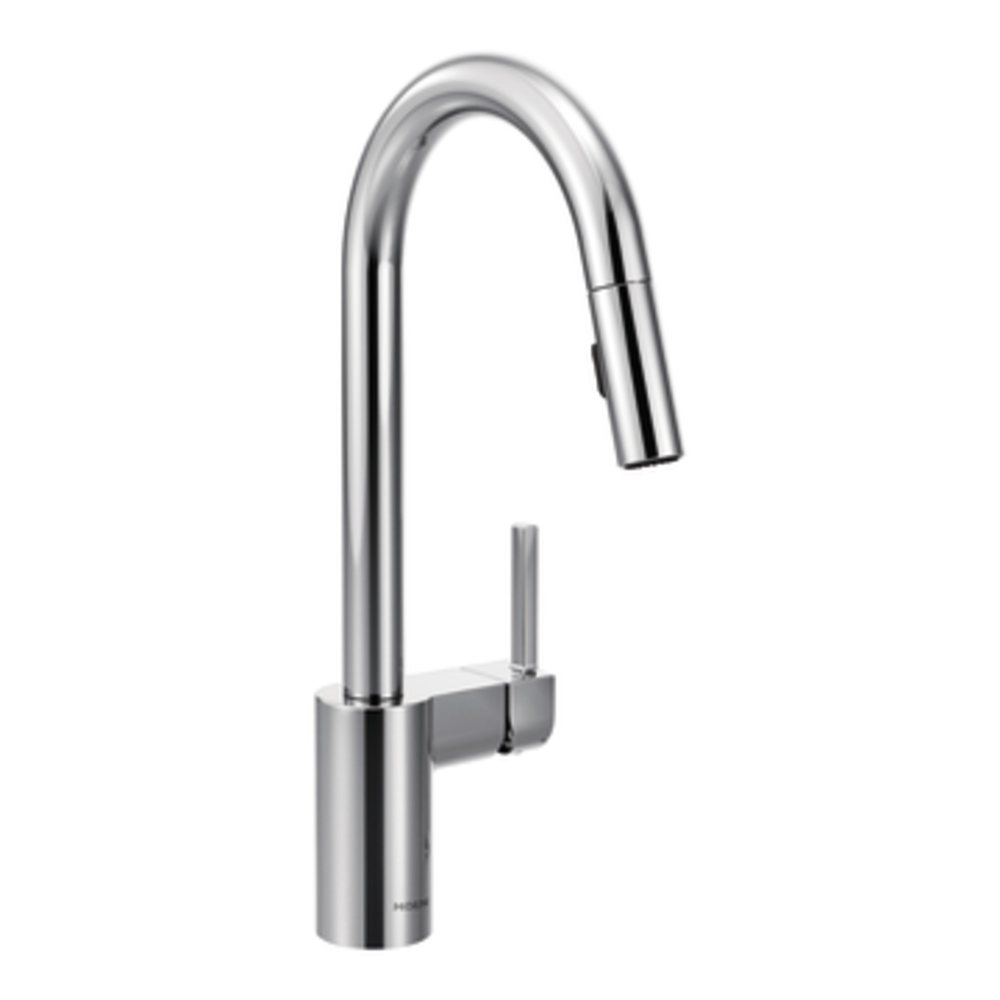
Moen 7565 Align One-Handle Modern Kitchen Pulldown Faucet with Reflex and Power Clean Spray
How to Remove and Replace a Kitchen Faucet how-tos DIY
Related Posts:
- Chrome Kitchen Sink Faucet
- Change Kitchen Faucet Hose
- Grohe Kitchen Sink Faucet
- My Kitchen Faucet Is Leaking
- Farm Style Kitchen Faucets
- Moen Matte Black Kitchen Faucet
- Kitchen Faucets Antique Brass Finish
- How To Repair A Leaking Kitchen Faucet
- How Much To Install New Kitchen Faucet
- Grohe Classic Kitchen Faucet