A loose kitchen faucet handle can be more than just an annoyance—it can lead to inefficient water use, potential leaks, and even damage to your faucet over time. If you have a Moen kitchen faucet and find that the handle is loose, it’s crucial to address the problem promptly. This guide will walk you through the steps to tighten a loose Moen kitchen faucet handle, ensuring your faucet operates smoothly and efficiently.
Identifying the Problem
Before you can tighten your loose Moen faucet handle, it’s essential to understand what’s causing the problem. Generally, a loose handle can be attributed to one of three main issues: a loose set screw, a worn-out handle adapter, or a problem with the cartridge.
The most common cause is a loose set screw. The set screw holds the handle in place and can become loose over time due to regular use. Identifying and tightening this screw is often a straightforward fix that can restore your handle’s functionality.
Another potential issue is a worn-out handle adapter. This part connects the handle to the cartridge and can wear out or break, leading to a loose handle. If tightening the set screw doesn’t resolve the problem, the handle adapter may need to be replaced.
Lastly, problems with the cartridge can also cause a loose handle. The cartridge controls water flow and temperature, and if it becomes damaged or worn, it can affect the handle’s stability. Replacing the cartridge might be necessary if other fixes don’t work.

Tools and Materials Needed
Before starting the repair, gather the necessary tools and materials. Having everything on hand will make the process smoother and quicker. Here’s a list of what you’ll need:
- Allen Wrench: Moen faucet handles typically use an Allen wrench (hex key) to secure the set screw. The size of the wrench may vary, but it is usually 1/8 inch or 3/32 inch.
- Screwdriver: Depending on your faucet model, you might need a flathead or Phillips screwdriver.
- Replacement Parts: If the set screw or handle adapter is damaged, you may need to purchase replacements. Check your faucet’s model number to ensure you get the correct parts.
- Plumber’s Grease: This can help lubricate moving parts and make reassembly easier.
- Towel: To protect the sink and catch any small parts that might drop during the repair process.
Having these tools ready will ensure that you can address the issue efficiently, without the need for multiple trips to the hardware store.

Step-by-Step Guide to Tightening the Handle
Turn Off the Water Supply: Before you begin, it’s crucial to turn off the water supply to prevent any accidental leaks. Locate the shutoff valves under the sink and turn them clockwise to close them. Turn on the faucet to drain any remaining water.
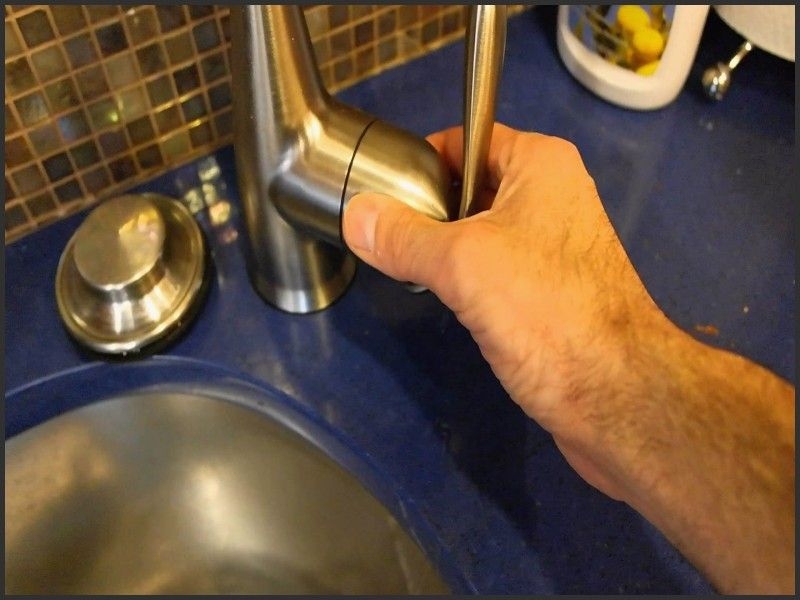
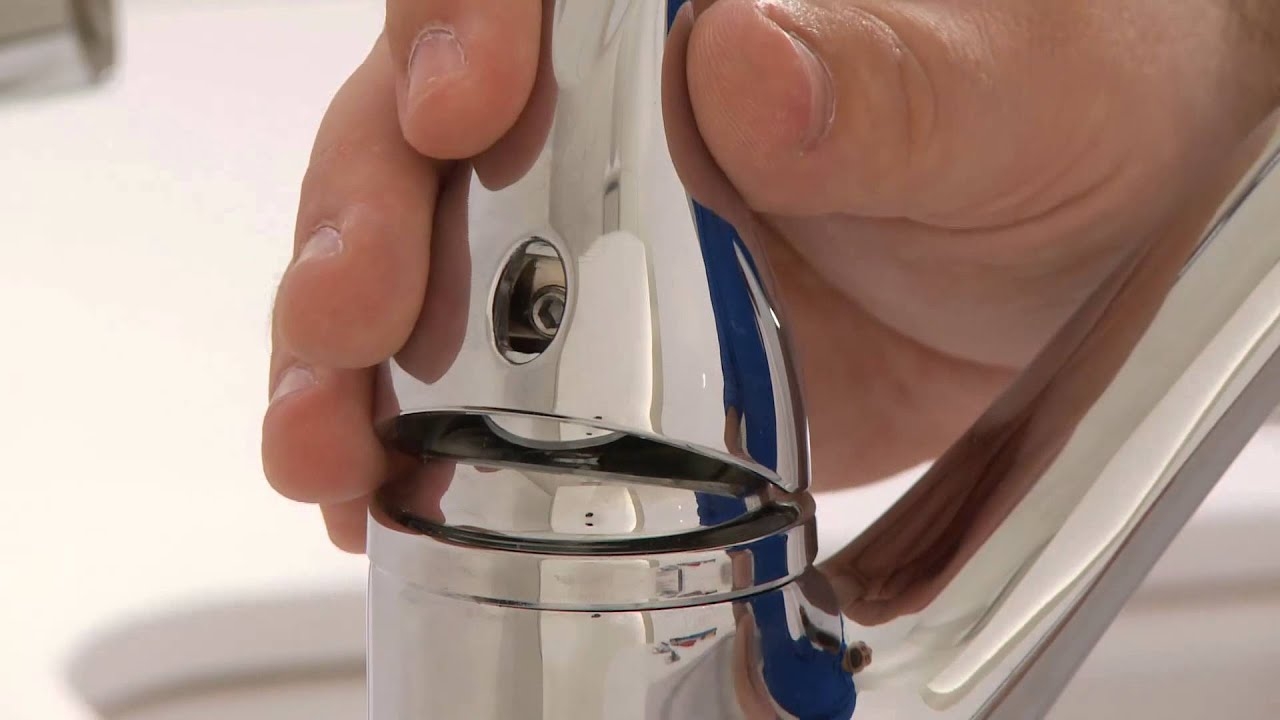
Locate the Set Screw: The set screw is usually located at the base of the handle. Depending on your faucet model, you may need to use a flathead screwdriver to remove a decorative cap that covers the set screw. Once the cap is off, you should see the set screw.
Tighten the Set Screw: Use the appropriate size Allen wrench to tighten the set screw. Turn the wrench clockwise until the screw is snug but be careful not to overtighten, as this can strip the screw or damage the handle.
Test the Handle: After tightening the set screw, test the handle to see if it is secure. If it still feels loose, you may need to check the handle adapter or the cartridge. If the handle is secure, replace any decorative caps and turn the water supply back on.

Replacing the Handle Adapter or Cartridge
If tightening the set screw doesn’t fix the loose handle, you may need to replace the handle adapter or the cartridge. Here’s how to do it:
Remove the Handle: Follow the steps to turn off the water supply and locate the set screw. Once the set screw is removed, you should be able to lift the handle off the faucet.
Inspect the Handle Adapter: The handle adapter connects the handle to the cartridge. Check for any signs of wear or damage. If the adapter looks worn or broken, it will need to be replaced. Remove the adapter by unscrewing it from the cartridge.
Replace the Handle Adapter: Install the new handle adapter by screwing it onto the cartridge. Make sure it is securely attached before reattaching the handle.
Replace the Cartridge: If the handle adapter is not the issue, the problem may lie with the cartridge. Remove the cartridge by unscrewing it from the faucet body. Install a new cartridge by following the manufacturer’s instructions. Reattach the handle and secure it with the set screw.
Common Mistakes to Avoid
Overtightening the Set Screw: One common mistake is overtightening the set screw. This can strip the screw or damage the handle, making the problem worse. Tighten the screw until it is snug, but do not force it.
Using the Wrong Tools: Using incorrect tools can damage your faucet. Ensure you have the right size Allen wrench and screwdriver for your Moen faucet model.
Neglecting to Turn Off the Water Supply: Always turn off the water supply before starting any repairs. Failing to do so can result in water damage or injury.
Not Checking for Replacement Parts Compatibility: When replacing parts like the handle adapter or cartridge, make sure they are compatible with your specific Moen faucet model. Using incorrect parts can lead to further issues.

Why is my Moen faucet handle still loose after tightening the set screw?
If your Moen faucet handle remains loose after tightening the set screw, it’s possible that the handle adapter or the cartridge is worn out. Inspect these parts for signs of wear and replace them if necessary. Sometimes, the internal components can become damaged, requiring a more thorough inspection and repair.
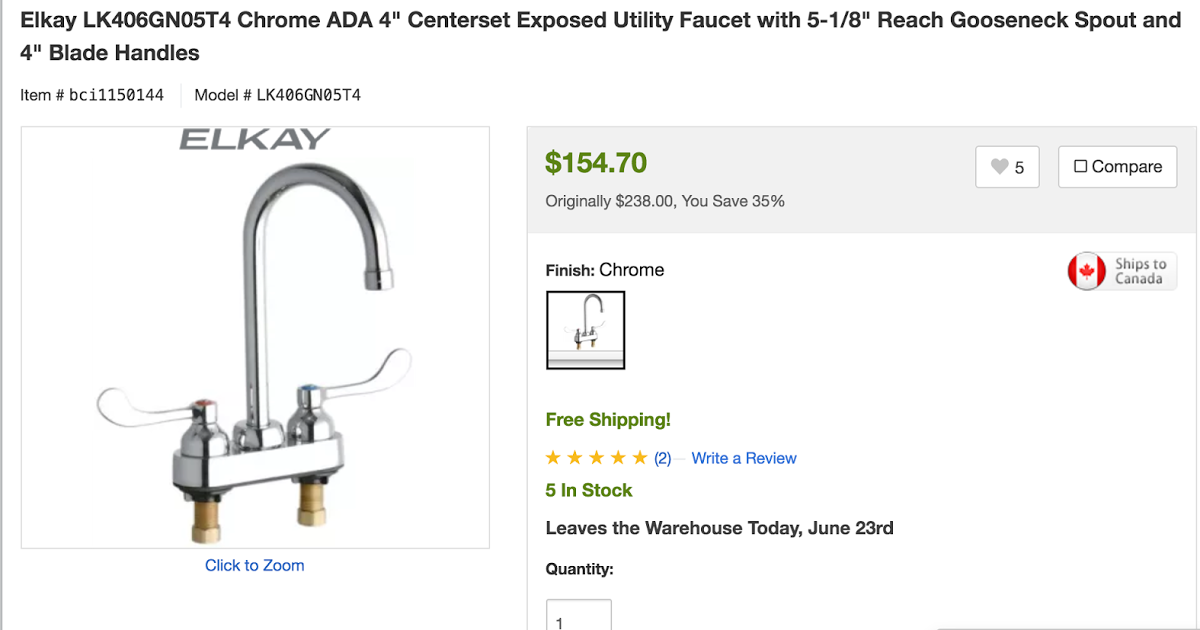
How do I find the correct replacement parts for my Moen faucet?
To find the correct replacement parts for your Moen faucet, locate the model number, usually found on the faucet itself or in the installation manual. You can then search for parts online or contact Moen customer service for assistance. Ensuring you have the right parts is crucial for a successful repair.
Can I fix a loose Moen faucet handle without turning off the water supply?
It’s highly recommended to turn off the water supply before attempting any repairs on your faucet. This prevents accidental leaks and water damage. Turning off the water also ensures your safety while working on the faucet.
What should I do if I strip the set screw while tightening it?
If you strip the set screw, you will need to replace it. Use a screw extractor to remove the stripped screw and take it to a hardware store to find an exact match. It’s important to replace a stripped screw to ensure the handle is securely fastened.
How often should I check my Moen faucet for loose handles?
Regular maintenance can help prevent issues with your faucet. Check your Moen faucet handle periodically, especially if you notice any wobbling or looseness. Addressing problems early can prevent more significant issues and extend the life of your faucet.
How To Remove Moen Kitchen Faucet Double Handle – HOWTOREMVO
How to Remove the Handle of Moen Touchless Kitchen Faucet – Kitchen Faucet Blog

How to Remove the Handle of Moen Touchless Kitchen Faucet – Kitchen Faucet Blog

How To Remove A One Handle Moen Kitchen Faucet – Kitchen Photos Collections
MOEN Kitchen Faucet Spot Resistant Single Handle Pull Down Stainless Steel Metal

How-To: Repair Moen Single Handle Faucet, Pt.1 – YouTube
Related Posts:
- Oak Brook Kitchen Faucet Parts
- Delta 4380 Dst Pilar Kitchen Faucet
- Moen Kleo Kitchen Faucet Review
- Delta Leland Pull Down Kitchen Faucet
- Aquasource Kitchen Faucet Replacement Parts
- How To Repair A Leaking Kitchen Faucet
- Satin Nickel Pullout Kitchen Faucet
- Kitchen Faucets Atlanta Ga
- Brizo Kitchen Faucets Replacement Parts
- Kitchen Sink Faucet Hole Cover Deck Plate