Tiling a kitchen wall backsplash can seem like a daunting task, especially if you’re new to DIY home improvement projects. However, with the right tools and knowledge, it’s a project that can be tackled by anyone. In this article, we’ll walk you through the step-by-step process of tiling a kitchen wall backsplash, including tips and tricks to make the job easier.
Images about How To Tile A Kitchen Wall Backsplash

The part which often gets overlooked will be the kitchen backsplash. No matter if you’re changing the style of the backsplash or adding one this can be a quick and easy way to perk up a current kitchen. For a really special backsplash idea that will make a style statement in you kitchen consider going with soapstone.
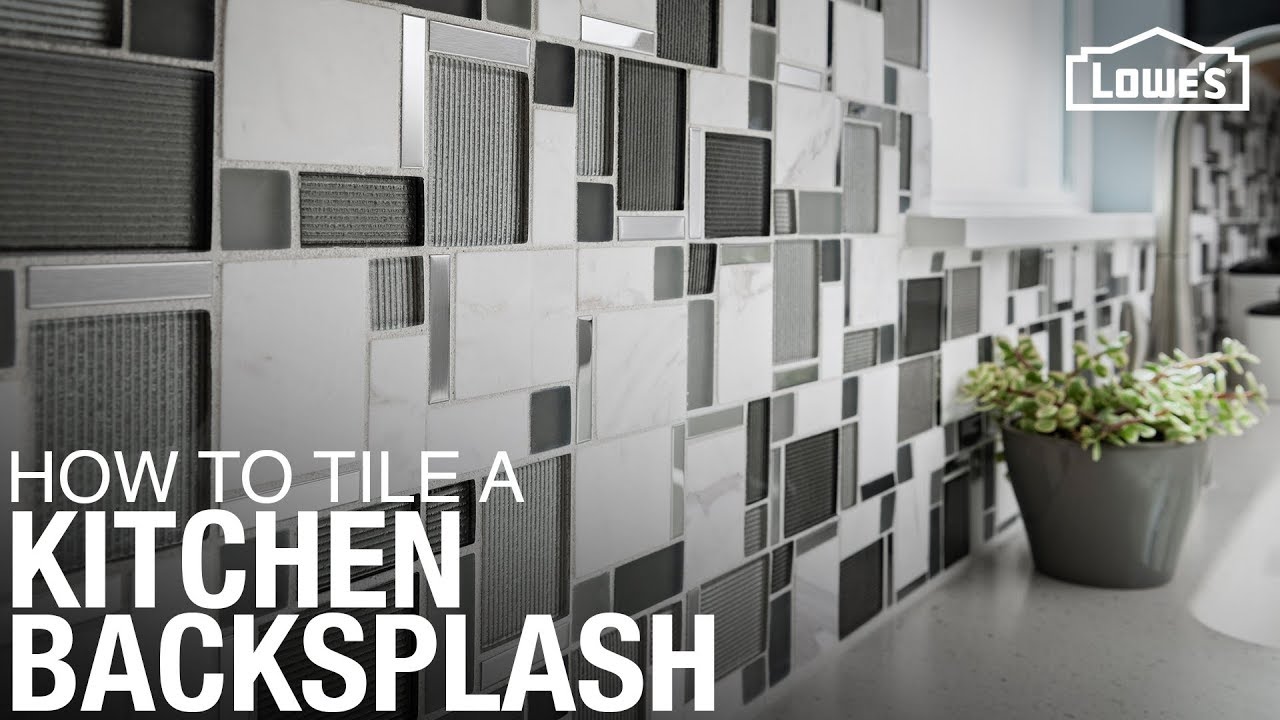
How to Tile a Kitchen Backsplash – YouTube
One word of warning when using stainless when all electrical devices are also stainless-steel; the backsplash might overdo the stainless-steel appear and also make the kitchen area appear sterile like a medical facility. Everyone always appears to be looking for simple kitchen backsplash ideas, and also for those that are, you have come to the right spot.
Tile, Kitchen designs and Stone backsplash on Pinterest

Kitchen Backsplash Ideas – Pictures of Kitchen Backsplash Tile – Installed Tile Murals

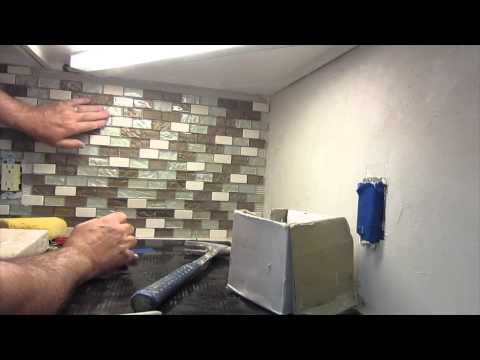
How to install a glass mosaic tile backsplash Parts 1,2 and 3 – YouTube
50+ White Herringbone Backsplash ( Tile in Style? ) – White Kitchen! Kitchen backsplash trends

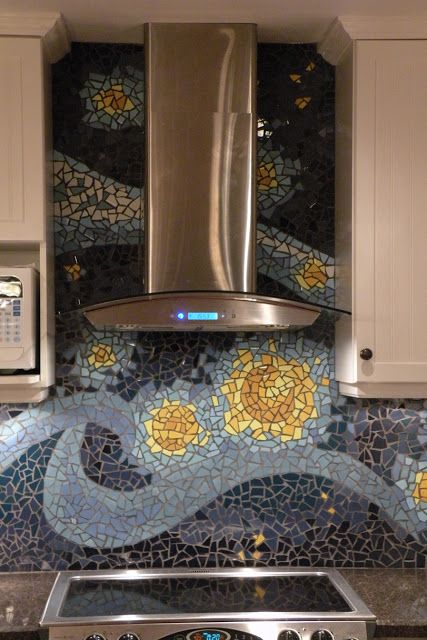
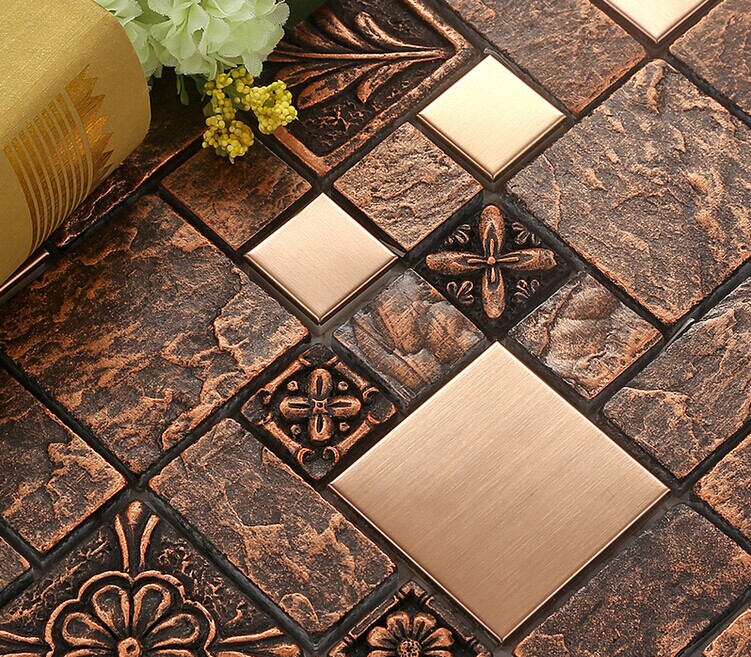
26 Bold Mosaic Kitchen Backsplashes To Get Inspired – DigsDigs
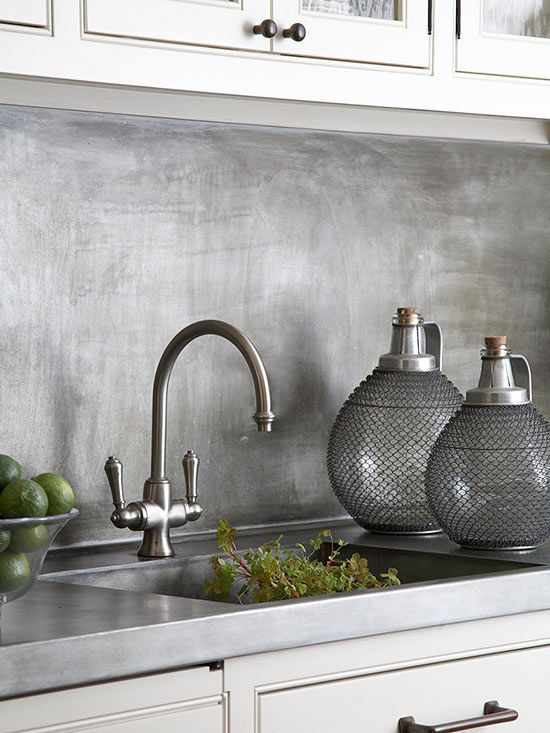
15 Chic Metallic Kitchen Backsplash Ideas – Shelterness
How to Tile a Kitchen Backsplash [Video] Backsplash, Modern kitchen design, Diy tile backsplash

Wholesale Porcelain tiles Square Mosaic Tile Design Metal tile flooring Kitchen Backsplashes BFCM08
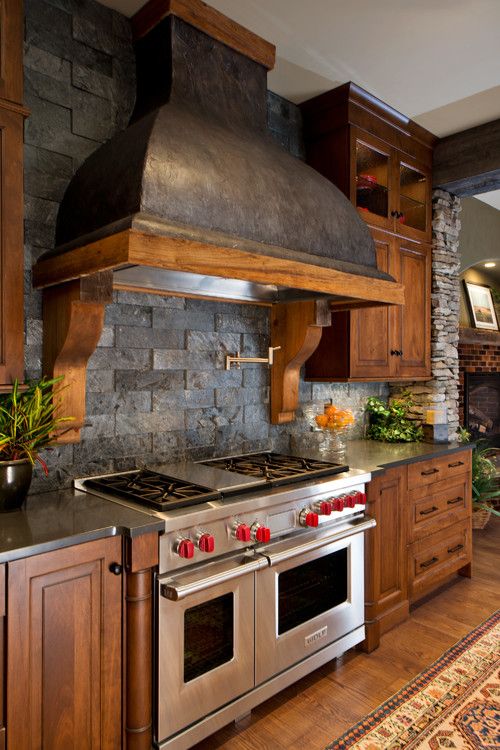
29 Cool Stone And Rock Kitchen Backsplashes That Wow – DigsDigs
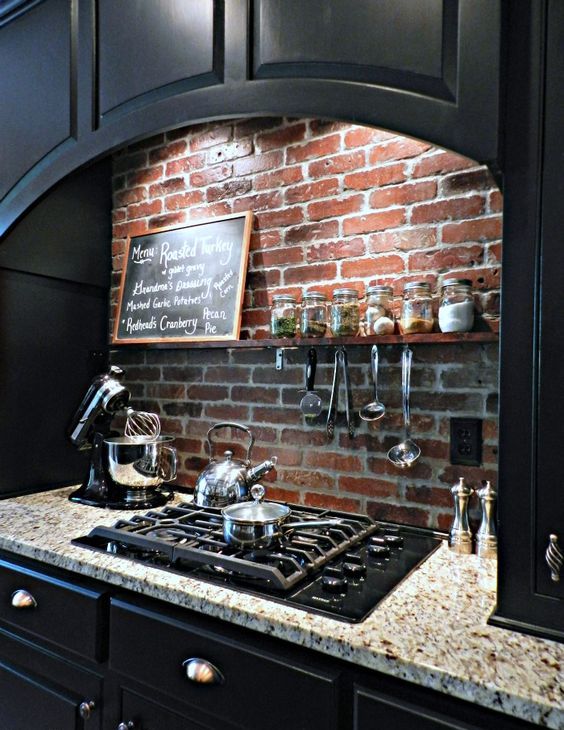
30 Super Practical And Really Stylish Brick Kitchen Backsplashes – DigsDigs
Kitchen Backsplash Tile – Drywall & Plaster – DIY Chatroom Home Improvement Forum

Tile and Beyond: Kitchen backsplash, wall prep

Related Posts:
- Glass Sheet Backsplashes For Kitchens
- Kitchen Backsplash Ideas Behind Stove
- Farmhouse Kitchen Tile Backsplash
- Tile Mural Backsplashes For Kitchens
- Mexican Style Kitchen Backsplash
- Brown Subway Tile Kitchen Backsplash
- Groutless Kitchen Backsplash
- Iridescent Kitchen Backsplash
- Tiling Kitchen Backsplash Corners
- Ceramic Glass Tile Kitchen Backsplash
Step 1: Prepare Your Wall
Before you begin tiling, you need to make sure your wall is clean, dry, and flat. Remove any old tiles or wallpaper, and fill any holes or cracks with spackling paste. Sand down any bumps or rough spots on the wall, and wipe it down with a damp cloth to remove any dust or debris.
Step 2: Measure Your Wall
Measure the length and height of the wall you want to tile. Multiply these two numbers together to get the square footage of the area you’ll be tiling. Make sure to add 10% to this number to account for any waste or cuts you’ll need to make.
Step 3: Choose Your Tiles
Now it’s time to choose your tiles. There are many different types of tiles available, from ceramic and porcelain to glass and stone. Choose a style and color that complements your kitchen decor, and make sure the tiles are rated for use in wet areas like kitchens.
Step 4: Gather Your Tools
Before you start tiling, you’ll need to gather the necessary tools. You’ll need a notched trowel, tile spacers, a tile cutter or wet saw, a level, a tile adhesive, a grout float, and a bucket for mixing grout.
Step 5: Apply the Adhesive
Using your notched trowel, spread a thin layer of tile adhesive onto the wall. Start at the bottom of the wall and work your way up, making sure to spread the adhesive evenly. Use tile spacers to ensure even spacing between tiles.
Step 6: Cut and Place Tiles
Using your tile cutter or wet saw, cut your tiles to size as needed. Place the tiles onto the adhesive, pressing them firmly into place. Use a level to make sure each tile is straight and level.
Step 7: Let Adhesive Dry
Allow the adhesive to dry for 24 hours before grouting.
Step 8: Mix and Apply Grout
Mix your grout according to the manufacturer’s instructions. Using your grout float, spread the grout over the tiles, making sure to work it into the spaces between tiles. Wipe off any excess grout with a damp sponge.
Step 9: Seal Your Grout
After the grout has dried for 24 hours, apply a grout sealer to protect it from stains and moisture.
Congratulations, you’ve successfully tiled your kitchen wall backsplash! With a little patience and attention to detail, this project can be a great way to add style and functionality to your kitchen.