The kitchen sink faucet is a vital component of any kitchen, serving as both a functional fixture and a stylish accent piece. Whether you’re remodeling your kitchen or simply looking to upgrade your faucet, installing a new sink faucet can enhance the overall aesthetics and functionality of the space. From choosing the right faucet style to completing the installation process, here’s everything you need to know about installing a new kitchen sink faucet.
Selecting the Right Faucet
Before diving into the installation process, it’s essential to choose the right faucet for your kitchen. Consider factors such as the style, finish, and features that best suit your needs and preferences. Faucet styles range from traditional to modern, with options like single-handle, double-handle, pull-down, and pull-out faucets available to accommodate various sink configurations and user preferences.
Additionally, select a faucet finish that complements the existing fixtures and decor in your kitchen. Popular finishes include chrome, stainless steel, brushed nickel, bronze, and matte black, each offering a distinct aesthetic appeal and level of durability. Pay attention to the faucet’s spout height and reach to ensure compatibility with your sink and workspace, and consider features such as sprayer functionality, touchless operation, and water-saving options for added convenience and efficiency.
Preparing for Installation
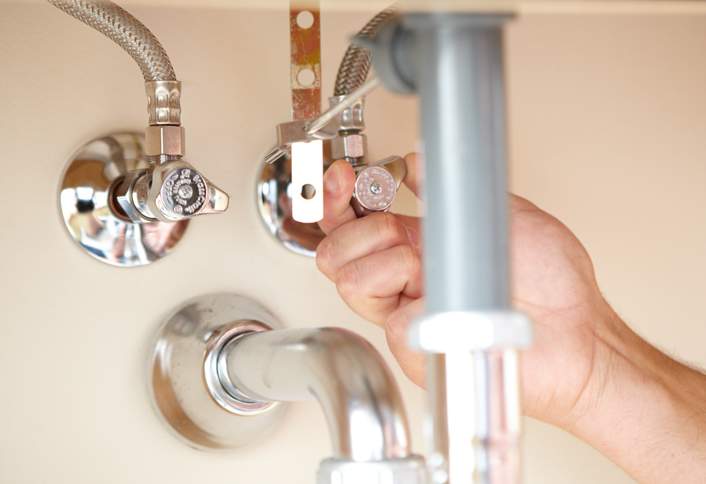
Before installing the new sink faucet, gather all the necessary tools and materials, including a wrench, plumber’s tape, silicone sealant, and a bucket or towels to catch any water leaks. Turn off the water supply to the kitchen sink by shutting off the water valves located beneath the sink or at the main water supply line. Open the faucet to release any remaining water pressure and drain the water from the lines.
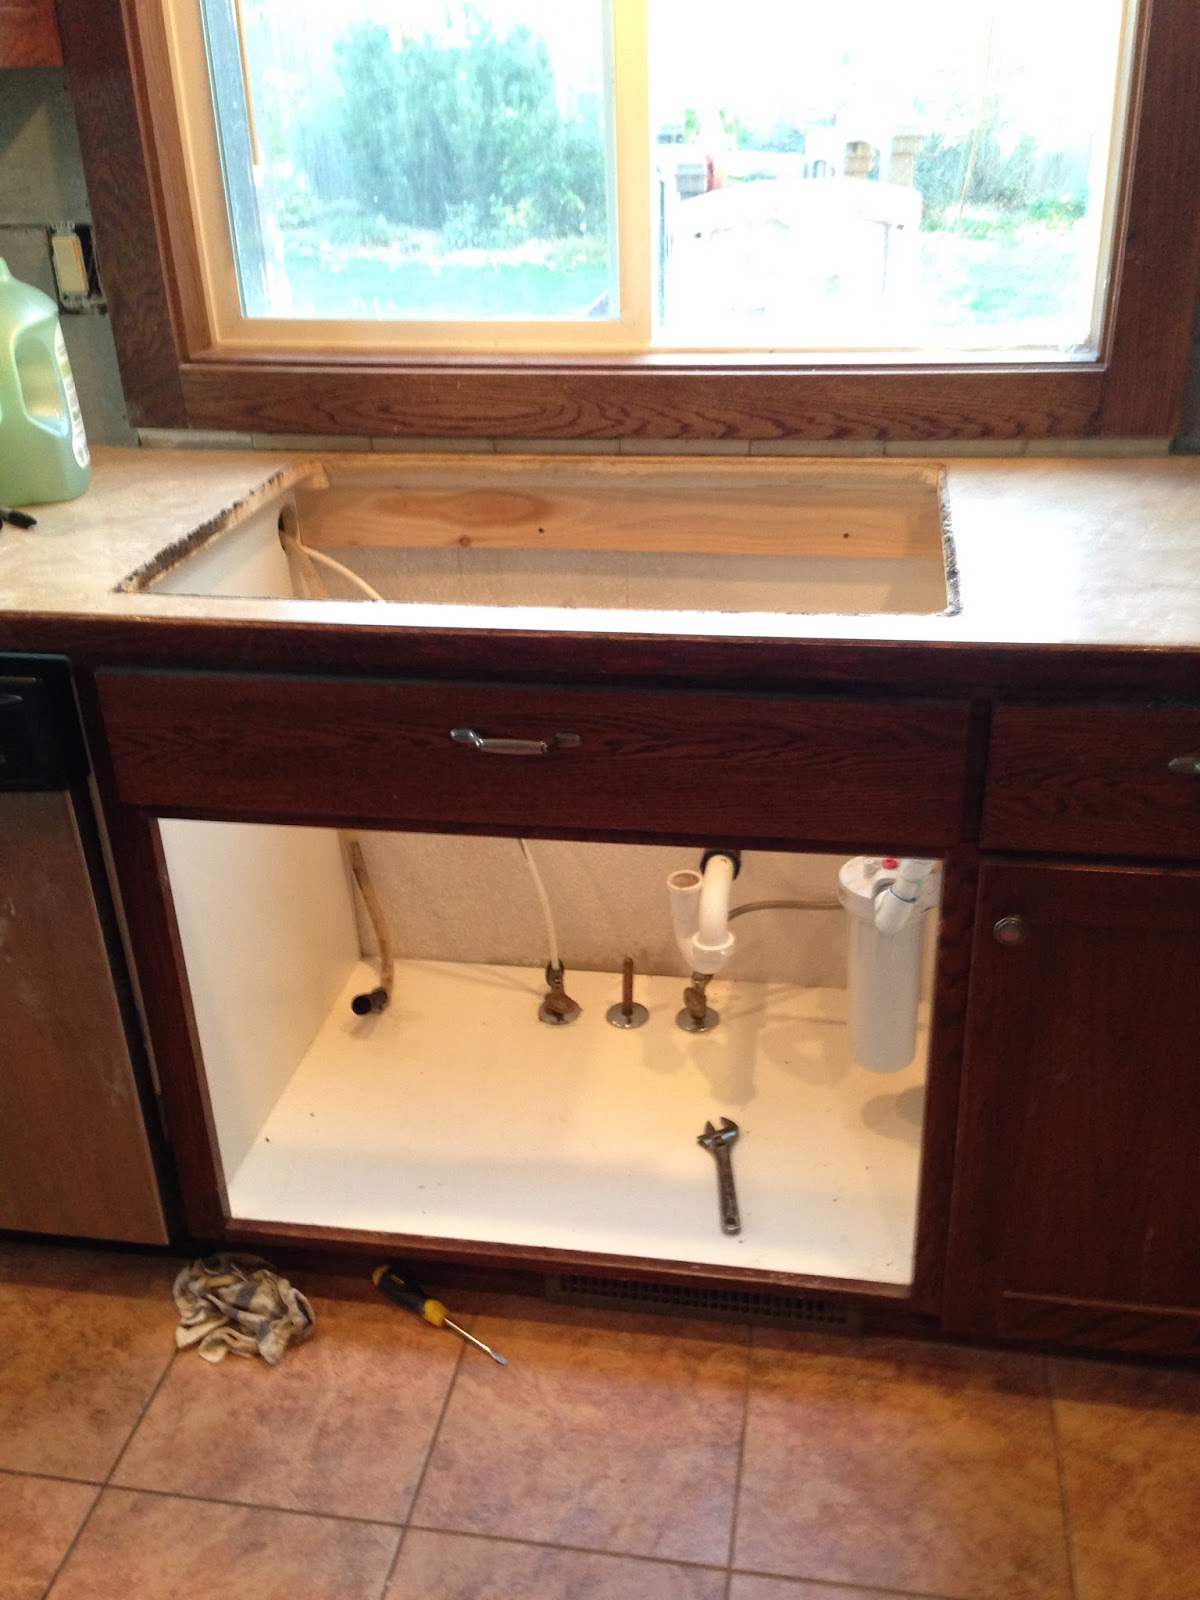
Next, disconnect the old faucet by loosening the mounting nuts or screws securing it to the sink. Remove the old faucet and clean the sink surface thoroughly to remove any debris or residue. Apply plumber’s tape to the threads of the water supply lines to create a tight seal and prevent leaks during installation. Finally, position the new faucet in place and ensure proper alignment with the sink and mounting holes before proceeding with the installation.

Installing the New Faucet
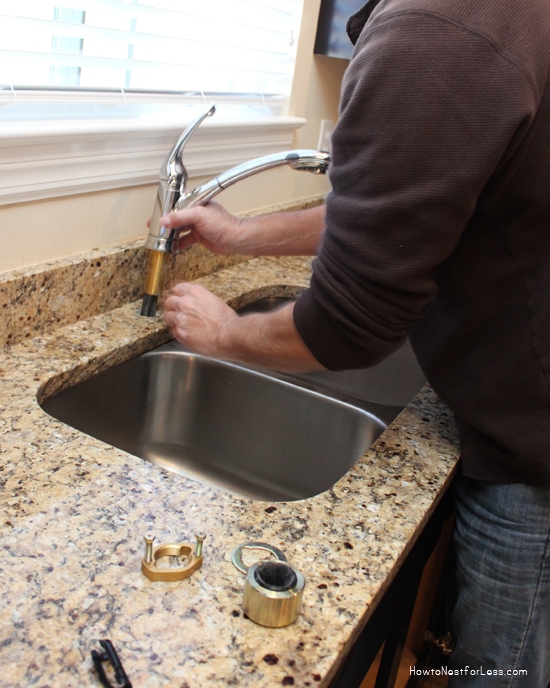
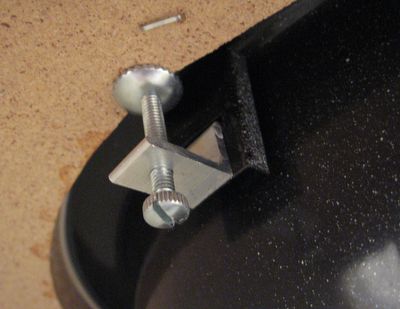
Begin the installation process by attaching the faucet to the sink using the provided mounting hardware and securing it in place with the mounting nuts or screws. Use a wrench to tighten the nuts or screws securely, taking care not to overtighten them to avoid damaging the faucet or sink surface. Once the faucet is securely mounted, connect the water supply lines to the corresponding hot and cold water valves, ensuring a tight seal with the plumber’s tape.
After connecting the water supply lines, turn on the water valves to restore the water supply to the kitchen sink. Check for any leaks around the faucet base and water supply connections, and tighten any fittings or connections as needed to eliminate leaks. Once the installation is complete and any leaks have been addressed, test the faucet operation by turning it on and off to ensure proper functionality and water flow.

Finishing Touches and Maintenance
Once the new sink faucet is installed and functioning correctly, take the time to clean and polish the faucet and sink surface to remove any fingerprints, water spots, or debris. Use a mild detergent or cleaning solution and a soft cloth or sponge to gently scrub the faucet and sink, avoiding abrasive cleaners or scouring pads that could damage the finish.
Additionally, periodically inspect the faucet and water supply connections for any signs of leaks or corrosion, and address any issues promptly to prevent further damage or water damage. Routine maintenance, such as cleaning the aerator and replacing worn-out washers or O-rings, can help prolong the lifespan of your sink faucet and ensure optimal performance for years to come.

Common Mistakes to Avoid
Improper Measurement: Failing to measure the sink and faucet dimensions accurately before purchasing a new faucet can result in compatibility issues and difficulties during installation. Always measure the sink and faucet openings carefully to ensure a proper fit.
Skipping Preparation Steps: Neglecting to prepare the workspace and gather all the necessary tools and materials before starting the installation process can lead to delays and frustration. Take the time to gather everything you need and prepare the sink area before beginning the installation.
Ignoring Water Supply Lines: Overlooking the condition of the water supply lines or failing to address leaks or corrosion can result in water damage and plumbing issues down the line. Inspect the water supply lines regularly and replace them if signs of wear or damage are present.
Overtightening Fittings: Tightening the mounting nuts or water supply connections too much can damage the faucet or sink surface and cause leaks. Use caution and only tighten the fittings enough to create a secure seal without over-tightening.

Can I install a new sink faucet myself, or do I need to hire a professional?
While installing a new sink faucet is a relatively straightforward process, some homeowners may prefer to hire a professional plumber for peace of mind and to ensure proper installation, especially if they lack plumbing experience or encounter any complications during the installation process.
How long does it take to install a new sink faucet?
The time it takes to install a new sink faucet can vary depending on factors such as the complexity of the installation, the condition of the existing plumbing, and the type of faucet being installed. On average, the installation process can take anywhere from 30 minutes to a few hours to complete.
Do I need to shut off the water supply to the entire house when installing a new sink faucet?
No, you only need to shut off the water supply to the kitchen sink by turning off the water valves located beneath the sink or at the main water supply line. This allows you to work on the faucet installation without disrupting the water supply to the rest of the house.
What should I do if I encounter leaks or difficulties during the installation process?
If you encounter leaks or difficulties during the installation process, first ensure that all connections are tightened securely and properly sealed with plumber’s tape. If leaks persist, turn off the water supply and consult a professional plumber for assistance.
Can I reuse the old water supply lines when installing a new sink faucet?
While it is possible to reuse existing water supply lines, it is generally recommended to install new supply lines to ensure optimal performance and prevent leaks. Old supply lines may be worn out or corroded, increasing the risk of leaks and plumbing issues over time.

4 Hole Kitchen Faucet Stainless

New Stainless Steel Apron Front Sink + how we installed it in existing cabinetry Averie Lane
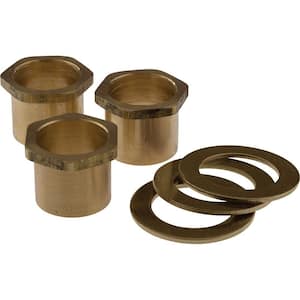
Extensions – Faucet Hardware – Faucet Parts – The Home Depot
faucet diagrams – Google Search Faucet parts, Kitchen faucet, Kitchen faucet parts

Installing a new bathroom sink
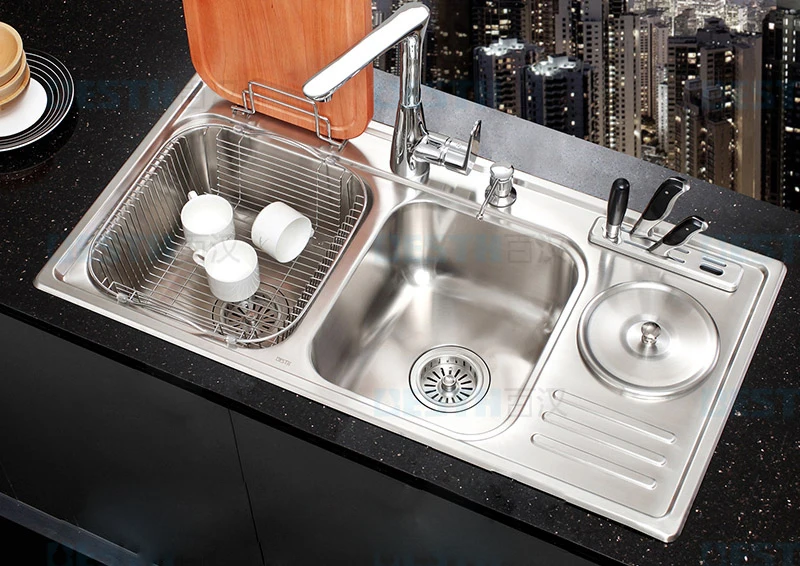
(900*460*210mm) 304 Stainless Steel Kitchen Sink Brushed Triple Bowl Undermount Kitchen Sinks
Sink & Faucet Combinations

Related Posts:
- Chrome Kitchen Sink Faucet
- Change Kitchen Faucet Hose
- Grohe Kitchen Sink Faucet
- My Kitchen Faucet Is Leaking
- Farm Style Kitchen Faucets
- Moen Matte Black Kitchen Faucet
- Kitchen Faucets Antique Brass Finish
- How To Repair A Leaking Kitchen Faucet
- How Much To Install New Kitchen Faucet
- Grohe Classic Kitchen Faucet