Assembling a Kohler kitchen faucet is a straightforward process, but it’s essential to follow the provided instructions carefully to ensure a successful installation. Start by gathering all the necessary tools and materials, including an adjustable wrench, pliers, plumber’s tape, and the Kohler faucet assembly kit. Make sure the water supply to the sink is turned off before beginning the assembly.
Begin by unpacking the faucet and inspecting all the components. Kohler provides detailed assembly instructions in the product manual, so take the time to familiarize yourself with the parts and their functions. The manual typically includes a step-by-step guide, illustrations, and important notes, making the assembly process more accessible for DIY enthusiasts.
Before attaching the faucet to the sink, it’s crucial to install the provided deck plate if your Kohler kitchen faucet model requires one. The deck plate helps cover additional holes in the sink and provides a polished look. Align the deck plate over the mounting holes and secure it using the screws provided in the assembly kit. Ensure a snug fit without overtightening to avoid damaging the sink.
Next, position the faucet through the mounting holes in the sink or countertop. Kohler faucets usually come with a mounting nut that needs to be secured from underneath. Use an adjustable wrench to tighten the mounting nut, ensuring the faucet is securely in place. Double-check that the faucet is straight and centered before proceeding to the next step.

If your Kohler kitchen faucet comes with a pull-down or pull-out sprayer, connect the sprayer hose to the faucet’s supply line. This typically involves threading the hose through the faucet body and securing it with a provided nut. Kohler often includes a weight that needs to be attached to the hose under the sink. This weight assists in retracting the sprayer head back into its original position after use.
For faucets with a separate handle, follow the instructions for attaching the handle to the faucet body. This usually involves securing the handle with a provided screw. Kohler often includes a cap that covers the screw, providing a finished and seamless appearance. Tighten the screw securely to ensure the handle operates smoothly.
Apply plumber’s tape to the threads of the water supply lines. This helps create a watertight seal and prevents leaks. Connect the water supply lines to the corresponding hot and cold water valves. Kohler faucets typically use flexible supply lines with compression fittings, making this step relatively straightforward. Use pliers to tighten the connections, ensuring they are snug but not overly tightened.
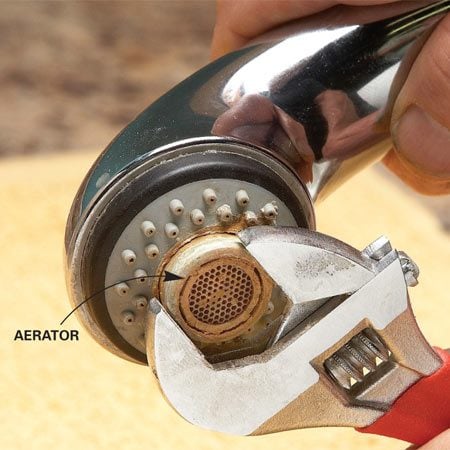
Once all the components are securely in place, turn on the water supply to the sink slowly. Check for any leaks around the connections and tighten them if necessary. It’s advisable to have a bucket or towels on hand to catch any potential water drips during this initial testing phase. Allow the water to run for a few minutes to flush out any debris from the lines.

Operate the faucet handle and sprayer to test their functionality. Ensure smooth movements and check for any unusual sounds or vibrations. Kohler faucets are known for their ease of use and reliable performance, so any issues at this stage may indicate a need for adjustments or further tightening of components.
If your Kohler kitchen faucet comes with additional features like a soap dispenser or a built-in water filter, follow the specific instructions provided for these components. Installation of these additional features may involve connecting hoses, securing mounting brackets, or attaching specific adapters. Pay close attention to the details in the manual to ensure proper integration with the main faucet assembly.
Check the alignment of the faucet and sprayer. If adjustments are needed to achieve the desired orientation, loosen the mounting nut under the sink and reposition the faucet accordingly. Once satisfied with the alignment, tighten the mounting nut securely. This step is crucial for achieving both a functional and aesthetically pleasing installation.
After completing the assembly, take a final look at all connections and components. Ensure that everything is properly secured, and there are no visible leaks. Clean the faucet and sink area to remove any fingerprints, residue, or debris accumulated during the installation process. This final touch contributes to a polished and professional appearance.

Keep the Kohler product manual and any additional documentation in a safe place. These documents may contain valuable information about maintenance, troubleshooting, and warranty details. Having easy access to these resources can be beneficial for future reference or if any issues arise with the faucet down the line.
Assembling a Kohler kitchen faucet involves a series of well-defined steps outlined in the provided instructions. Taking the time to carefully follow each step ensures a successful installation and optimal performance of the faucet. Kohler’s commitment to quality and user-friendly design is evident in their assembly instructions, making the process accessible for both DIY enthusiasts and those seeking professional installation.

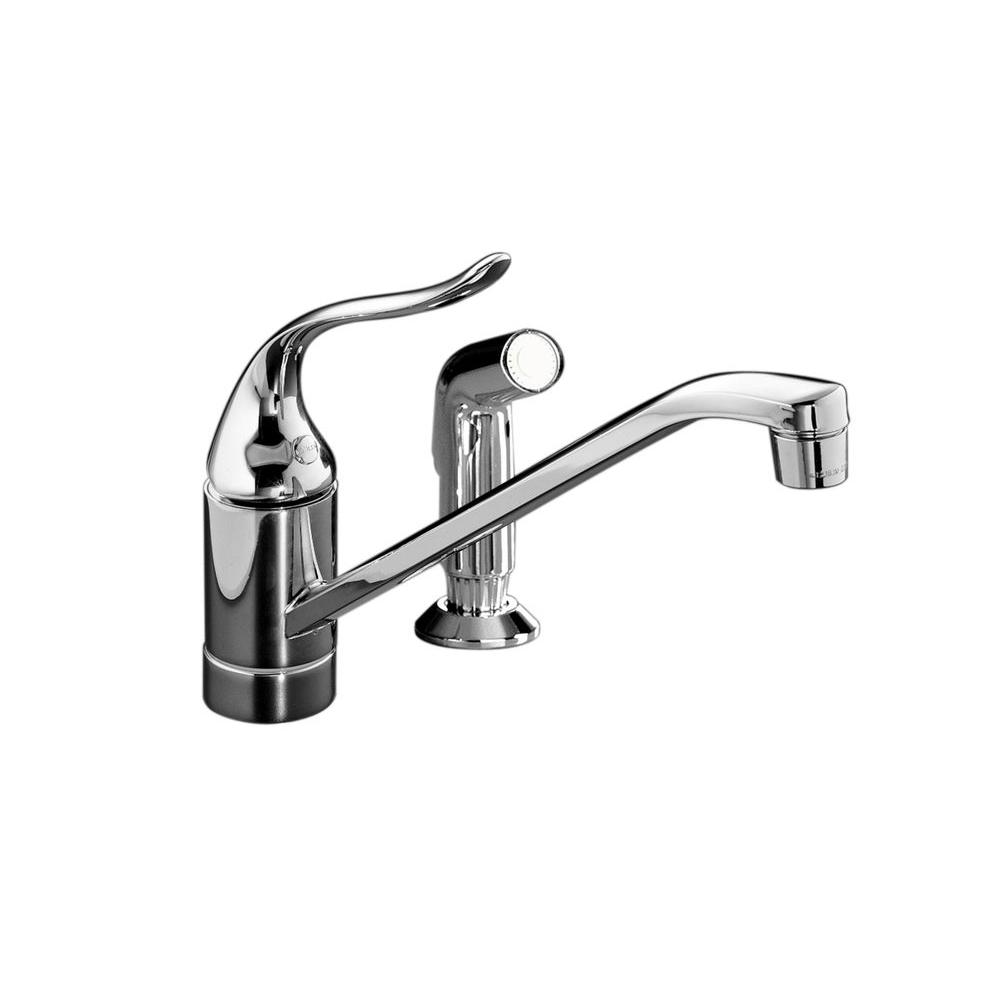
Kohler Kitchen Faucet Parts A112 18 1 Besto Blog
Thermostatic Arch Spout Tub Faucet Faucet, Tub faucet, Tub

Kohler Kitchen Faucets Parts Dandk Organizer

Installation Instructions
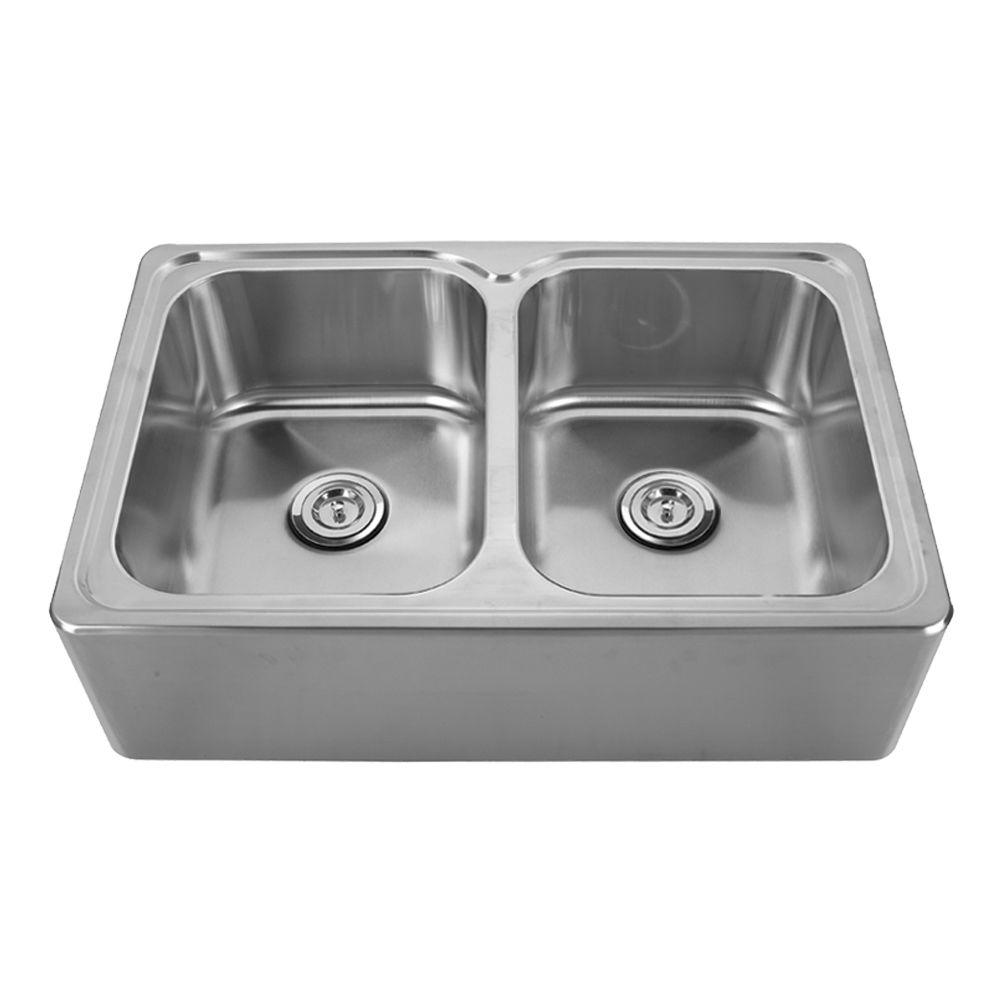
KOHLER Vault Smart Divide Undermount Stainless Steel 36 in. Double Basin Kitchen Sink Kit-K-3945
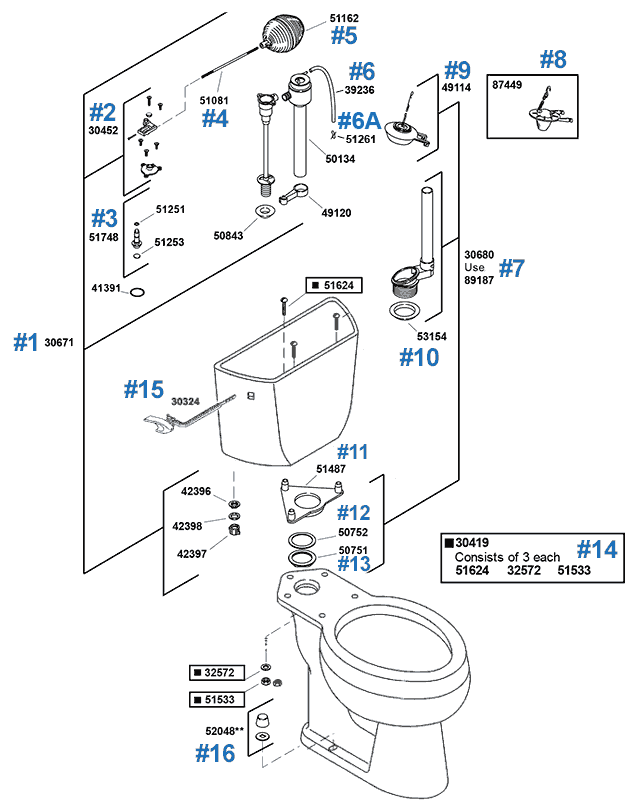
Kohler Toilet Parts Diagram – Hanenhuusholli
Delta Vero Monitor 17 Series Shower Trim, Chrome, T17253-WE – Contemporary – Showerheads And

Related Posts:
- Chrome Kitchen Sink Faucet
- Change Kitchen Faucet Hose
- Grohe Kitchen Sink Faucet
- My Kitchen Faucet Is Leaking
- Farm Style Kitchen Faucets
- Moen Matte Black Kitchen Faucet
- Kitchen Faucets Antique Brass Finish
- How To Repair A Leaking Kitchen Faucet
- How Much To Install New Kitchen Faucet
- Grohe Classic Kitchen Faucet