Embarking on a DIY project to refinish your kitchen sink can be a rewarding endeavor, providing a cost-effective way to breathe new life into an aging or worn-out fixture. Refinishing allows you to update the look of your kitchen without the expense and hassle of replacing the entire sink. Today we’ll discuss the reasons why you might consider this project, the steps involved, the materials needed, and tips to ensure a successful outcome.
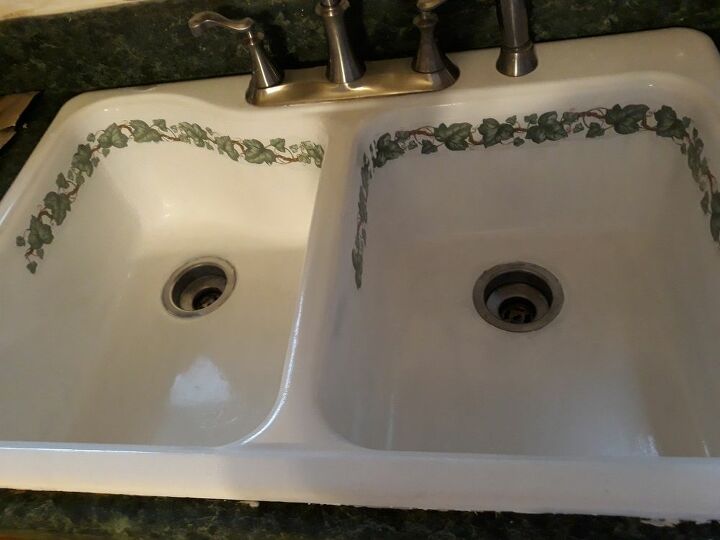
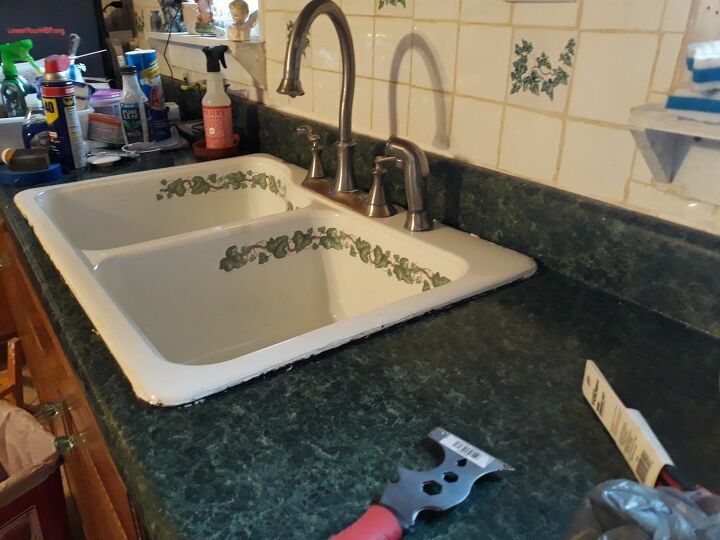
One of the primary motivations for refinishing a kitchen sink is to revitalize its appearance. Over time, sinks can develop scratches, stains, and a worn-out look, diminishing the overall aesthetics of the kitchen. Refinishing offers a solution to restore the sink’s surface, providing a fresh and updated look without the need for a complete replacement. This can be especially beneficial if you are satisfied with the sink’s functionality but wish to enhance its visual appeal.
The first step in refinishing your kitchen sink is thorough preparation. This involves cleaning the sink to remove any grease, grime, or residues that may have accumulated over time. It’s essential to use a non-abrasive cleaner to avoid damaging the surface. Once cleaned, thoroughly dry the sink to ensure that the refinishing materials adhere properly during the subsequent steps.

Surface repairs are often a part of the refinishing process. If your sink has minor scratches, chips, or imperfections, these can be addressed using an appropriate filler. Choose a filler designed for use on sinks and follow the manufacturer’s instructions for application. This step ensures a smooth and even surface before proceeding to the actual refinishing.
Selecting the right refinishing kit is crucial for achieving a professional-looking result. There are various kits available specifically designed for refinishing kitchen sinks. These kits typically include primer, paint, and a sealer. Ensure that the kit you choose is compatible with the material of your sink (e.g., porcelain, enamel, or acrylic). Consider factors such as color options, finish, and durability when making your selection.
Before applying the primer, it’s essential to mask off surrounding areas to protect them from overspray. Use painter’s tape and plastic sheets to cover countertops, cabinets, and any adjacent surfaces. This precautionary step ensures that the refinishing process remains confined to the sink area, preventing any accidental damage to your kitchen surroundings.
Once the preparation is complete, apply the primer as directed by the kit instructions. The primer is a crucial component as it promotes adhesion and ensures the longevity of the refinishing. Make sure to apply the primer evenly and allow it to dry completely before proceeding to the next step. This drying period is typically specified by the manufacturer and may vary depending on the product.
After the primer has dried, it’s time to apply the paint. The refinishing kit will include paint specifically formulated for sinks, providing durability and resistance to water and everyday wear. Apply the paint evenly, using smooth and controlled strokes. Multiple thin coats are often recommended for a more professional finish. Allow each coat to dry completely before applying the next, ensuring a smooth and flawless result.
Sealing the refinished surface is a crucial final step. The sealer provides an additional layer of protection, enhancing the sink’s durability and resistance to stains and water damage. Follow the kit instructions for the application of the sealer, and be sure to allow sufficient drying time before using the sink. This curing period is vital to achieving a robust and long-lasting finish.

Proper ventilation is essential during the refinishing process. Use fans or open windows to ensure adequate airflow in the kitchen. The fumes from the refinishing materials can be strong, and proper ventilation helps minimize their impact. Additionally, consider wearing a mask and protective eyewear to safeguard yourself during the application of primers, paints, and sealers.
It’s crucial to follow safety guidelines when refinishing a kitchen sink. Work in a well-lit and well-ventilated space, and take breaks if needed to avoid overexposure to fumes. If you have respiratory issues or sensitivities, consider wearing a mask with proper filtration. Always read and follow the safety recommendations provided by the refinishing kit manufacturer.
The longevity of a refinished kitchen sink depends on the quality of the materials used and the precision of the application. When done correctly, a refinished sink can last for several years, providing a cost-effective solution for enhancing your kitchen’s appearance. Regular maintenance, such as avoiding abrasive cleaners and abrasive scrubbing, can contribute to the longevity of the refinished surface.
Before using the refinished sink for regular kitchen activities, consult the kit instructions for any specific curing or drying periods. It’s essential to allow the refinishing materials to fully cure before exposing them to water, cleaning agents, or other substances. Following the recommended curing times ensures that the finish achieves its maximum durability and resistance.
Refinishing a kitchen sink as a DIY project is a practical and budget-friendly way to upgrade your kitchen’s aesthetic without the expense of replacing the entire fixture. Thorough preparation, the selection of a high-quality refinishing kit, and careful application are key to achieving professional-looking results. Following safety guidelines, proper ventilation, and allowing sufficient drying and curing times contribute to the success of the project, resulting in a revitalized and visually appealing kitchen sink.
Kitchen, but different finish Sink, Decor, Home decor

Blog AZ Reglazing, Inc – Part 7

girlinspired, Author at girl. Inspired. – Page 34 of 122
How to Keep the Kitchen Sink Clean and Organized – Craftivity Designs
Contemporary Kitchen with Undermount Sink, Slate Tile, Flush, Deep Nocturne Solid Surface

How To Remove A Bathroom Sink From A Granite Countertop

Countertop kits change everything! Order yours on our new website & change the entire look of

Converting single sink vanity to double vanity plumbing questions – DoItYourself.com Community

DIY Sink Ideas & Projects DIY

Kitchen & Bath Recycling the Past – Architectural Salvage
Related Posts:
- Kitchen Sink PVC Drain Parts
- Vintage Cast Iron Kitchen Sink With Drainboard
- What To Use To Unclog A Kitchen Sink
- Unique Kitchen Sink Ideas
- Corner Kitchen Sink Base Cabinet Dimensions
- Double Bowl Porcelain Kitchen Sinks
- Leak Under Kitchen Sink Drain
- Stainless Steel Single Bowl Apron Farmhouse Kitchen Sink
- Premium Kitchen Sinks
- 18 X 18 Kitchen Sink